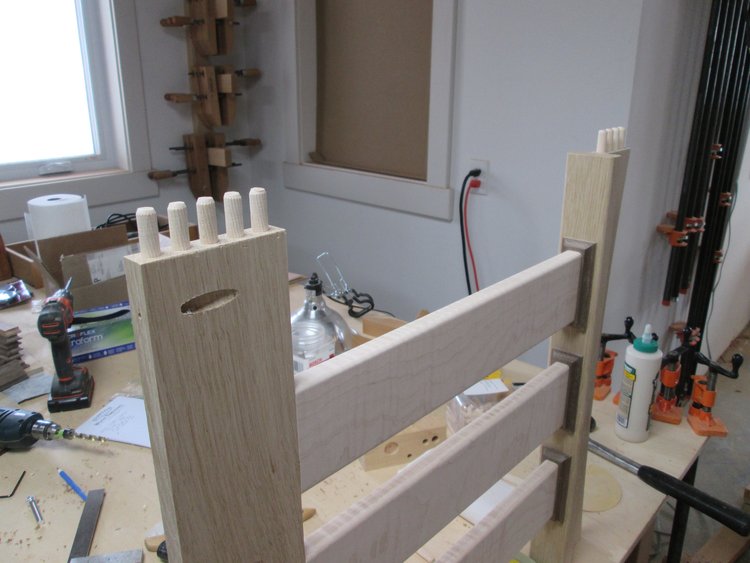
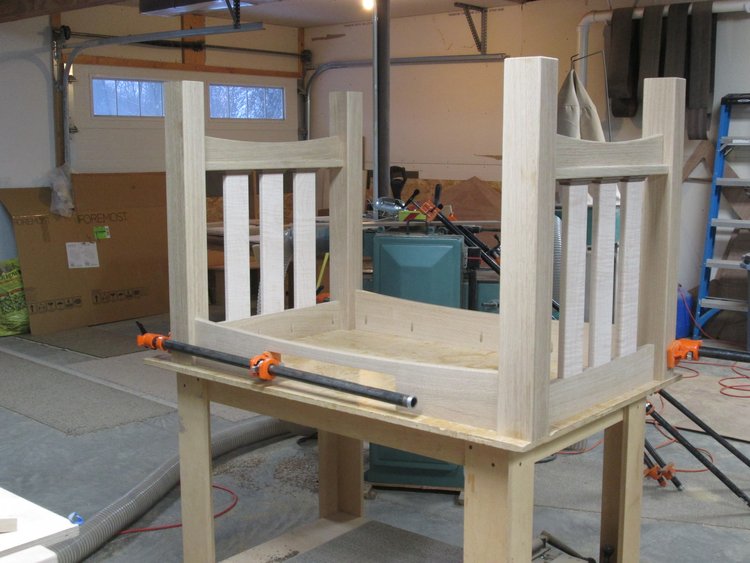
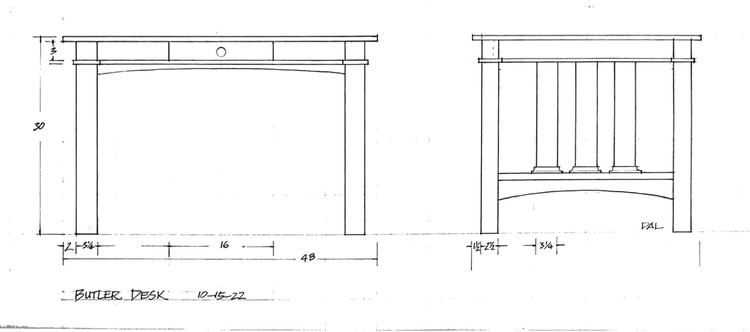
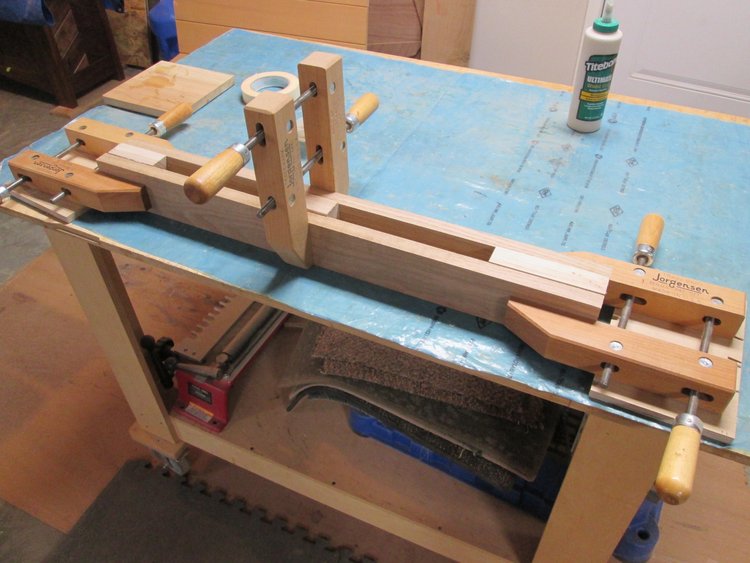
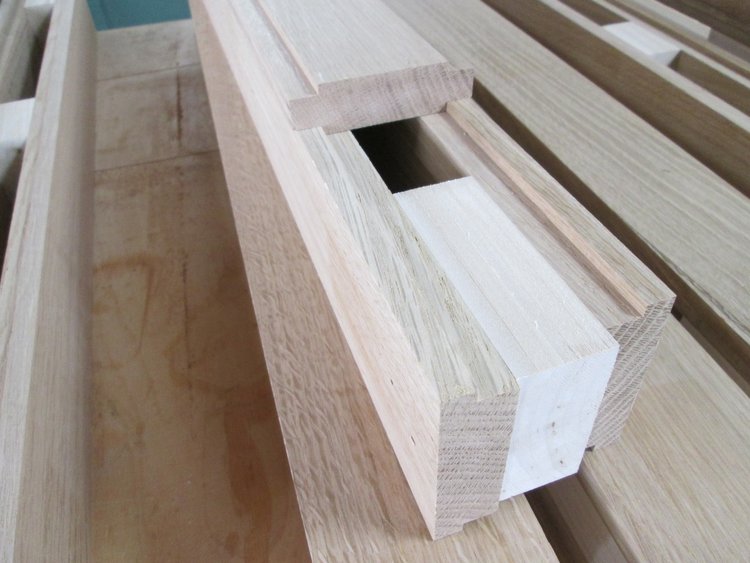
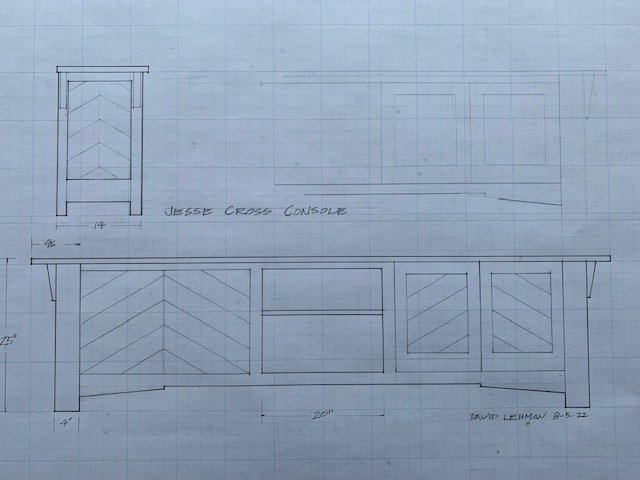
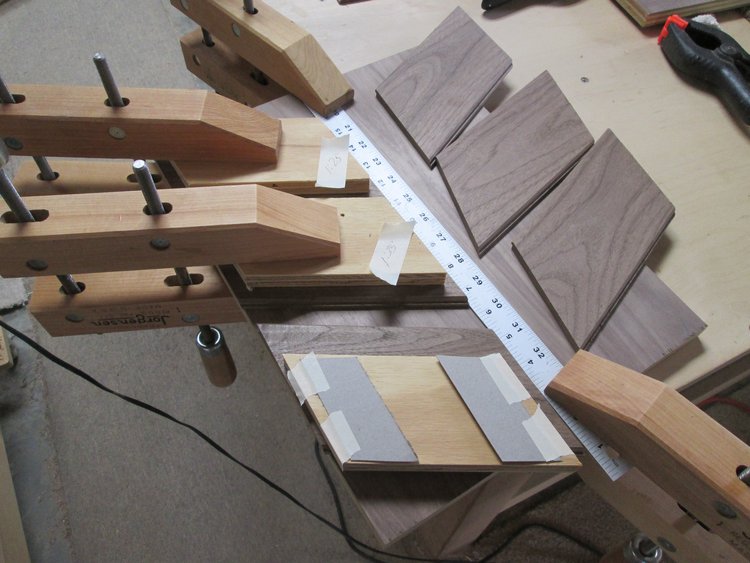
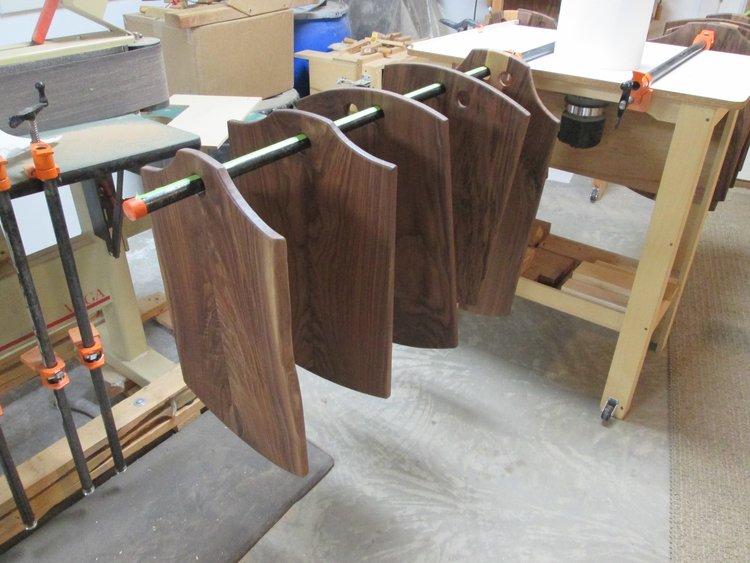
The desk and work station are from the same design family, and the basics of frame construction has been the same. Below are two end assemblies for the work station, and one for the desk with the legs now doweled and glued together.


The desk and work station are from the same design family, and the basics of frame construction has been the same. Below are two end assemblies for the work station, and one for the desk with the legs now doweled and glued together.


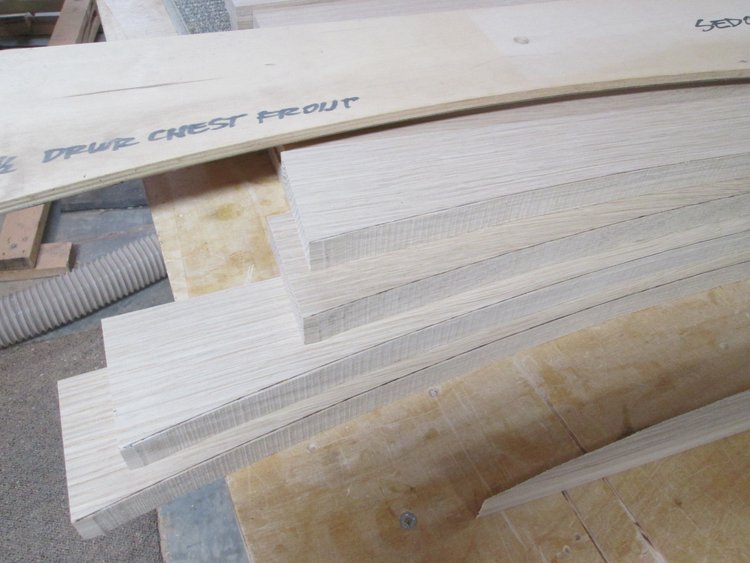
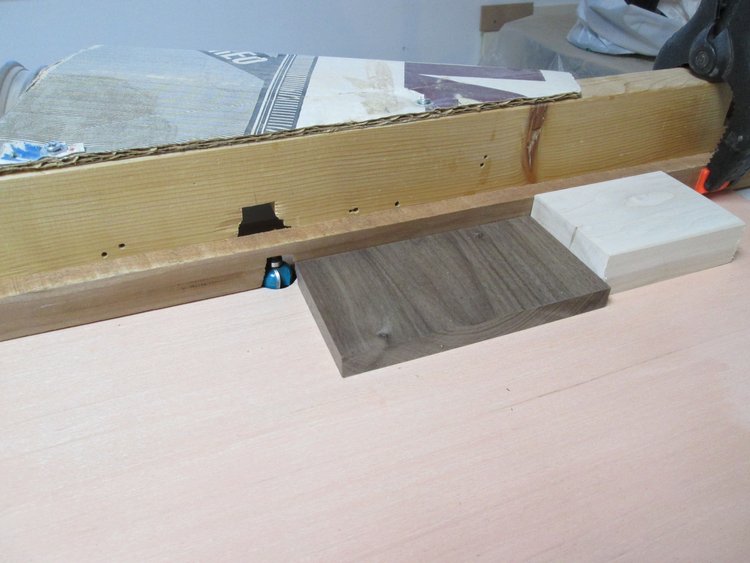
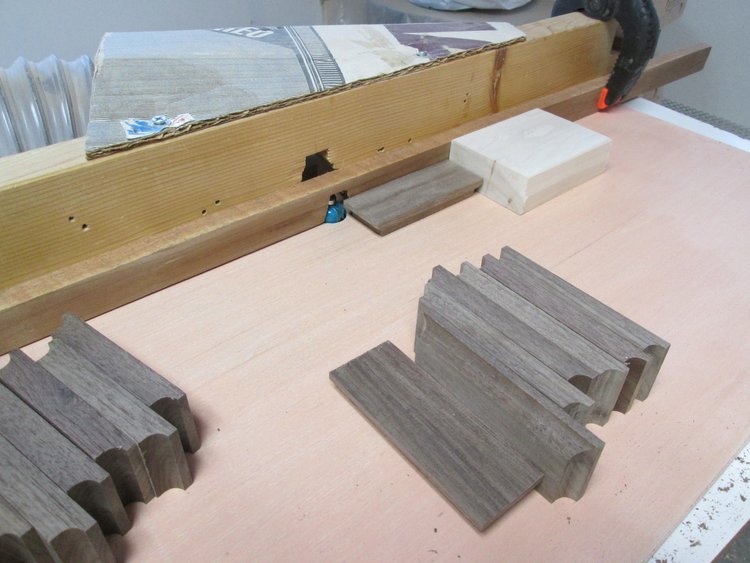
The next step was making the slat bases. Small parts can be dangerous and hard to hold, and the end grain easy to chip out. So, I started routing the end profile of a wide block first, which will become four individual bases.


Then the unthinkable, I drilled an extra hole on the end of an irreplaceable slat. After a bit of critical musing, I routed out the drill hole, as shown below.


As I was deciding whether to turn the middle slat face inside or out, the figure on the edge gave a suggestion of a tear drop. It reminded me that not all things get fixed so easily, and some tears are left that only God can wipe away. The slat stayed facing out.
On the last day of September, in the middle of one of the most colorful and durable fall seasons, an inquiry email came from Barbra Butler. It turns out that she had a friend who came to the MCC Relief Sale in Goshen a couple weeks earlier, and mentioned seeing some work I had donated to the sale. She took a look at the website my son-in-law Danny made for me, and used the submission form to email me.
We discussed some questions on the phone and arranged for her and her husband Jim to come to the shop and check it out in person. The following Saturday, they took a 2 1/2 hour road trip to my home. We took a house and shop tour, looking at design ideas and construction techniques. It was a pleasant and rewarding conversation heading the same direction toward a desk and work station.


In a beautiful tall living room overlooking Sweetwater Lake are stunning views galore, and eclectic design touches near at hand: the counter tops, the antique doors, the contemporary lamps and the real life boat functioning as a bed overhanging the balcony above. The room is generous in proportion as an invitation to a crowded party, and a large sofa sits facing the window side, leaving the back exposed to the entrance.
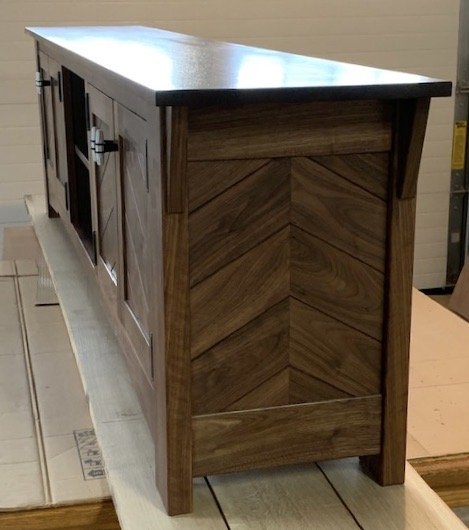
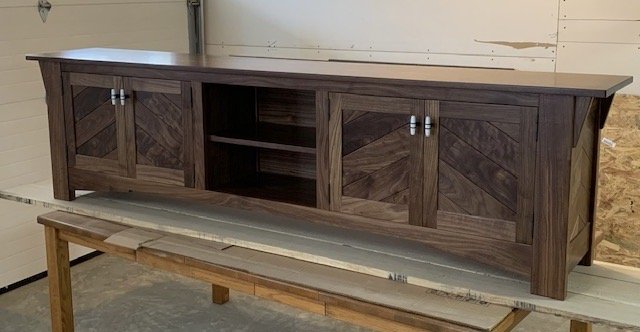
Why would you not put a long low cabinet to balance the back of the sofa, and give it room for the mandatory games, an oversized travel book maybe, and an elegant light or two? And why would you choose any style besides chevrons for the theme of the piece?


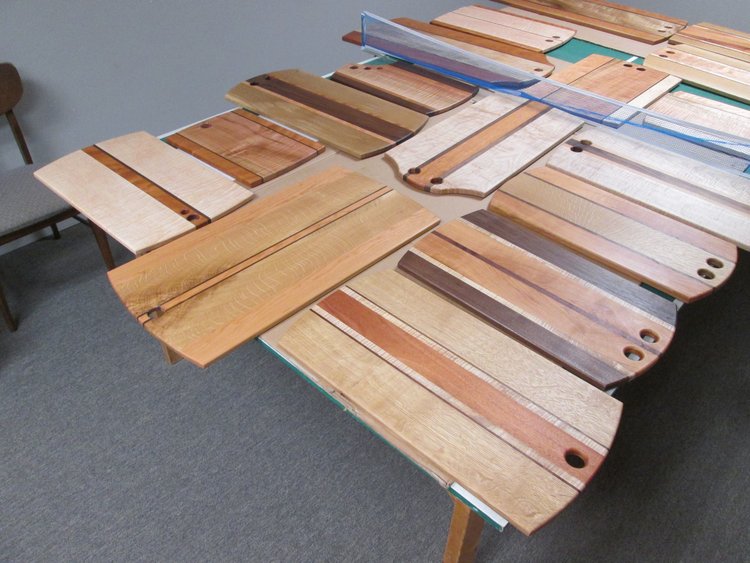
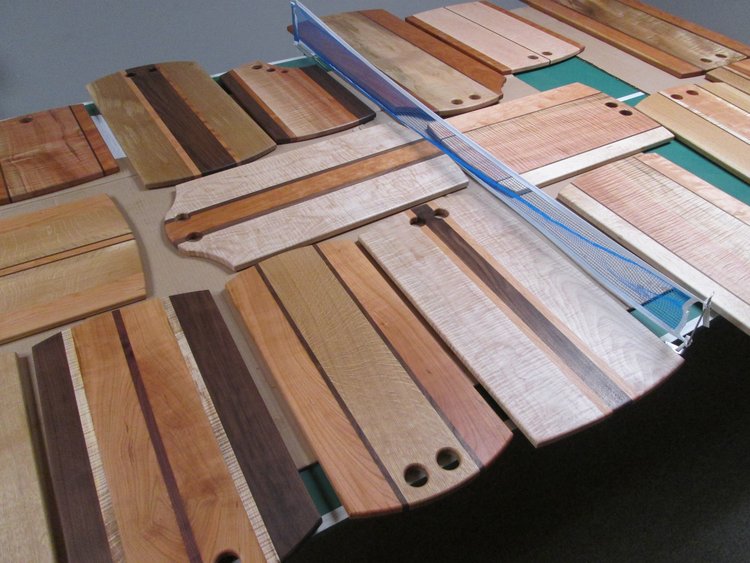
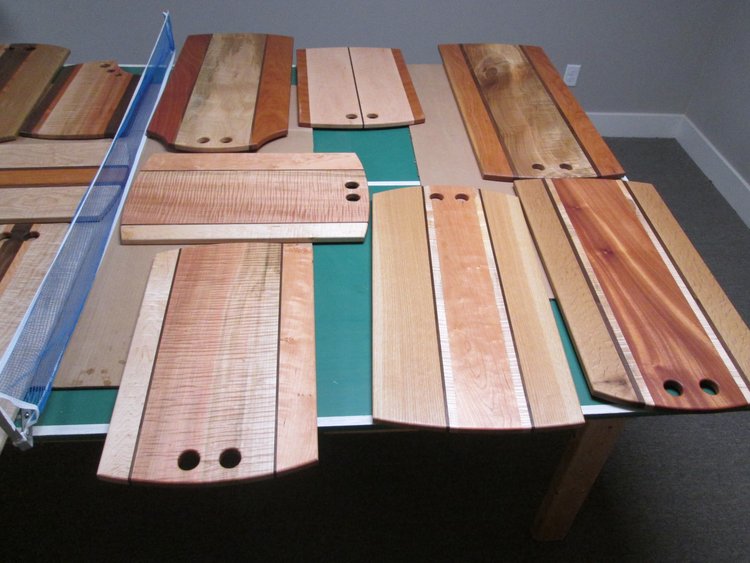
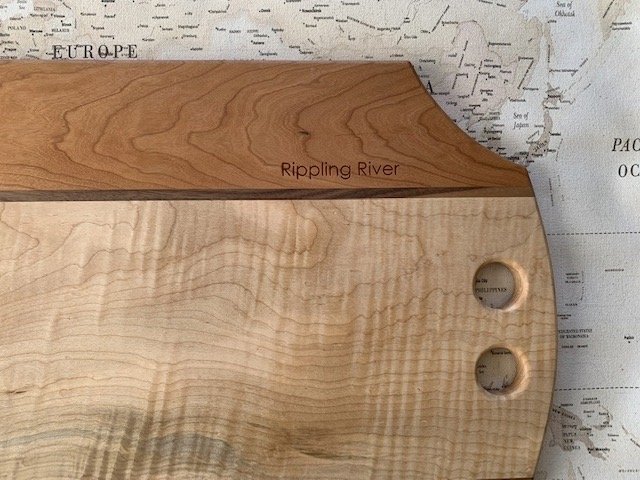
Wood is a friendly and warm surface to touch and look at in a home, and it finds special places in the kitchen. Over a lifetime of woodworking, I have done many projects for kitchens including coasters, trivets, cheese boards, cutting boards, and now Charcuterie boards.


After all the wood repair was complete, and the holes filled with new wood and epoxy to last another generation, I called Scott at Lake Effect Marina to see if we should just paint the back end because the corners were not in good shape. He said that the owner was really hopeful that the same Mahogany look could be retained.
I asked about the corners and the bottom, and finally Scott said, “Dave, I have seen your boat. Just do this the way you would do it for yourself and I am sure it will be good.” Well, that settled it and made it clear how to proceed. it was time to add the pretty Mahogany layer.


Last summer when I took my wood boat for spring fire to Lake Effect Marina in Union, Michigan, the service tech Todd, asked me if I would some transom repair on an old wooden boat they were rebuilding. I thought about it a bit, and then said something like, “Um, well, I don’t know.” Todd took that for a yes, and escorted me to the storage building where it sat in sad circumstances.
I looked at it and mentally compared it to the size of my walkout basement shop. It still did not register yes. I said that I work pretty slow, so if he has another option, he should probably take it. Todd said that he had no other options, and that in the next couple of weeks he would clear the transom for me to rework.
A few weeks went by, then a couple of months, and relief was starting to settle in. Then, in October, I took my wood boat back to the marina for winter maintenance. The topic came up again, and this time Scott, the service manager, also talked about the 1962 Thompson.
This time I said I was about ready to start a boat of my own, so that them in a hustle to get first in line. Around November 15, Jay from the big office, brought it out to my house, and expertly backed it toward the garage door. The windshield would not clear the header, until we figured out that the canopy support frame was in the way. We rotated it down and then we backed her in with an inch to spare.

It filled up my shop, so I figured the only solution was to get to work. I picked up a 4 x 8 sheet of Okume Marine plywood, and some epoxy supplies at Johnson’s Workbench in South Bend, Indiana. The Mahogany came from Nisley and Sons east of Goshen.
The first task was adding an inch of thickness to the transom, on the inside of the boat. The existing framework required that the pieces be cut so I staggered the joints for the best strength. Each piece was glued in place and held with screws until the epoxy set up. The the screws were removed so there is no metal in the way of the future installation,, and each hole injected with epoxy.


With furniture old and new, occasionally a screw breaks off under the surface and hides contentedly. The most common fix is to drill another hole beside it and put a new screw in there. The problem is that either the new screw will pull the hinge out of square, or more likely, the screw will go in at an angle. Then the screw head usually sticks up, which can interfere with the easy closing of the hinges.
This time, I decided to fix it right and remove the half screw. I first drilled a 1/2” hole with a Forstner bit close the the metal shaft. Then, several 1/16” holes were drilled around the screw.

A little picking around it with a needle nose plier gave a purchase point, and I reversed the screw out of the hole. Voila!

After drilling more deeply into the hole with the same 1/2” bit, I cut a 1/2” plug from a section of walnut that matched fairly well, and glued it into place.


A little clean up with a sharp chisel, and a touch of finish makes as good as new, and ready for a new screw hole to be drilled. It’s just another one of those things buried into the construction of a furniture piece, that should never to be seen again. Sometimes the toughest test of craftsmanship is recovering from the inevitable and unexpected detours.


A recent project was a sofa cabinet which needed to be 8’ long. For the reasons of the long span, and the hope of it meeting the “hundred year warranty,” uncommon strength was necessary. The angled braces at the bottom give visual support, like the arch of a bridge, but they also stiffen the ends of the lower face frame, and make a wider connection to the leg.
For the best strength, wood joints need physical wood crossover. The traditional mortise and tenon joint is a thing of beauty and enduring function, when perfectly executed. But I chose the underrated dowel for most of the joints, which can imitate or exceed the function of the mortise and tenon in several ways:

Spiral fluted dowels
Below are two pieces of face frame, with the holes drilled and dowels just glued in. The good fit shows a small amount of glue pressing up and is cleaned off before it sets up. By the way, the knot was not going to show, but it seemed worthy of replacing with a solid plug. Maybe some day when it is moved, it may be noticed on the inside of the bottom face.

For drilling the holes, the best helper tool I have found is the Dowelmax. It is adjusted by adding washers to move the dowels farther from the edge, and I also use spacer sticks like the one shown on top of the walnut leg. This allows very accurate repeat positioning for each part of the process.

By patiently laying out the joints, and positioning the jig carefully in place, very accurate results can be gained. Then, there is the important sequence of gluing, so that all of one face is completed before adding sides. I always dry fit each joint to make sure it goes together as planned.

The last glue up step is the most nerve racking, as the second entire end must be clamped to front and back face pieces. The length of the cabinet required use of two clamps hooked together in a couple of places.

As I remember it, the sharp, shiny steel and black pocket knife showed up at our house on Myers Avenue when I was about 8 years old. To this day, I am confused about where it came from, but my Dad showed it to me around my birthday and said it would be mine to keep when I turned 12.
Photo of my present Pocket Knife

My dad never went hunting or fishing, so I didn’t think the knife was directly from him. The main tools he had were for gardening or some house remodeling. Once, he let me help build a dog house for our new puppy.

Photo of dog house, my sisters Margaret and Mary, and Brother Joe and our new puppy, Murphy..
Most likely, the pocket knife came from a sale when my Liechty Grandparents moved off the farm to Brussels St. in Archbold, Ohio. In any case, it was a great reminder of him, because with around 45 Liechty first cousins, I didn’t get to know him real well. He always seemed bigger than life, and then he passed away when I was 7.
Unfortunately, having seen the knife and knowing it was forbidden fruit, caused me to poke around for it on occasion, when my dad was at work. Voila, one day I found it in the back of Dad’s dresser drawer, in a fine little cardboard box, wrapped up with tissue inside.
I didn’t see any harm in carefully taking it out and admiring it, but before long, I wanted to see how it worked. We lived beside the woods along Yellow Creek, and so I took it along exploring, practicing carving as I went. The spear point went well, but the sling shot required a special pull stroke.
Since this had been an unauthorized, private adventure, I did not get the basic education in carving, especially Rule No. 1: Never, never, never carve toward yourself. The knife slipped and cut to the bone at the base of my right index finger, which produced an impressive amount of blood.
I had to hustle in to the house to show mom. She bandaged it and mentioned that Dad would be coming home soon. The pain of the injury was exceeded by the spanking, but I still love pocket knives.