Before the hull planks go down and create the beautiful curve shapes, the interior frame work has to be ready for the hard work. The boat must be built strong enough to be lifted by three points, one in front and two from each side of the stern. It would be a grand shame to see the boat chained and raised off the temporary trailer, and watch it drop from a failing U-bolt.
The same area in the back will also needs strength to hold a ski/tube rope, and tie downs to the trailer when traveling.
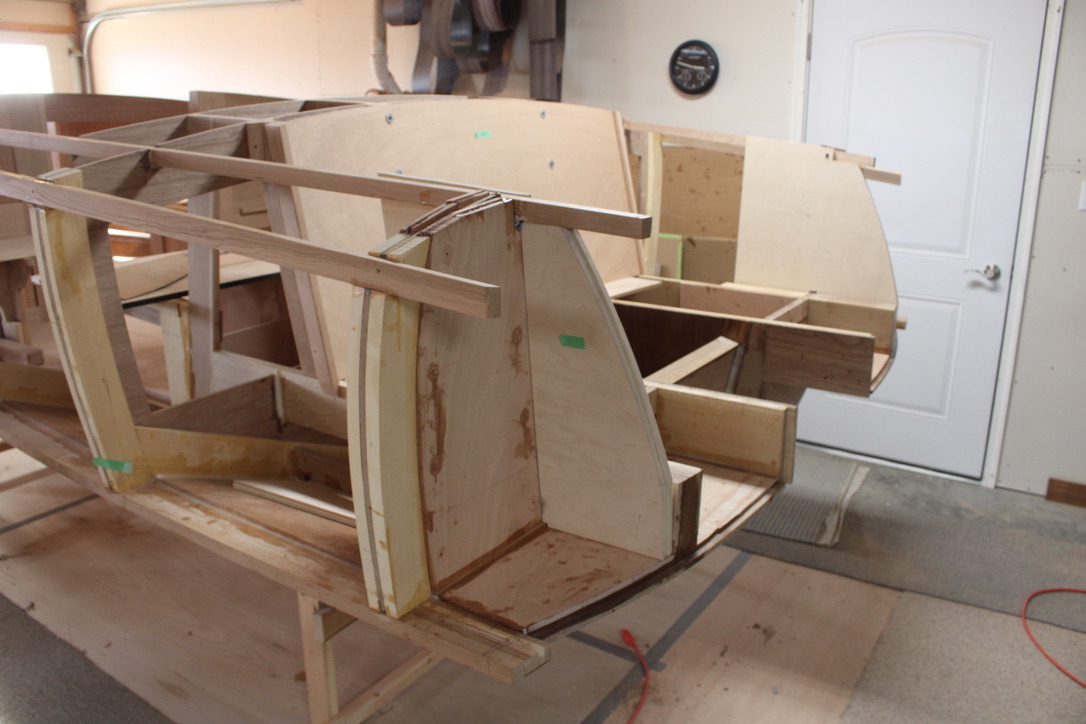
The top of the back cross frame has been cut off to make room for the motor well, but the remaining C-shape sides are the most obvious place to begin building strength.

More plywood layers were added on the inside and out, connecting the top and bottom to make a strong outer panel. They are bonded with epoxy which is very tough and does a better job of filling gaps than most other glues.
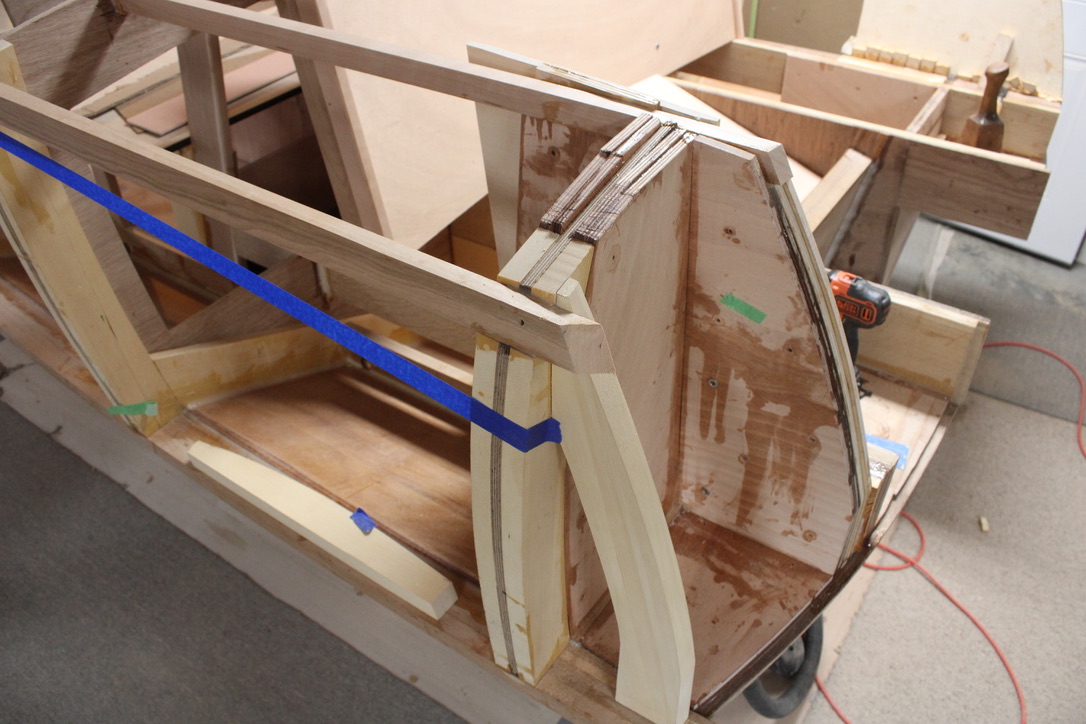
If I had planned perfectly, the outer longitudinal beam would have been right up against the glued layers. But instead, the deck needed more space for the folding ladder, so I had to add some filler layers.
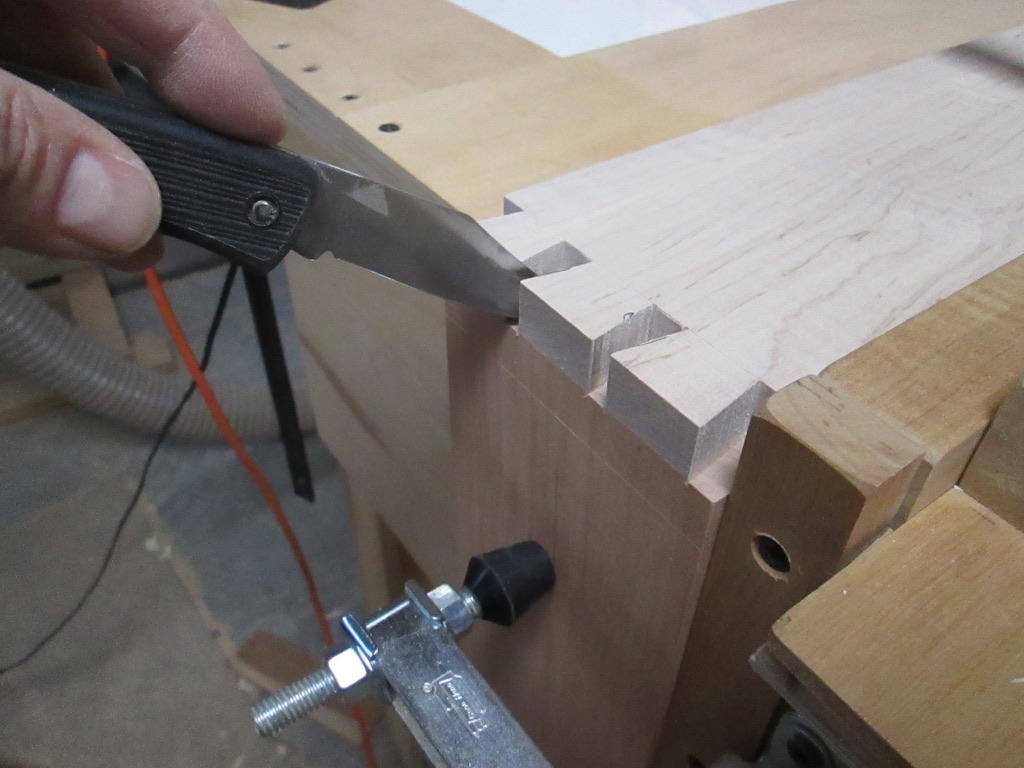
To fill the gap, I epoxied the marine plywood blocks to the long beam. The speckled markings are shallow holes drilled to allow the epoxy to grip a deeper layer, and resist a shear sliding force.

Next, another plywood panel was constructed beside the longitudinal beams. It is beginning to show the 3D shape of the stern extensions.
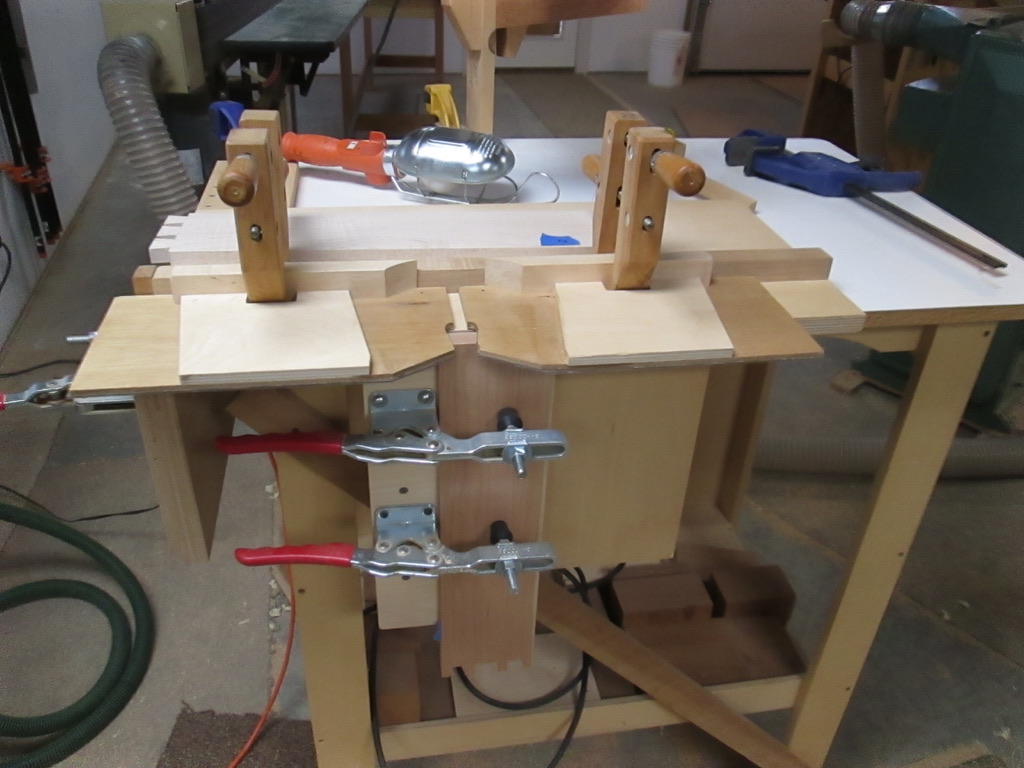
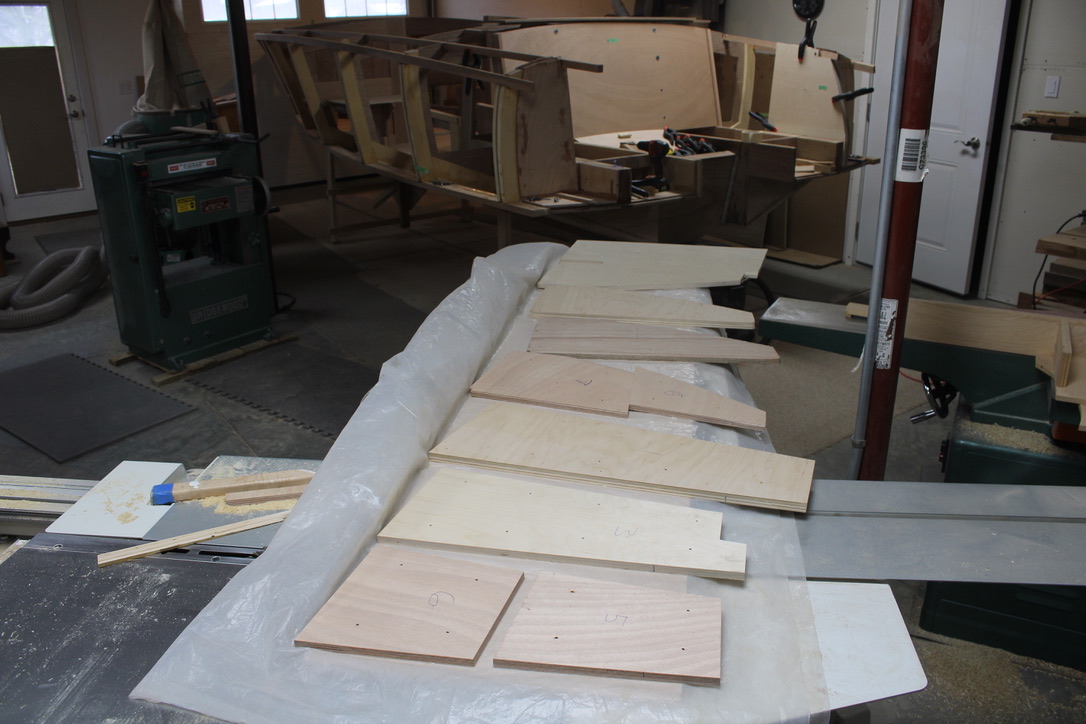
This is the group of eight plywood pieces that went into making the left (port) side wall. The right side was about the same. It did get a little complicated. The morning that I planned to glue both sides turned into a whole afternoon and made me late for supper.
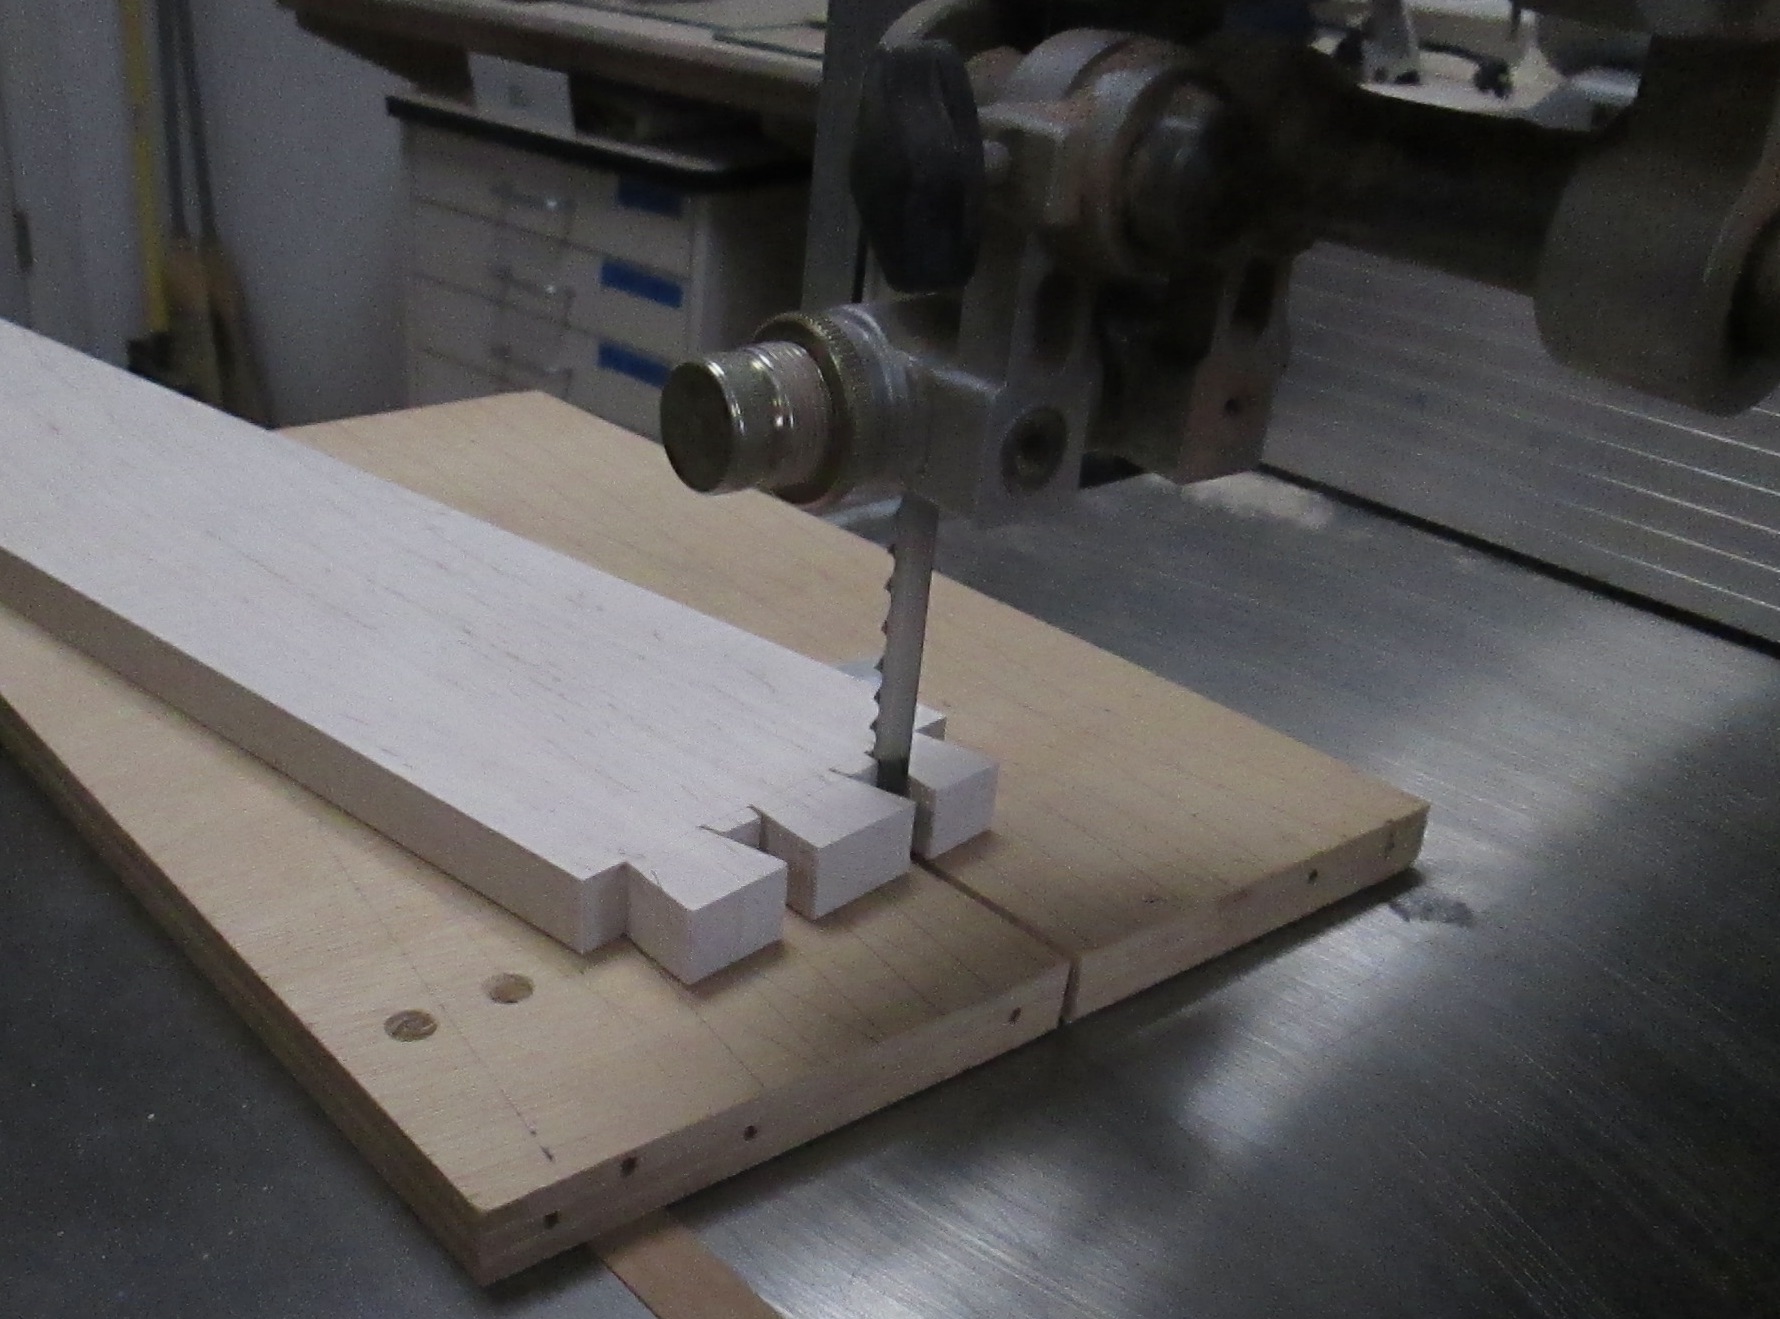
Since the middle wall was slanted out, in the way that looked best to me, I had to make some perfectly angled wedges to glue in the gap.
They were made from a Douglas Fir 2 x 6. By angling the cross cut fence and flipping the board over each time, eventually I found an angle that worked great.

Since the wedges were cross grain, when I applied the epoxy, it soaked in to the large pores and (I believe) became a very strong wood and epoxy link.

If this was a production boat, I suppose some testing would be in order to see if my seat-of-the-pants engineering worked out. Especially since the last time I took the 2016 wood boat to the dealer for motor service, they told me that the transom was cracking.
Now this was a surprise, because it has always been a concern. I do inspect on occasion to see if that last big wave or the bumpy railroad tracks, may have crossed the limit of the transom’s strength. So, I asked the mechanic to show me the problem area, and he pointed out some cracks on the back stern panels , not really a part of the motor mount area.
It is annoying but fortunately not serious, as the issue is sun damage. The mahogany veneer is developing small cracks because it was less protected under the boat lift canopy. So, with no major engineering failure on the previous boat, I take it as my cue to carry on. Inspectors Jeff Margush, Don Florea, and Andrew Alger will be relied upon to set me straight.
The stub cross frame now has five half inch marine plywood layers, and the longitudinal panel has three layers.
Slowly, slowly, the work on the inside frame is getting done. It gets tedious, and without glamour, to put some pieces in place that soon will never be seen again. But when the big waves and bumpy road comes to stress the pretty boat shell, what’s inside gets much more important and obvious. It is like a life well built.