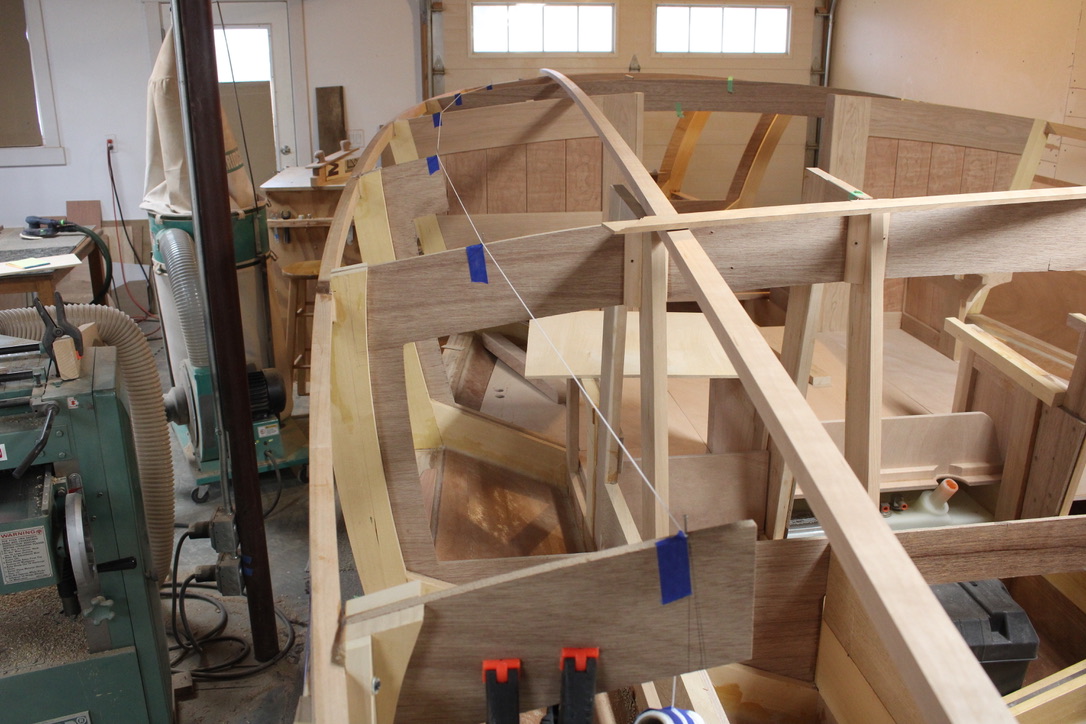
The outside deck line is created with the 1″ x 1.5″ long molding called the sheer line. The next step is creating the inner trim line which defines the deck and the seating space. The blue tape seen below left is first visual experiment.

For the molding, I picked a 12 ft. piece of straight grain cherry. Granted, it is not the world’s first pick for boat building wood, but it is available, of medium density, and works superbly. I also had plenty on my wood rack so I decided to “shop local.”
To make a 22 ft. continuous molding, I had to splice two pieces with a 20 inch long scarf joint. It goes the full distance of the paper below. By making it long, it allows basically the same bending characteristics as the other solid pieces.

The left side is shown with the long molding ready to install. The nails and string show the refinement of the line, and allows a visual inspection to see if it follows a regular or “fair” curve.
It passed muster and served to position the cutout notches. They were cut with a hand saw, chisel and rasp, as needed to seat the molding the right height and along the curve.
The most difficult notch was the front, which did not go all the way through. I cut as far as possible with the Japanese pull stroke handsaw (bought at Menards).
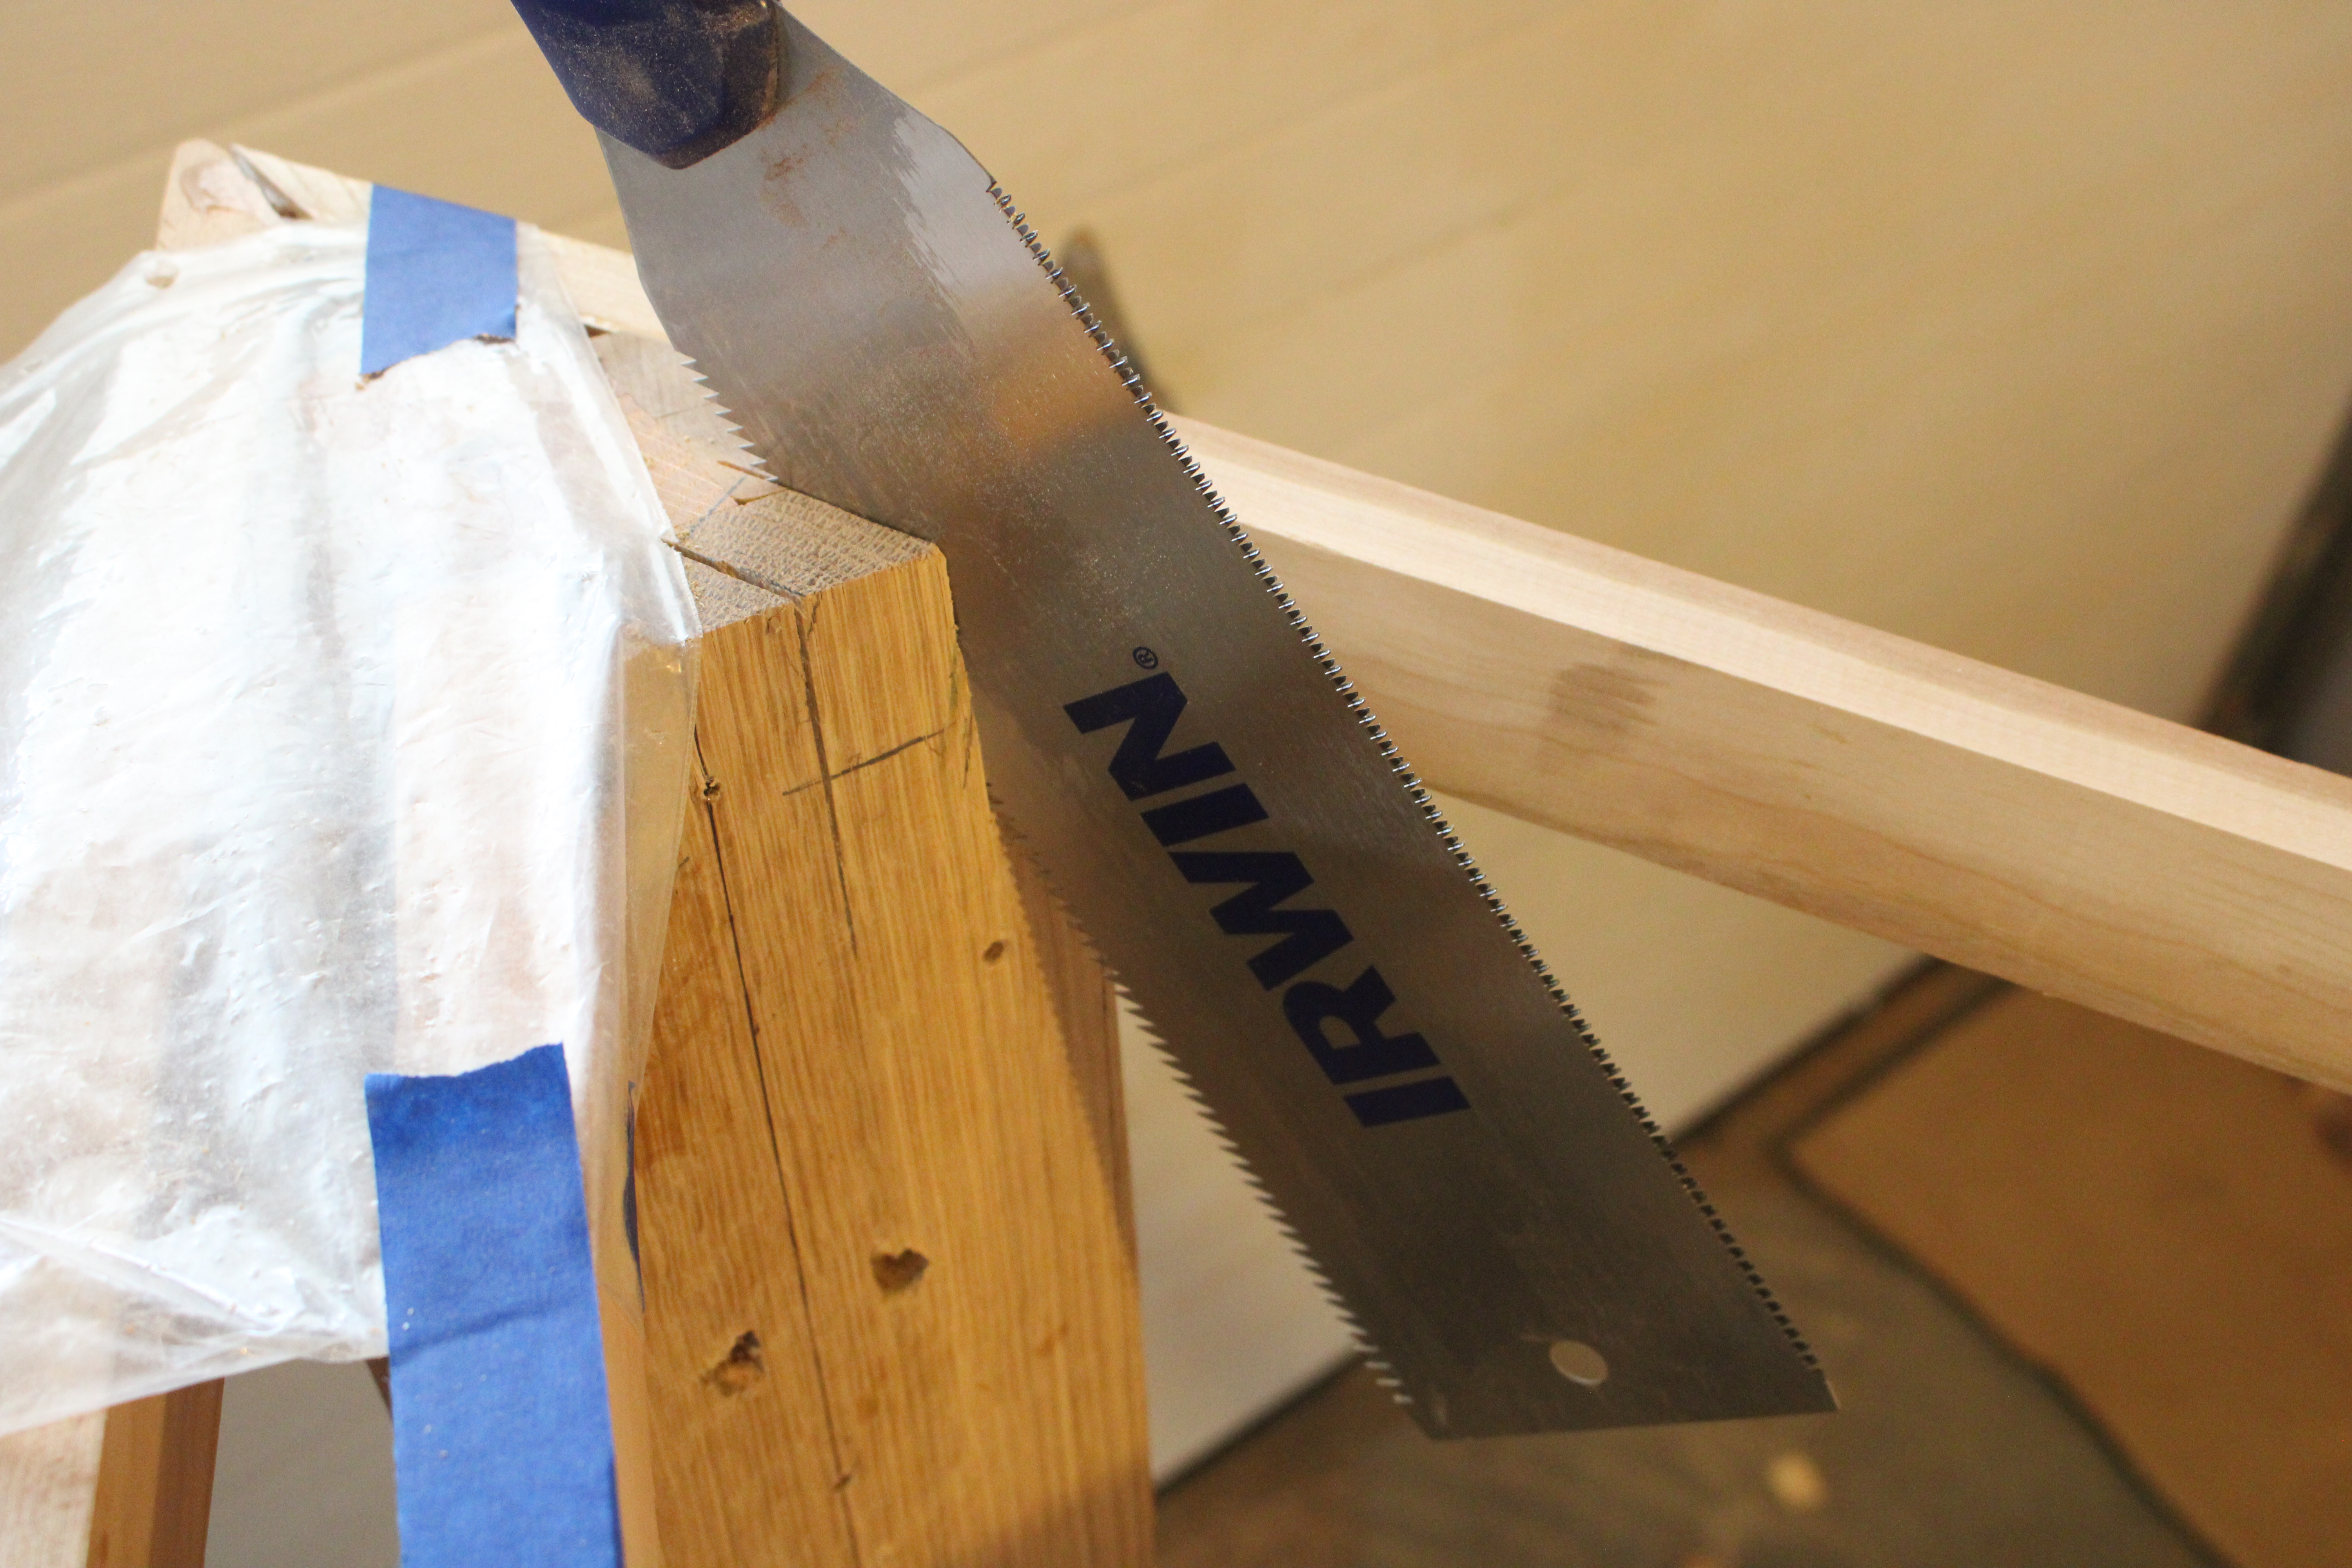
Necessity is the mother of invention, so I figured the drill might do as well as hammering with a chisel on the white oak front frame.
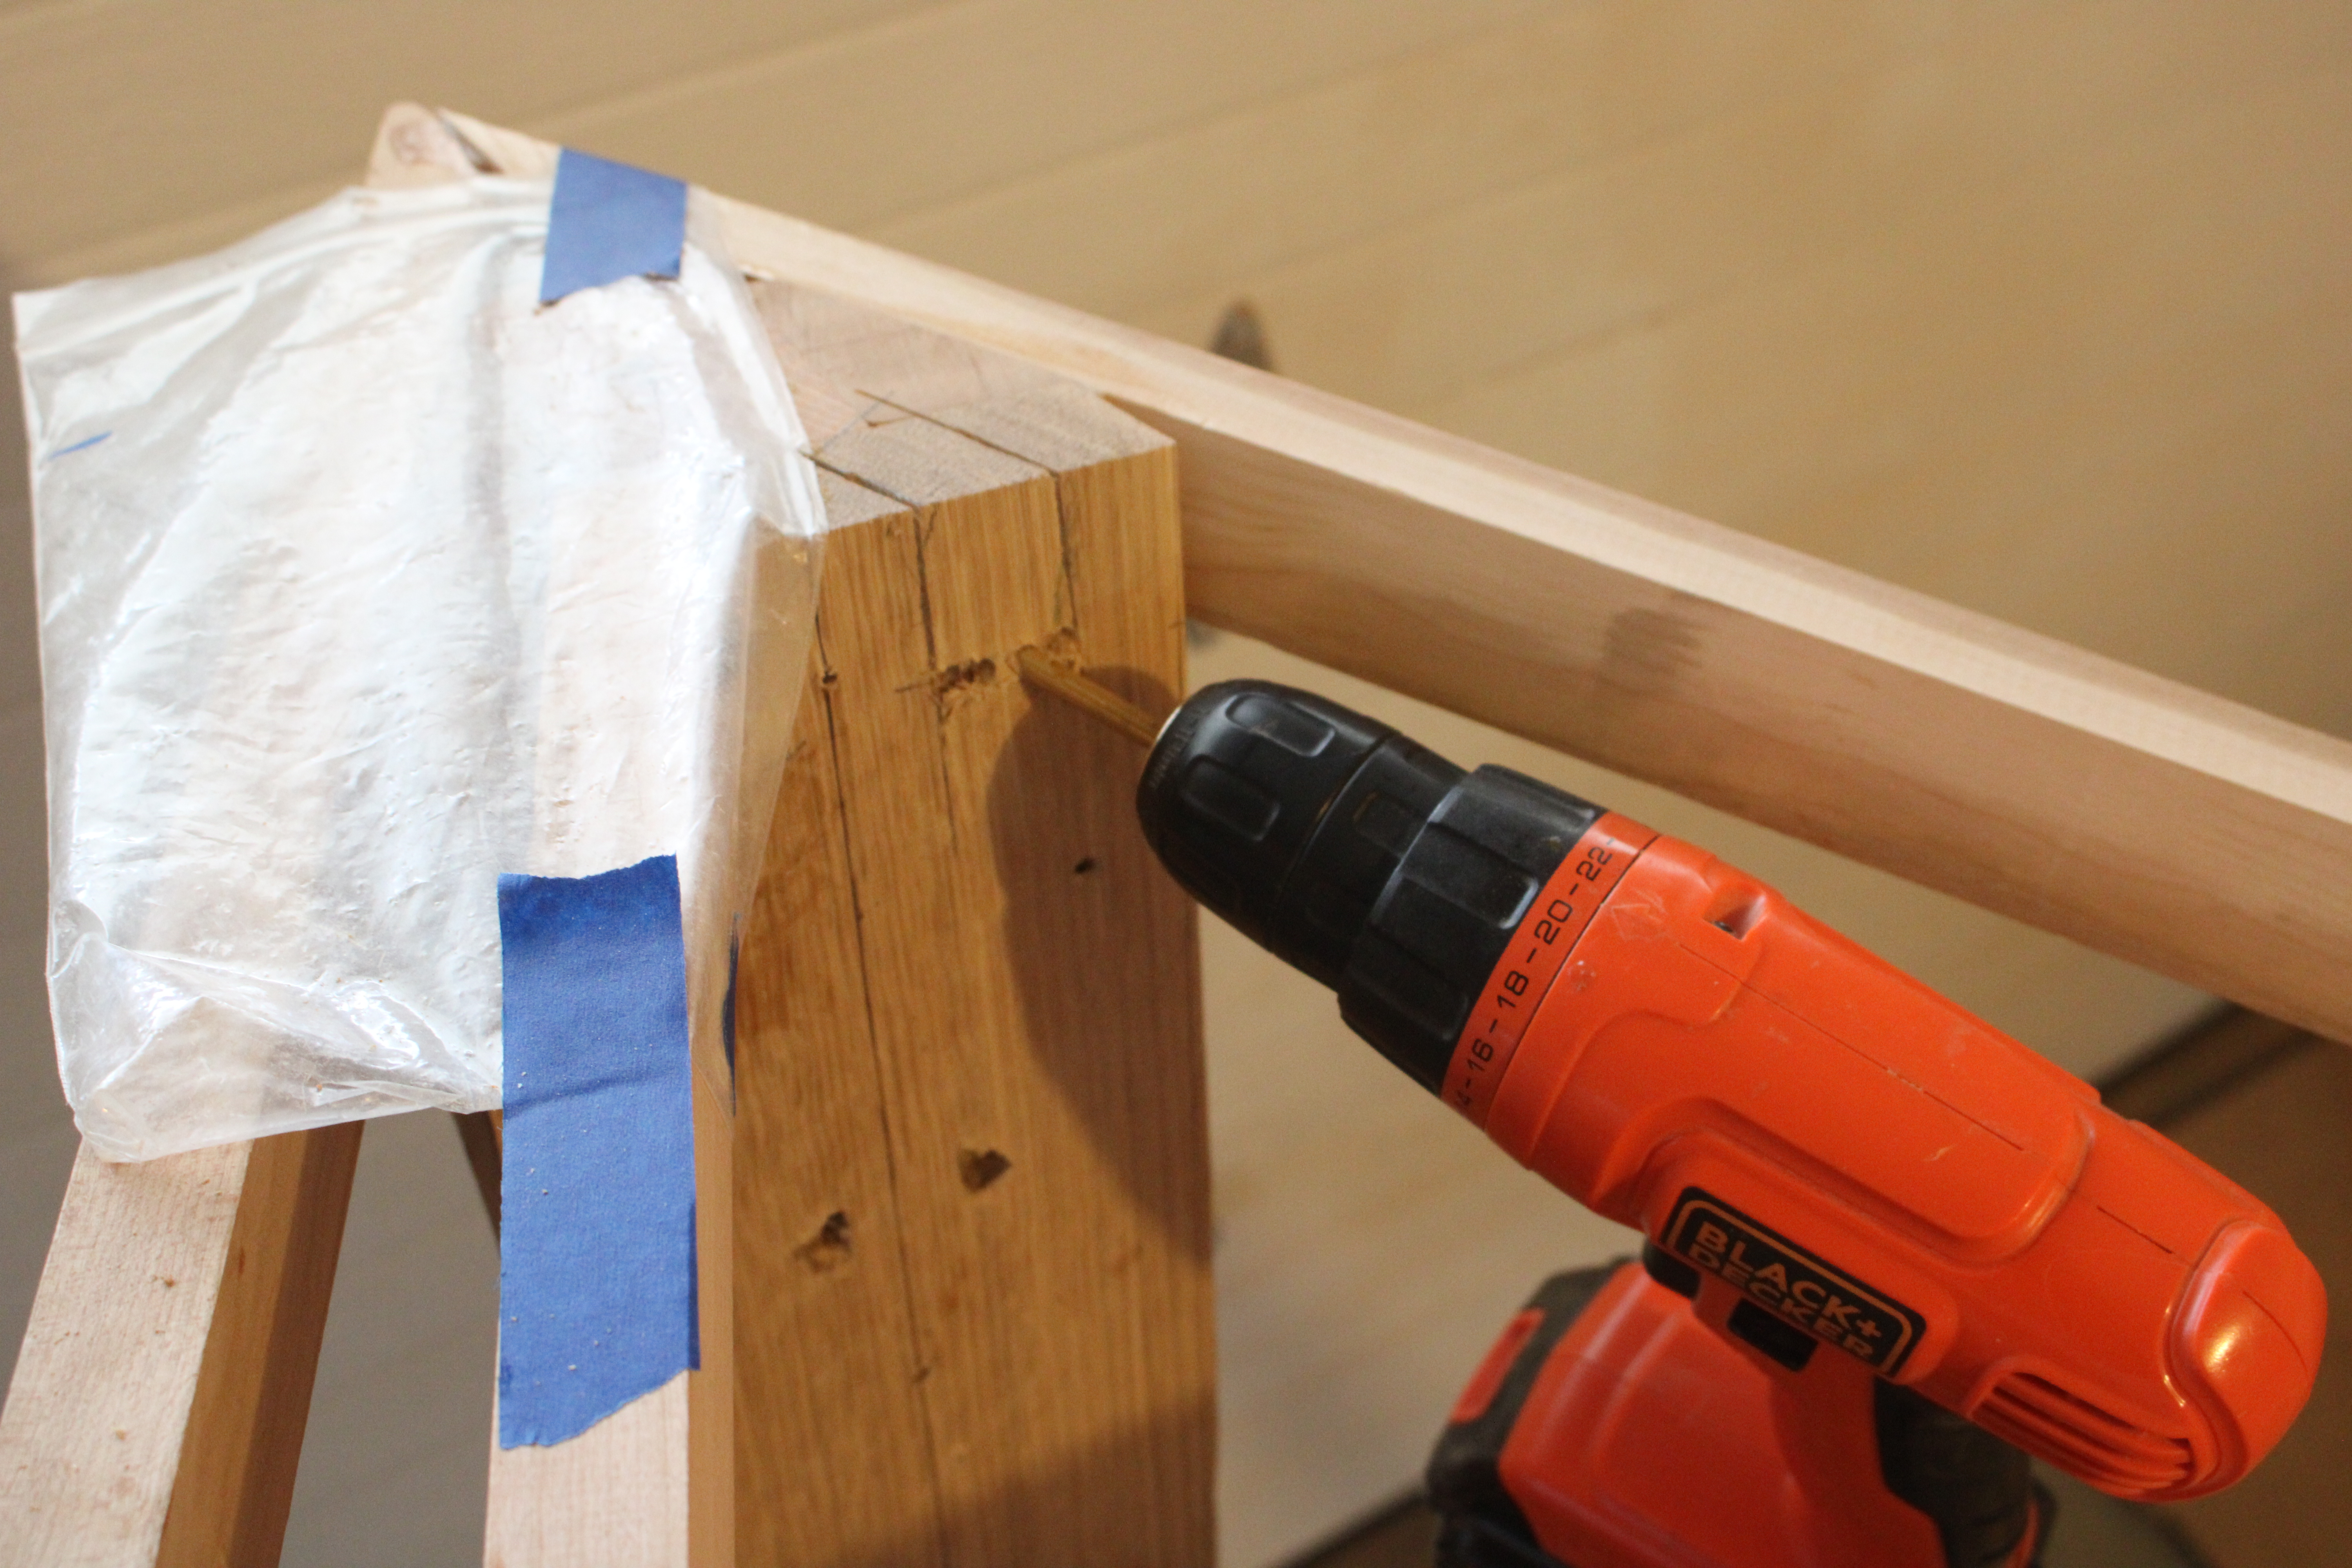
Then a bit of the easier vertical chopping to take out waste.

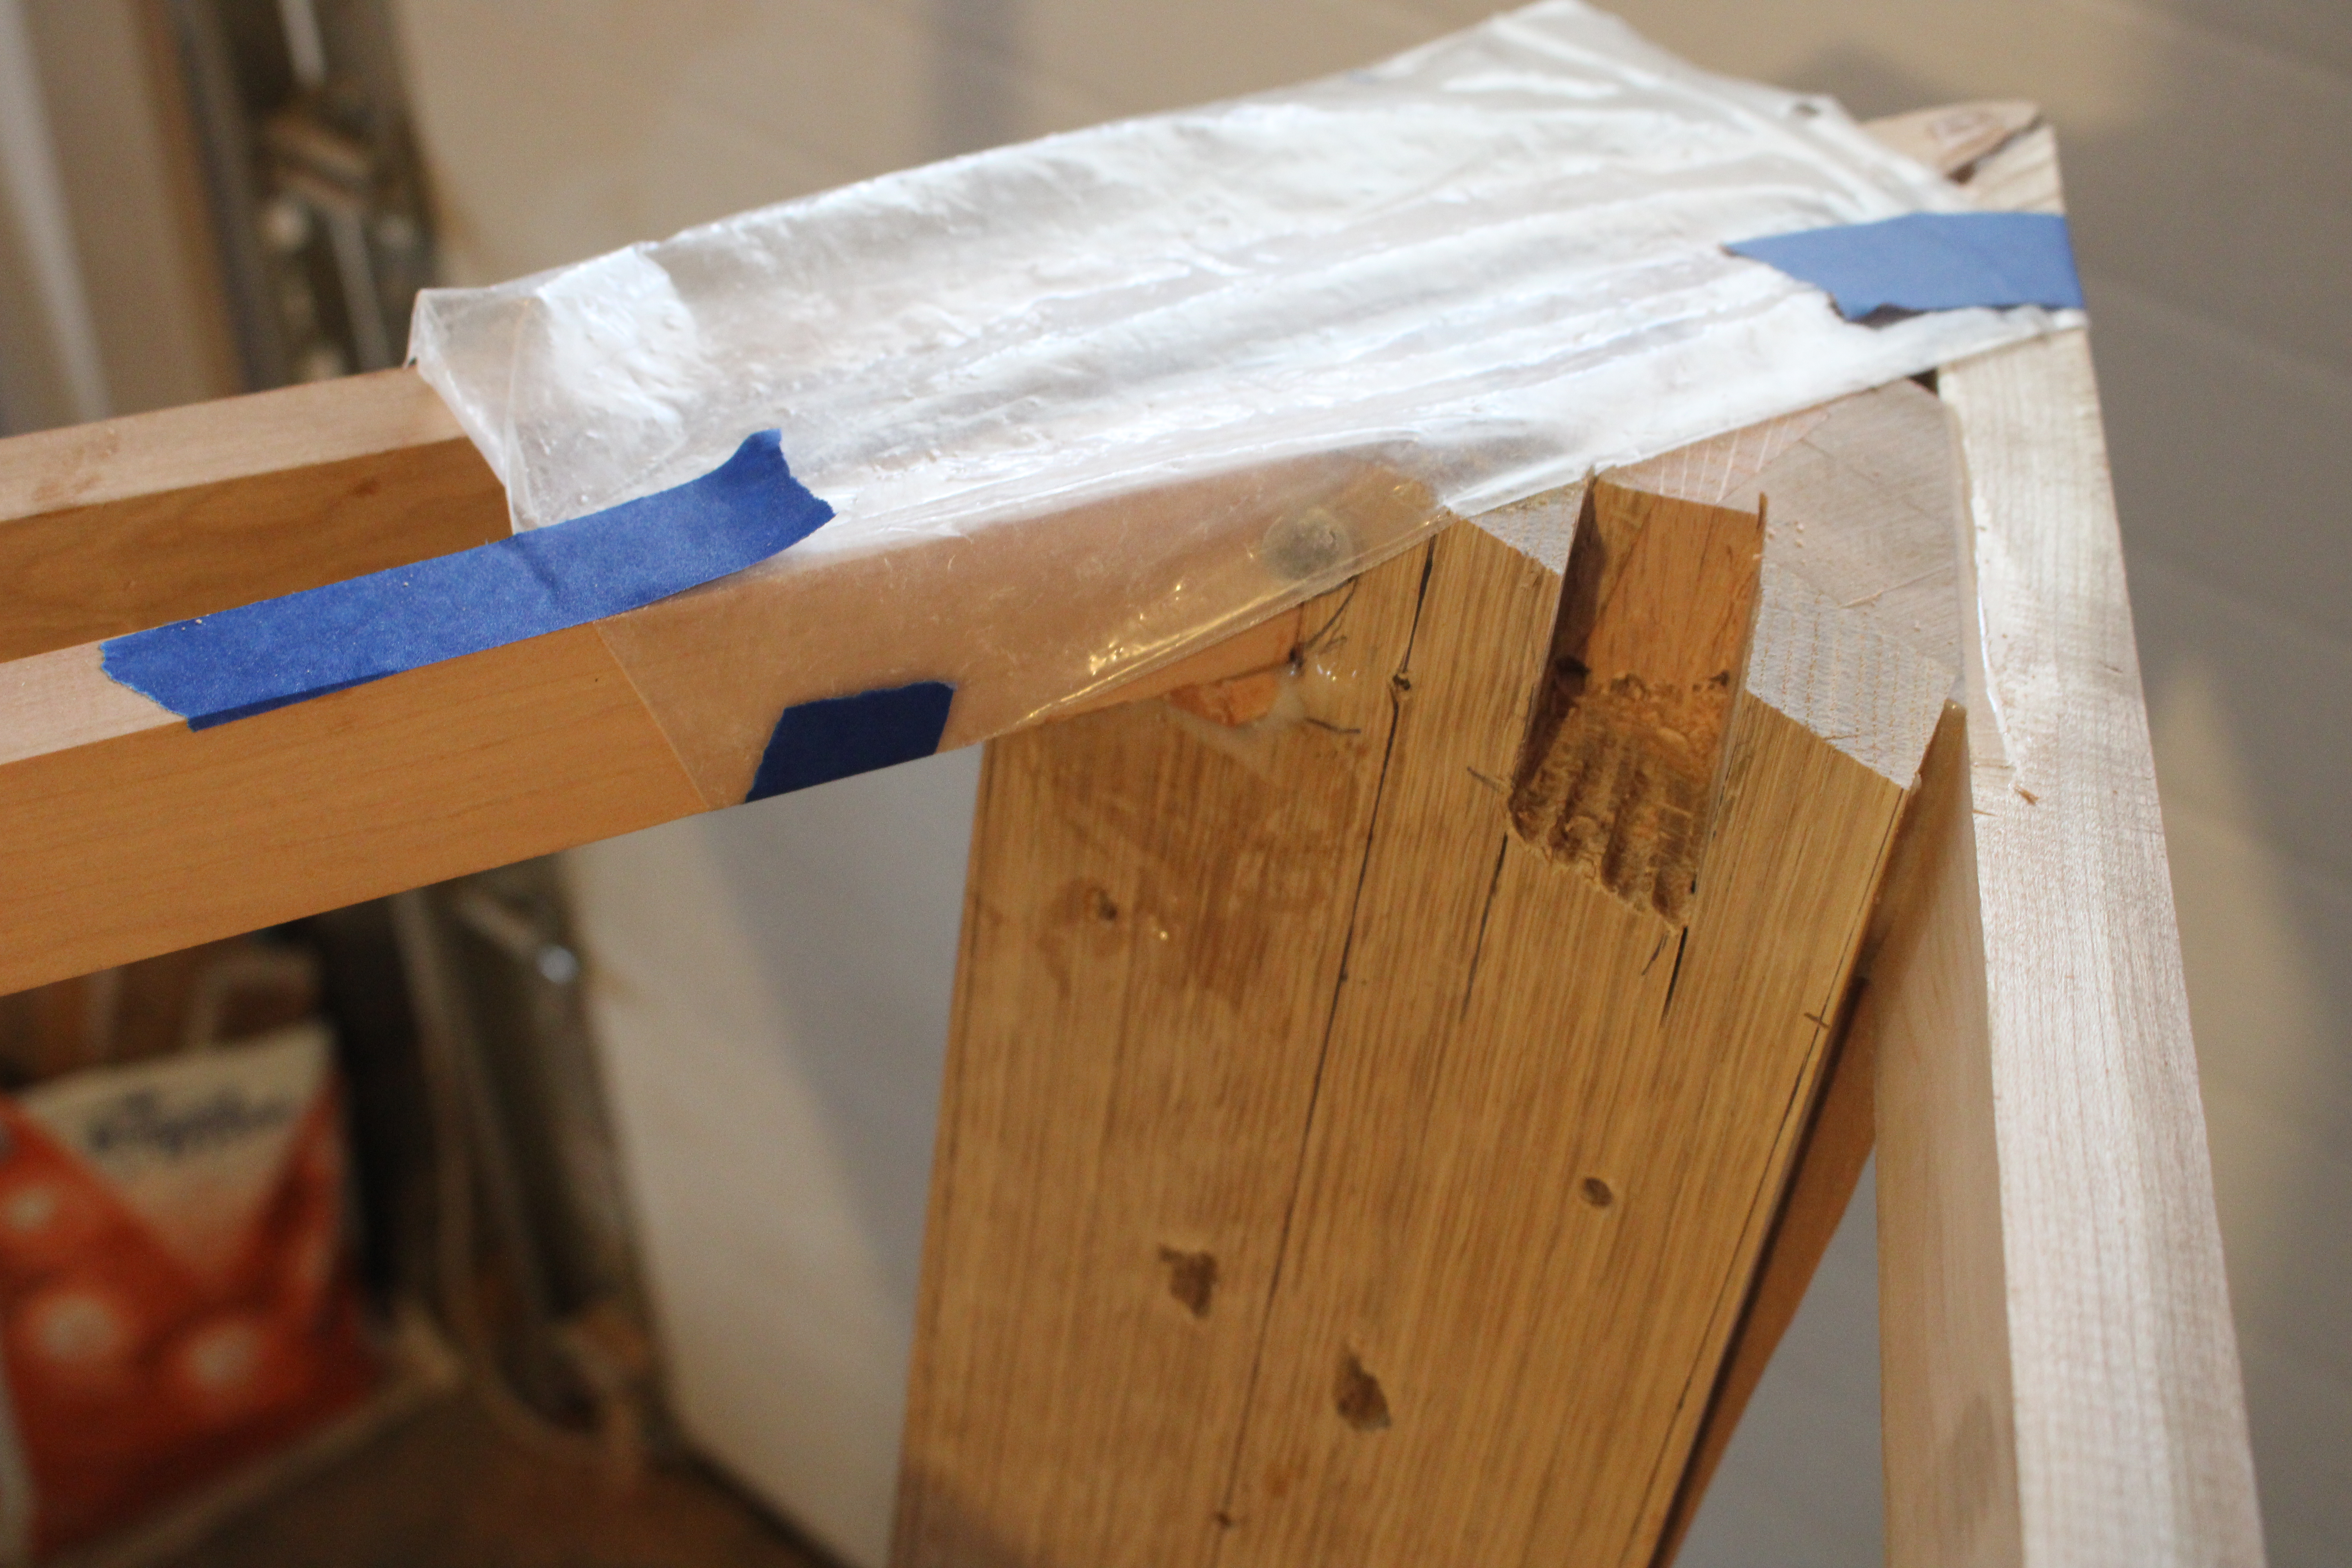
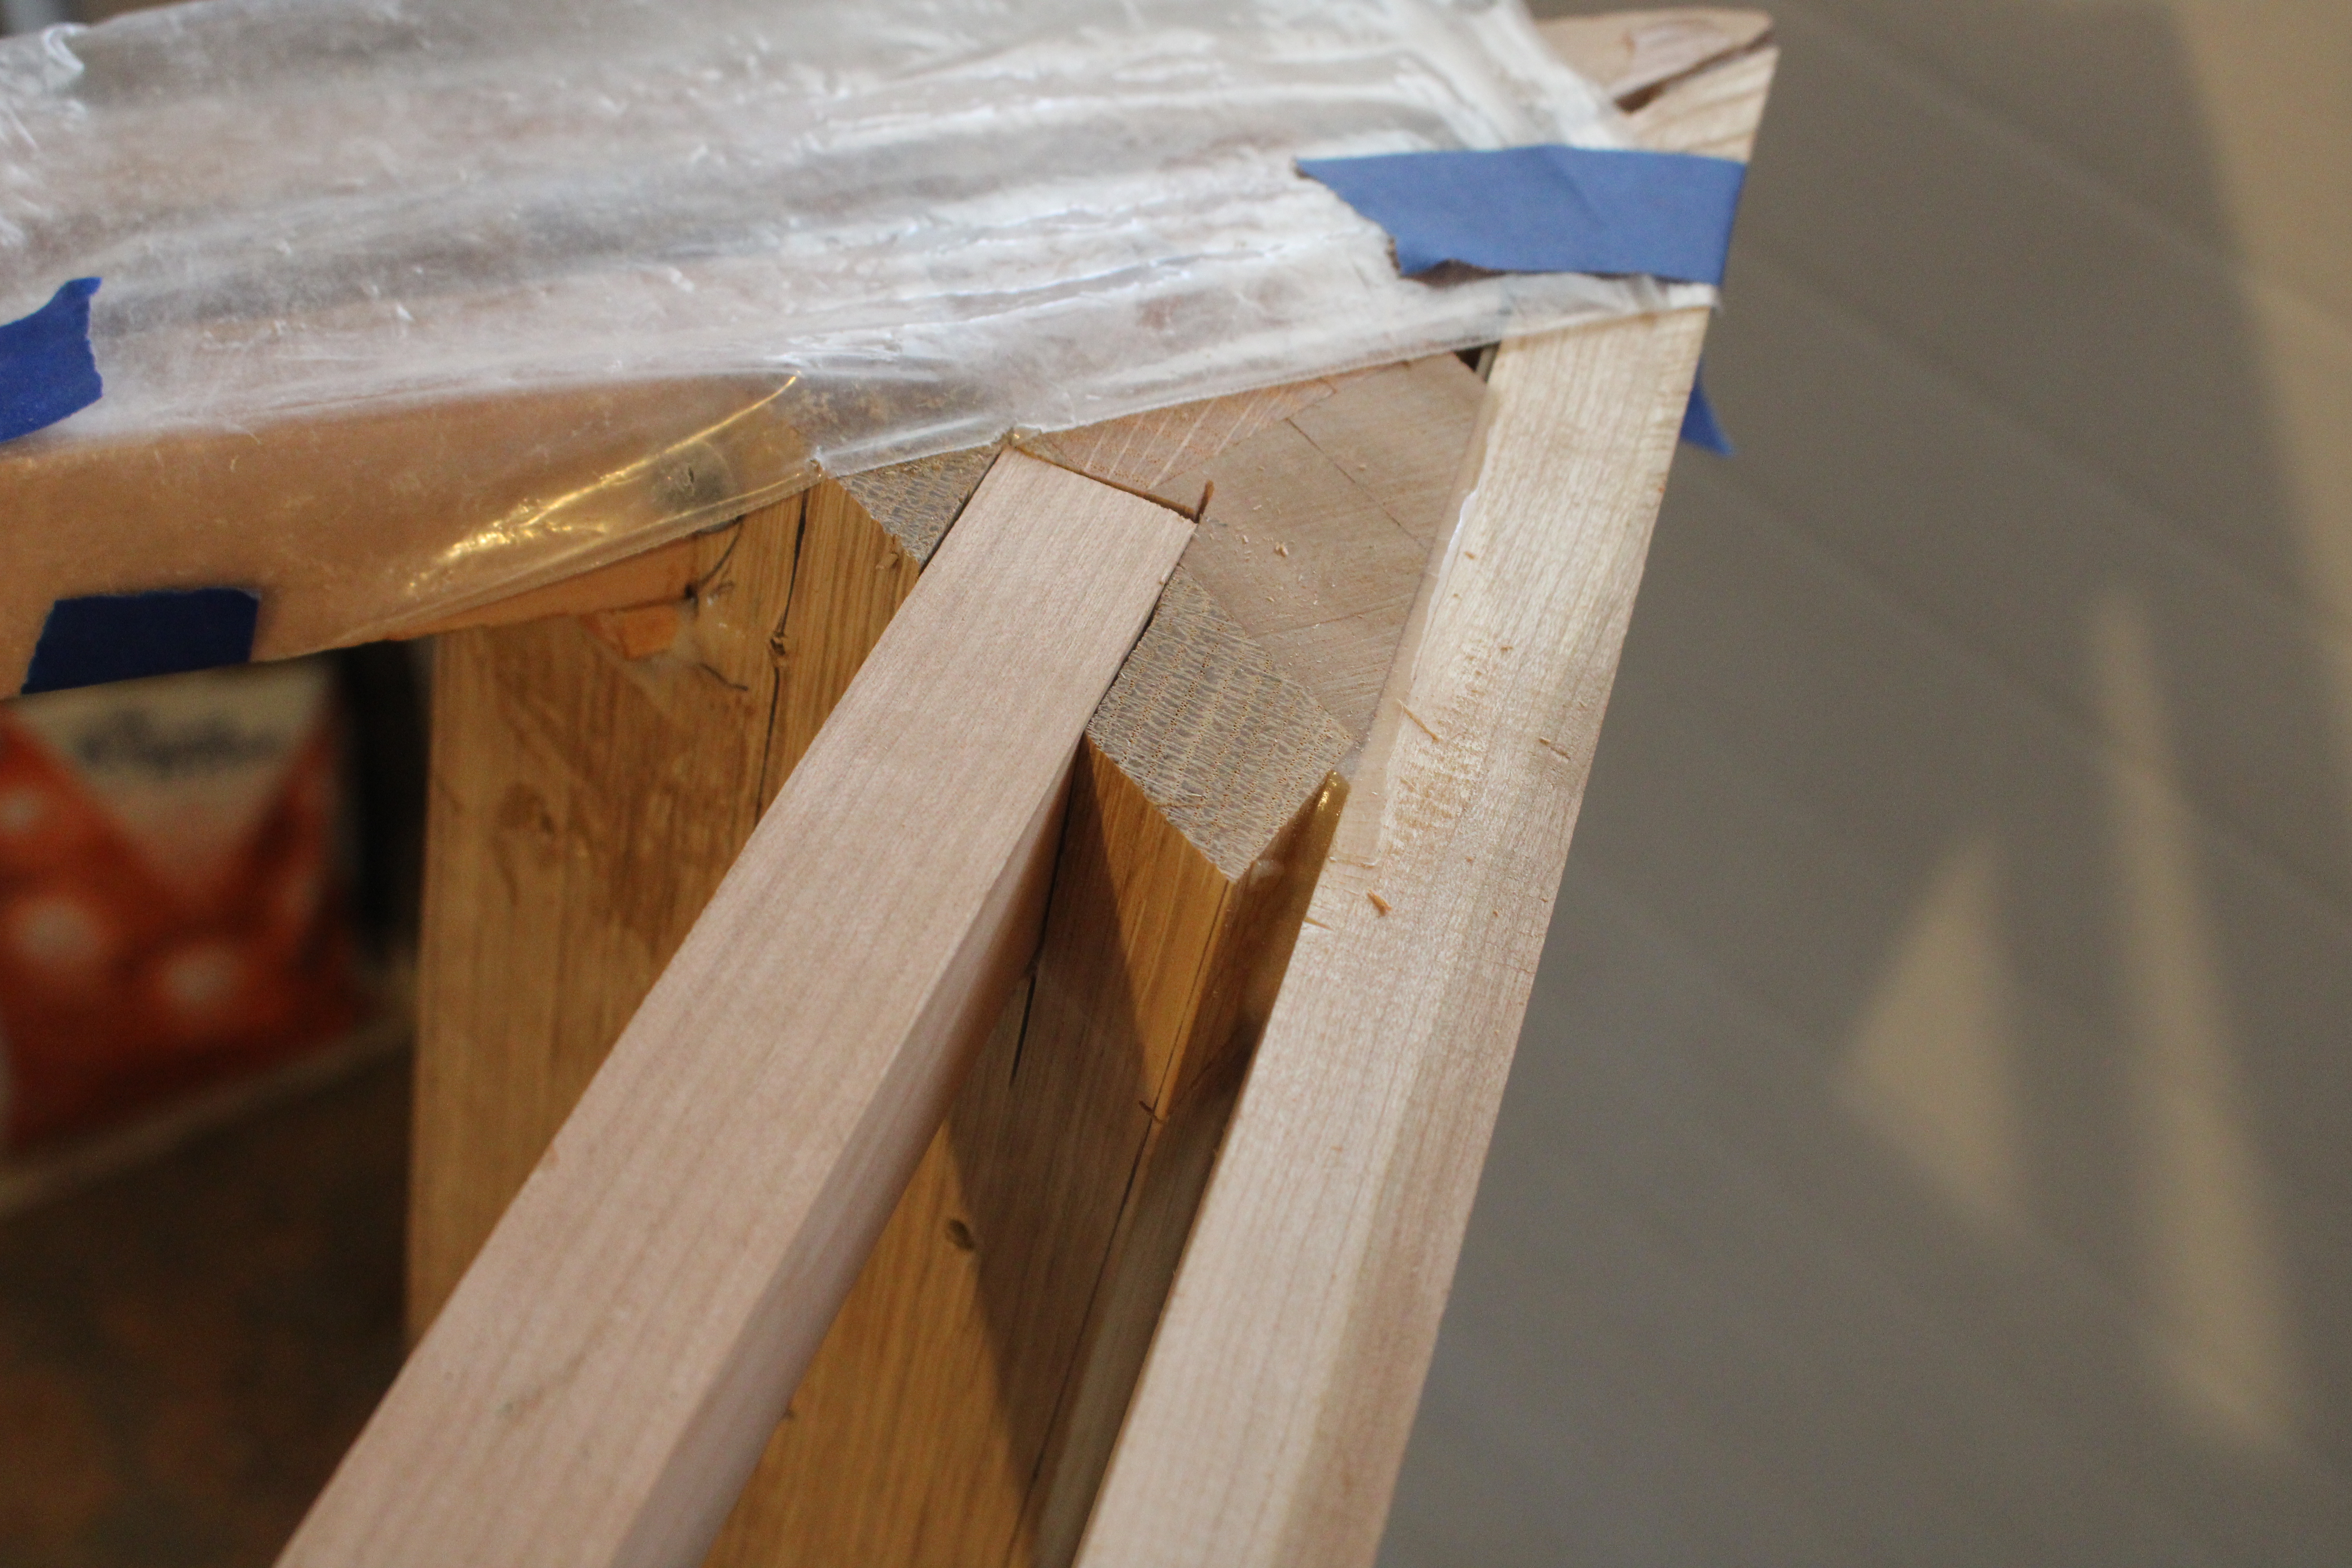
And the half mortise was ready to final fit.
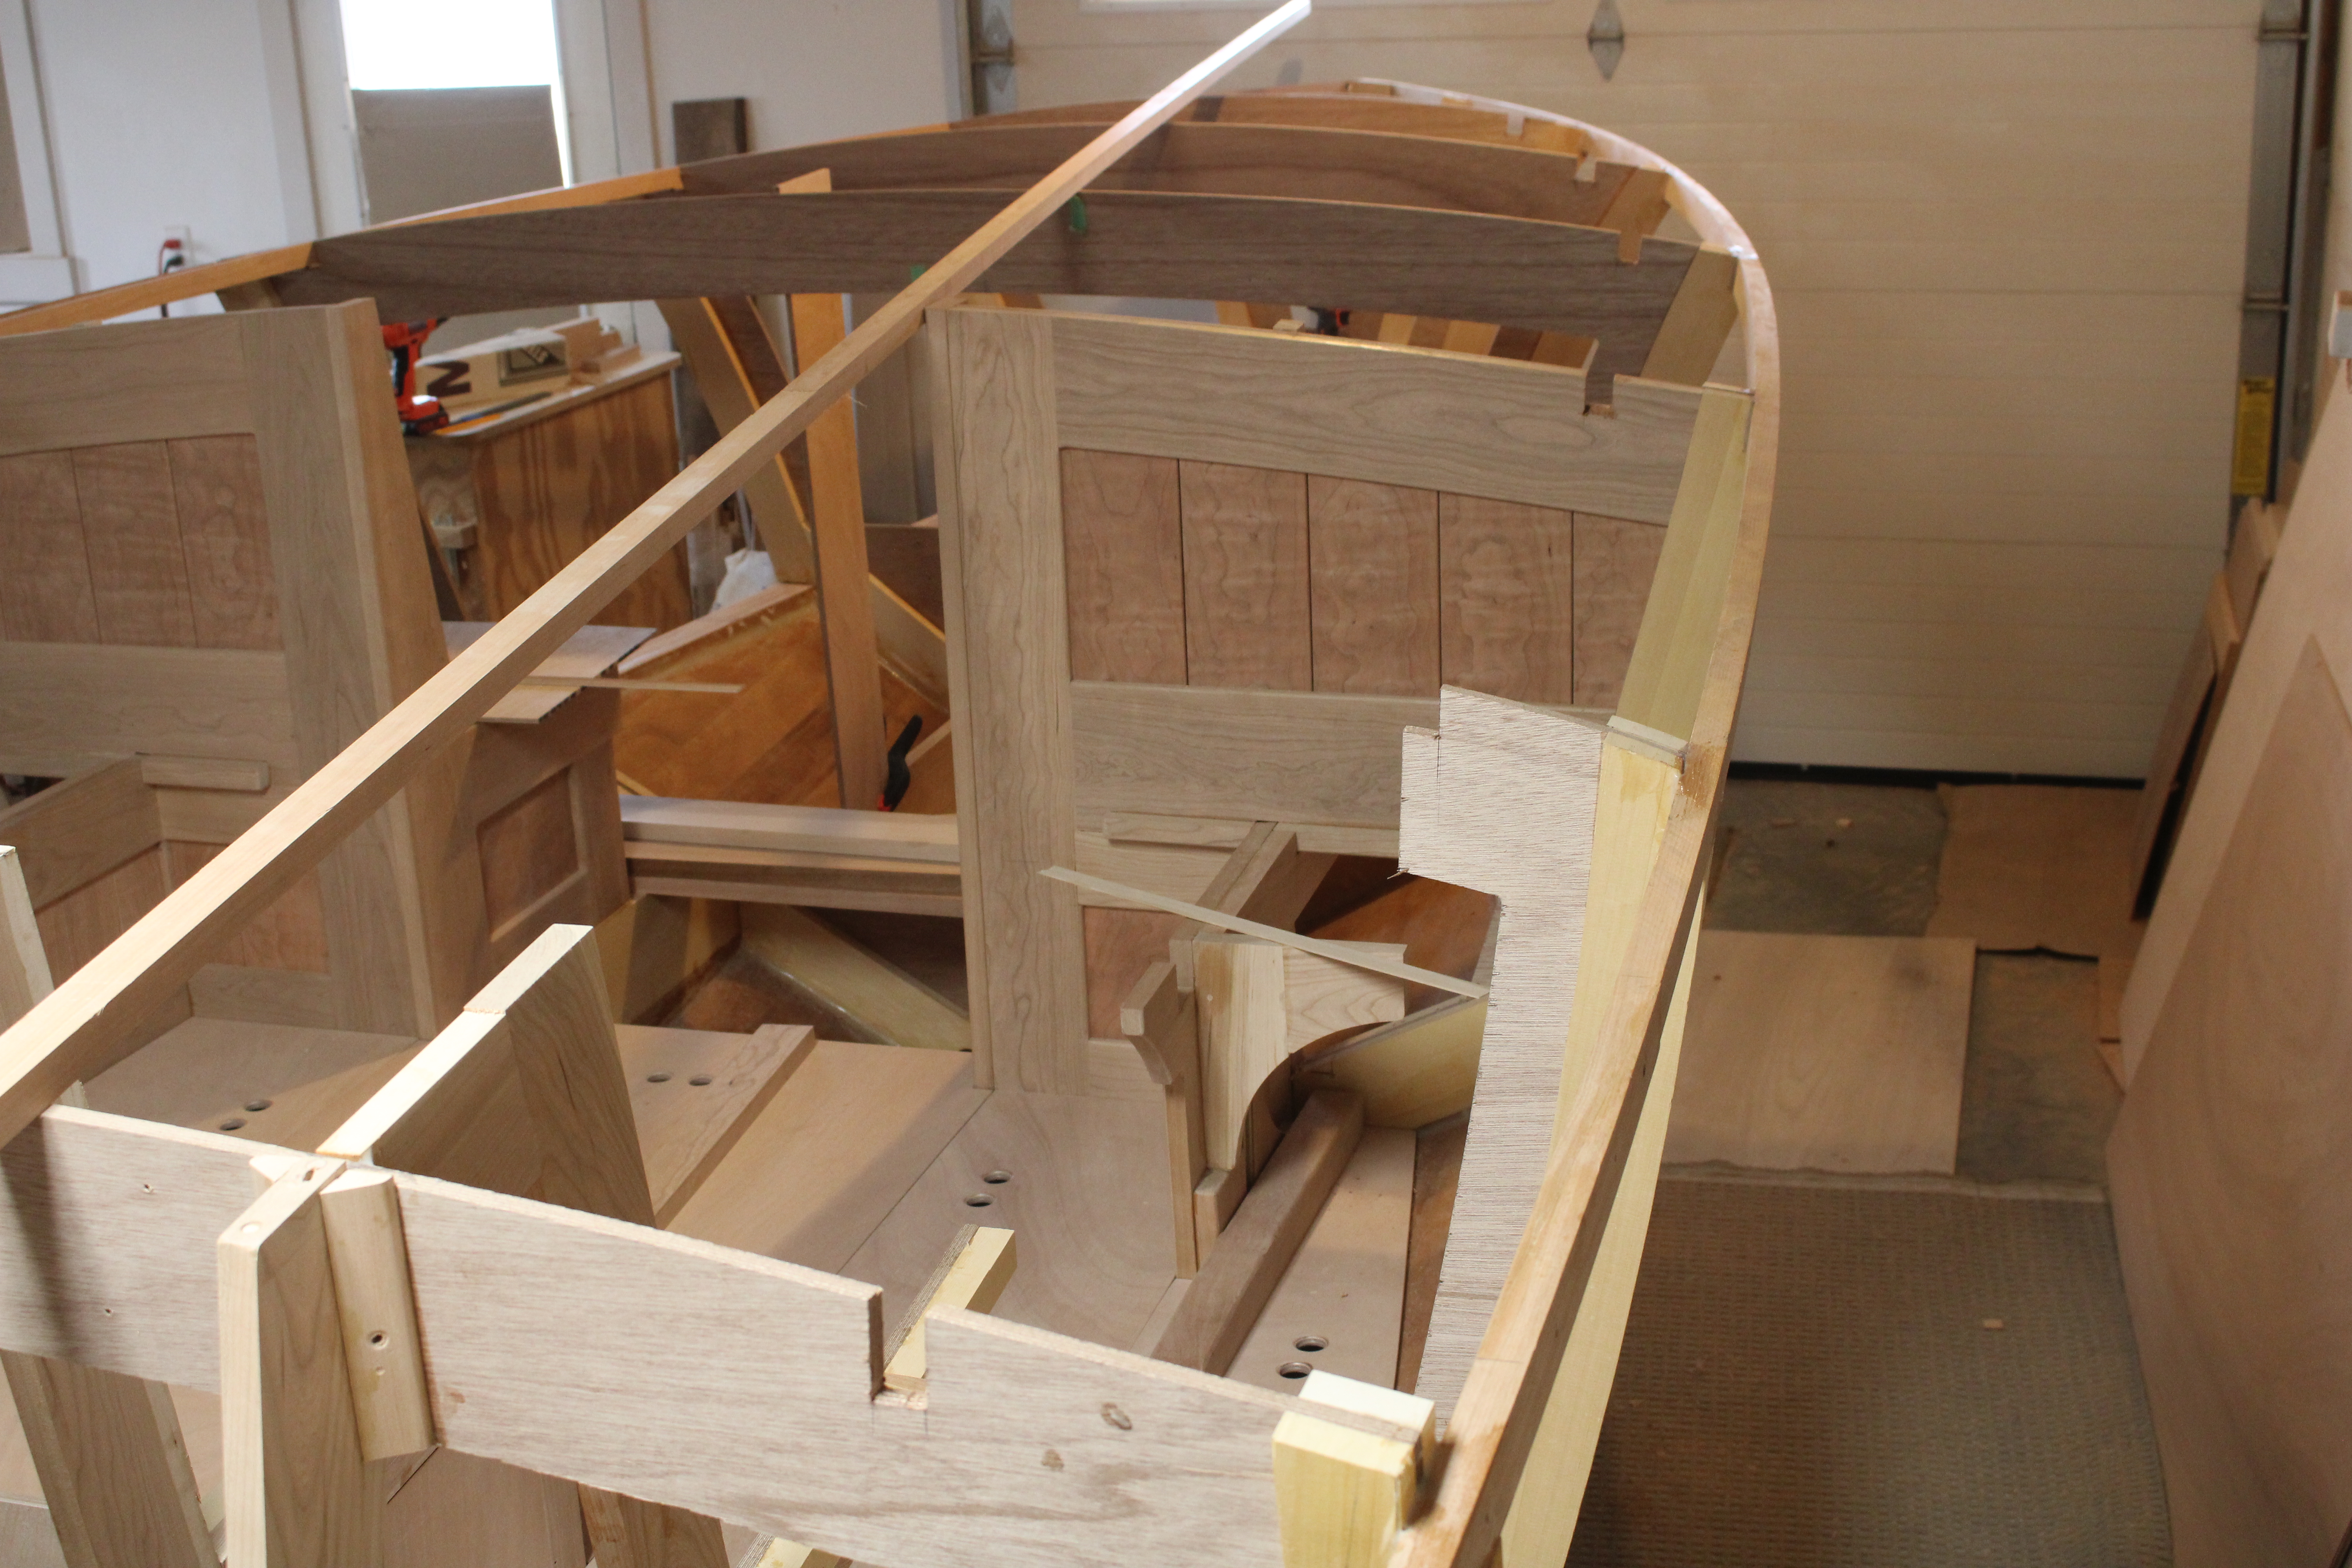
After the curve of the entire runner was micro adjusted to suit the eye, it was bent into the notches and bonded with epoxy. It becomes a visual line and a strength element, and the structural organizer for all of the interior spaces.
The umteenth step of the impossible journey is done but a seemingly endless list awaits. Tomorrow . . .