Repairing the Hull

After turning the boat over, back to upside down, it was time to give attention to the final shape of the bottom. The first task was to close in the back holes where I had extended the stern sides to fix the front-to-back balance problem. It was more fully described in the post Roadblocks.

I needed to add hull plank pieces to join the ones that were cut off at the previous end of the stern.

unnamed

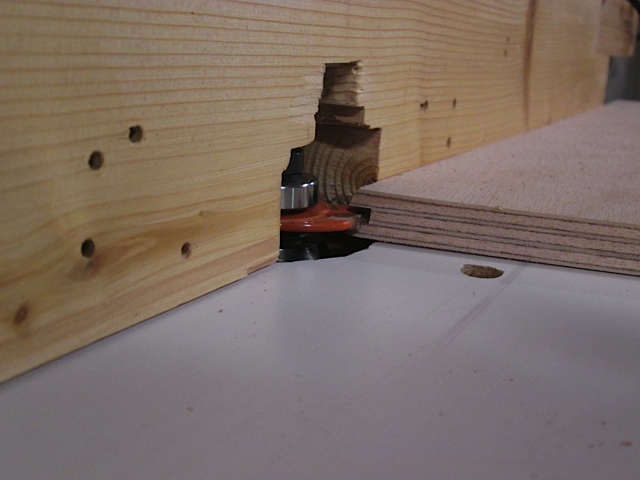
The first bit of preparation was cutting an angle on the existing hull shell to spread the adhesive over a larger area and strengthen the future joint. I used a 1:8 ratio, cutting a 4″ scarf on the 1/2″ piece of marine plywood. The best way I could figure out was to make an angle jig for my router, which produced a fairly consistent surface as I moved it up the line.

unnamed-1

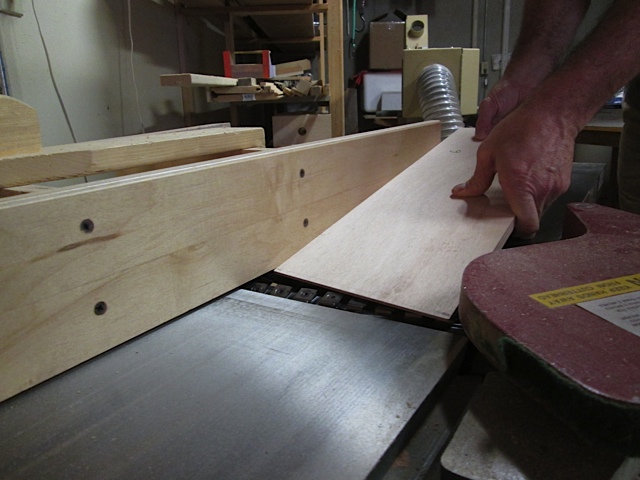
The replacement pieces were not very large, but difficult because apart from the parallel sides, no other angle was square. I first cut the plank to width, and then took it to the bandsaw to free hand a rough angle cut. This is not so safe, but works out well if you hold the piece steady and don’t change the angle much.

unnamed-2

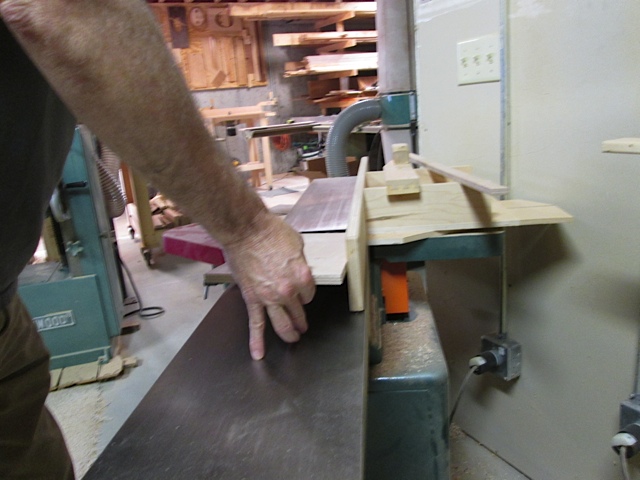
This cut defined the end that would fit against the existing hull, so then I took it to the jointer to cut the 1:8 ratio scarf. This could be done with a hand plane, a belt sander, or router but I decided to experiment with the jointer, for its precision. This is definitely dangerous.

It must be done patiently, a small angle at a time until the full angle is cut. After a few trial cuts, my extended finger eventually gave the right finishing angle.

unnamed-3

unnamed-4

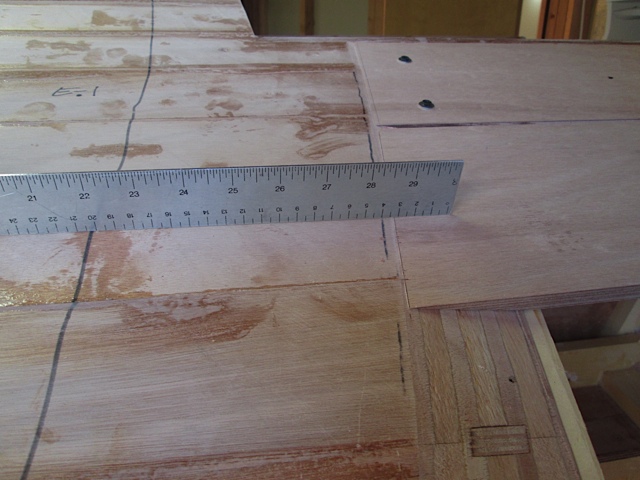
Then, it is back to the hull, to see if the end angle still fits and the scarf angle conforms to the previous router cut area. I checked with a metal ruler to see if it was the same height as well.

unnamed-5

unnamed-6

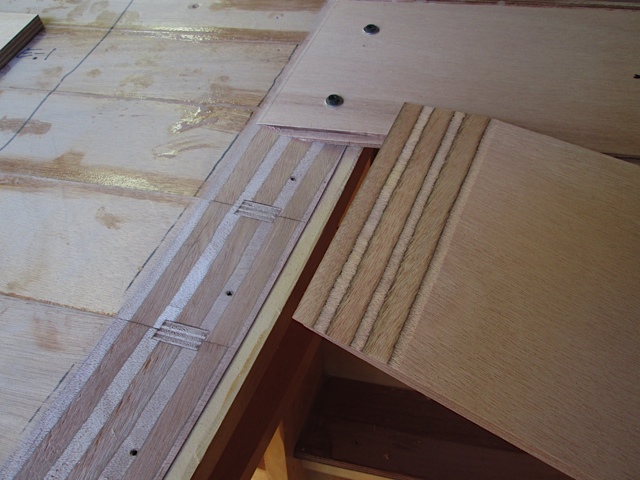
When this was all done, I added the tongue and groove to the sides to make each piece join to the next in the strongest way. It also contributes to making sure the neighboring pieces are level to the next one.

unnamed-7

unnamed-8

After that piece was done and temporarily screwed in place, the same process was repeated to finish the ten needed to fill the hole. When they were epoxied to the hull, they became just as strong as any other part of the surface, and will be invisible to inspection shortly.

By now, they are already covered with the next layer, and will never be seen again. Still, I enjoy putting my best effort into each piece, so that the boat has a good chance of functioning well and lasting a long time.

unnamed-9

It is satisfying to imitate the Master builder who put us together in our mother’s womb, and knows the smallest details of our lives. As Eric Lidddel said in Chariots of Fire, “I believe God made me for a purpose, but he also made me fast. And when I run I feel His pleasure.”

Turning the Boat Over

The preparation for the interior details of the boat are mostly complete.  The dash is shaped and drilled for the gauges, the steering wheel is set, seat parts are attached to the frame with brass inserts, and are ready for upholstery.  The oil tank and battery have mounting shelves, and the tracks for the wire harness, fuel and vent lines are ready.

In December, Chief Inspector Andy Peterson from Starboard Choice Marine even came over for a site visit to make sure we hadn’t left out anything important.

unnamed unnamed-1

Liza Hartman and Nibha McCrae also came to look it over.  They had good attitudes, but did not do a very good job of the weight stress test on the back seat.

unnamed

 Brayden and Bella Lehman climbed aboard and made a playground out of the boat.

unnamed-1

 Clay and Hudson Reichanadter also helped in their own way.

unnamed

Christmas was coming, with our extended family planning to join us, so we arranged to have a Boat Turning Party.  The boat building had started upside down on simple legs at each cross frame, along with the inspiring 1/5 scale model.

unnamed-1

When we turned it over the first time, I had made a pair of cradles to hold it, custom fit to the hull.

unnamed

This time, I built a simple but strong leg supports out of 2x4s and screwed them to the top cross frames.  Below are those cradles on the bottom and the new legs on the top.

unnamed-1

The ceiling already had the 2×6 framework added, so we strung the 3/4″ nylon rope across it at the front and back support areas.  Our engineer, Danny Seibert, got the ropes right to get the process started.

unnamed-2

Then, we slowly hoisted the boat up and tightened the ropes.  With the ropes assisting for security, we lifted and turned bit by bit.

unnamed unnamed-1 unnamed-2 unnamed-3 unnamed-4

The spectators in the basement gallery gasped a bit and cheered, and before long the boat was upside down again on the attached legs.  It was a moving experience for Clint Sprunger.

unnamed

Below is the trusty crew, all relatives, and our neighbor who often refers to himself as Uncle Doug, due to his extraordinary efforts with arranging for our children’s spouses, etc.

unnamed-1

Turning the boat was particularly appropriate, as December was coming to a close.  New Year’s Eve is the annual, most obvious display of the passage of time.  We think about a new start, of resolutions for change, set new goals and imagine new dreams.  For one, this 20′ speedboat goes in the water this summer, sink or swim.  There we have it.

For some of us, 2014 is a series of good memories.  But God is not unaware, or distant, from anyone left with a bitter taste or unmet expectations.  In John 12: 46, Jesus says, “I have come as a Light to shine in this dark world, so that all who put their trust in me will no longer wander in the darkness.”