Barbra chose Rift Sawn White Oak for the main wood parts, and then we added some mildly contrasting curly maple for the slats and walnut for the slat bases. The combination is show above, with only a hint of the beauty coming after finishing.
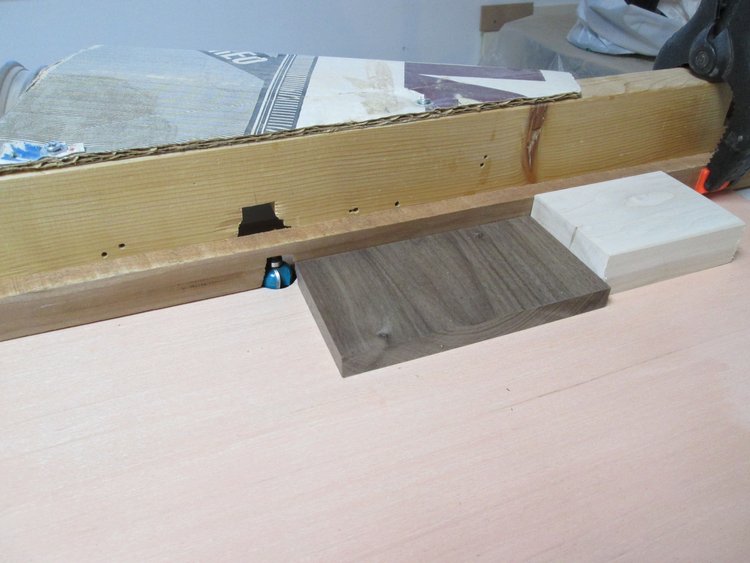
The next step was making the slat bases. Small parts can be dangerous and hard to hold, and the end grain easy to chip out. So, I started routing the end profile of a wide block first, which will become four individual bases.
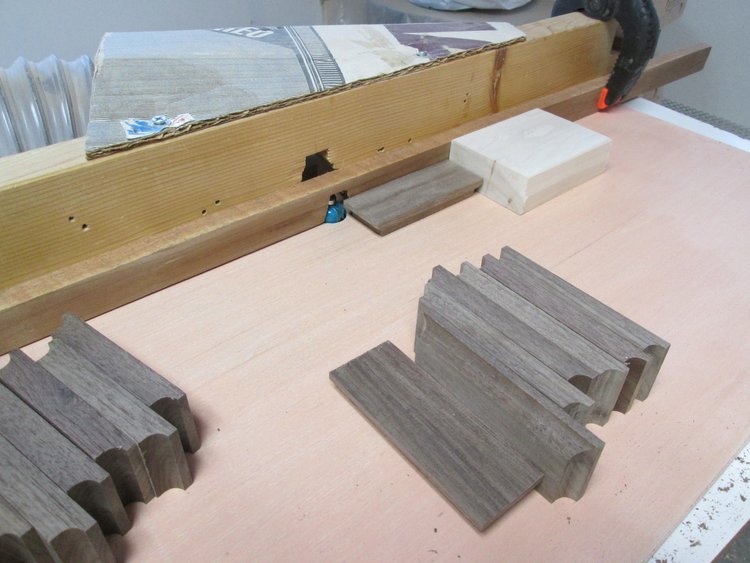
The extra front guide board with a small router hole was clamped in place temporarily. It helps to keep a short piece from pulling in towards the cutter, and the push block is a safe, steady place for the trailing hand.When the end shape was finished, the wide piece was cut into four slender parts to make the slat bases. Then the edge routing was done, cleaning up any tear out from the cross grain routing. It is always best to make an extra or two just for practicing the next step, or some random problem.Then the blocks were laid aside to finally do the inevitable, make a parts list and move ahead. For furniture, we start with any applicable ergonomic dimensions, and move on to functional corner joint sizes.The slats are cut to width, and stood in place just temporarily to make sure the proportions are satisfactory. The Divine Proportion, or the Golden Ratio has always been fascinating, derived from Pi, which is close to 1:1.6. However, I reserve the right for my eyes to make final judgement, as in this look. The cross base is 1/2” wider on both ends at this stage, so what may seem like extra space on the sides of the slats should be fine.Next, the construction of the cross pieces.
Then the unthinkable, I drilled an extra hole on the end of an irreplaceable slat. After a bit of critical musing, I routed out the drill hole, as shown below.
Then, I looked carefully through the scrap from the slat cutoffs, and found a piece to make the repair filler.The filler was glued in place and when it was shaped down to size, I think it turned out to be on the short list of the best repairs I have ever done in many years of making mistakes.You can tell it is the same piece by the left over part of the drilled hole, and lighter stripes that don’t wrap perfectly around the corner. The vertical brown grain is not exactly aligned either, but it will successfully hide from all but the closest inspector. Should this piece ever come into question for authenticity, a reader of this blog could make the judgement.
As I was deciding whether to turn the middle slat face inside or out, the figure on the edge gave a suggestion of a tear drop. It reminded me that not all things get fixed so easily, and some tears are left that only God can wipe away. The slat stayed facing out.