
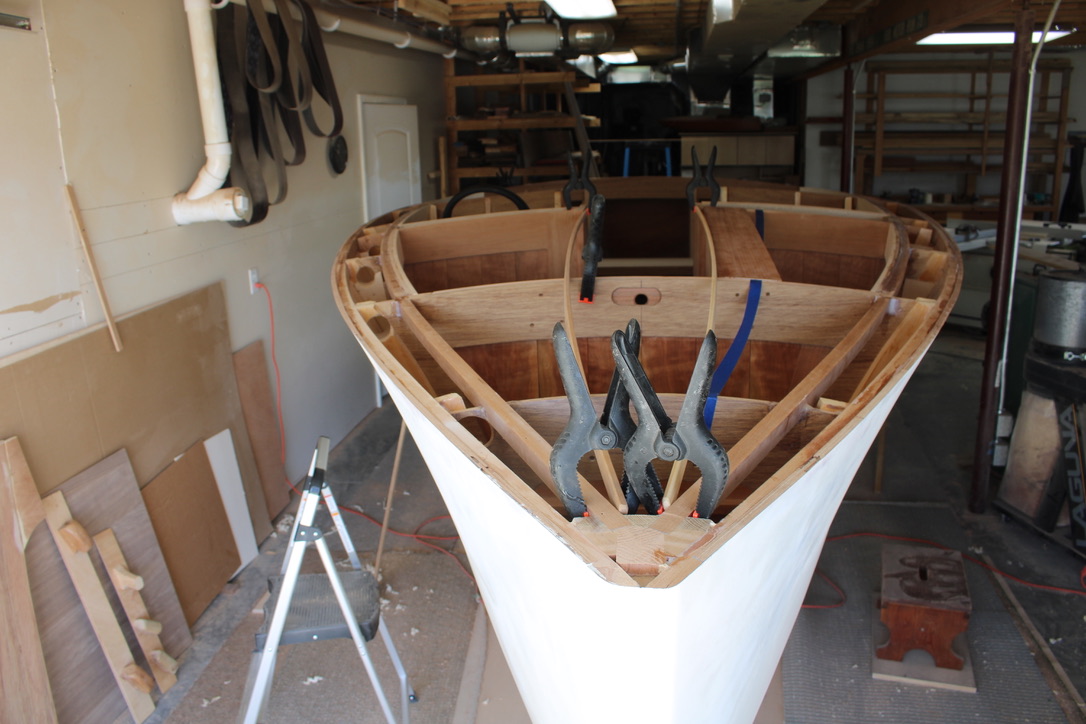
To begin this process, inside deck stringers were notched into the cross frames to support the deck trim planks. Then, the stringers and frames were faired and routed with a bearing-guided rabbet bit to receive the 1/2″ marine plywood sub deck.
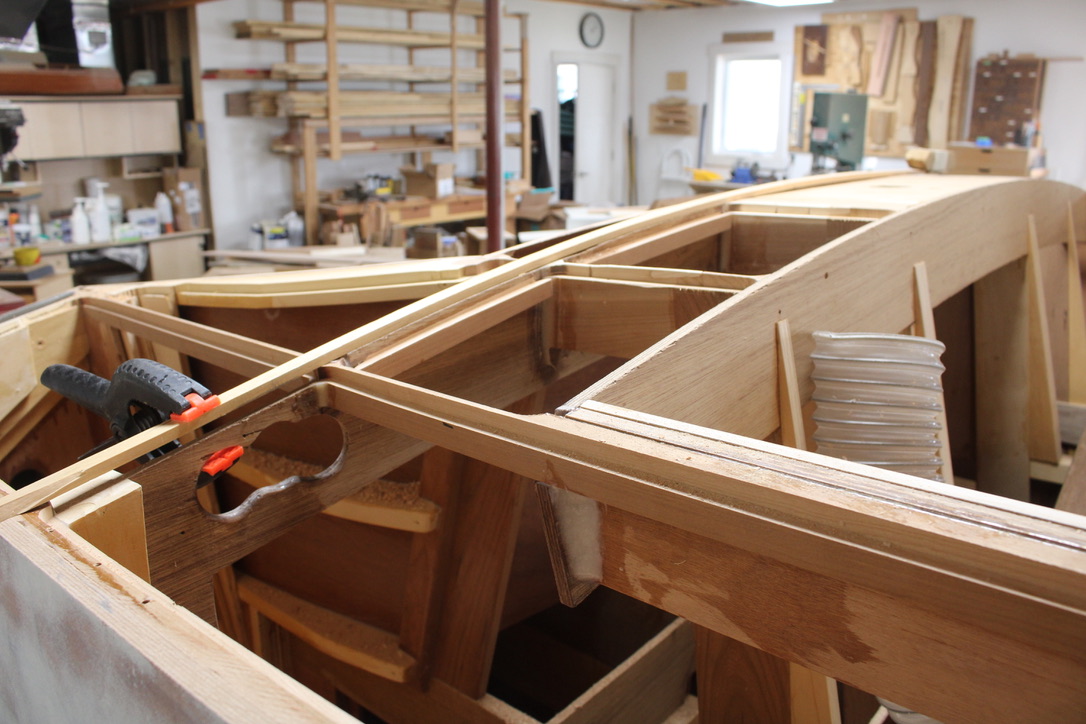
Approximately 8″ sections of 1/2″ marine plywood were fit into the rabbeted long stringers, and epoxied in place, held temporarily with screws.
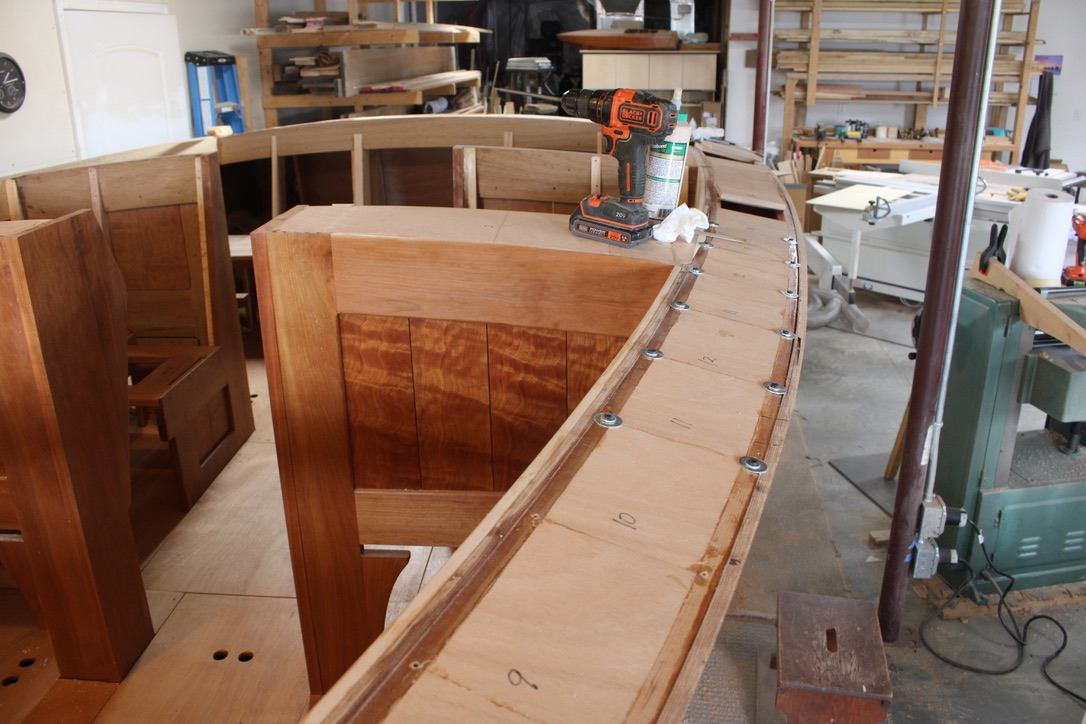
American Cherry was used for the deck trim, interior frames and panels, having similar color, weight and strength properties to Mahogany. Cherry may not be as rot resistant, but considering that the boat sides and bottom are marine plywood covered with fiberglass fabric embedded in epoxy, no solid wood will be exposed to continual moisture.
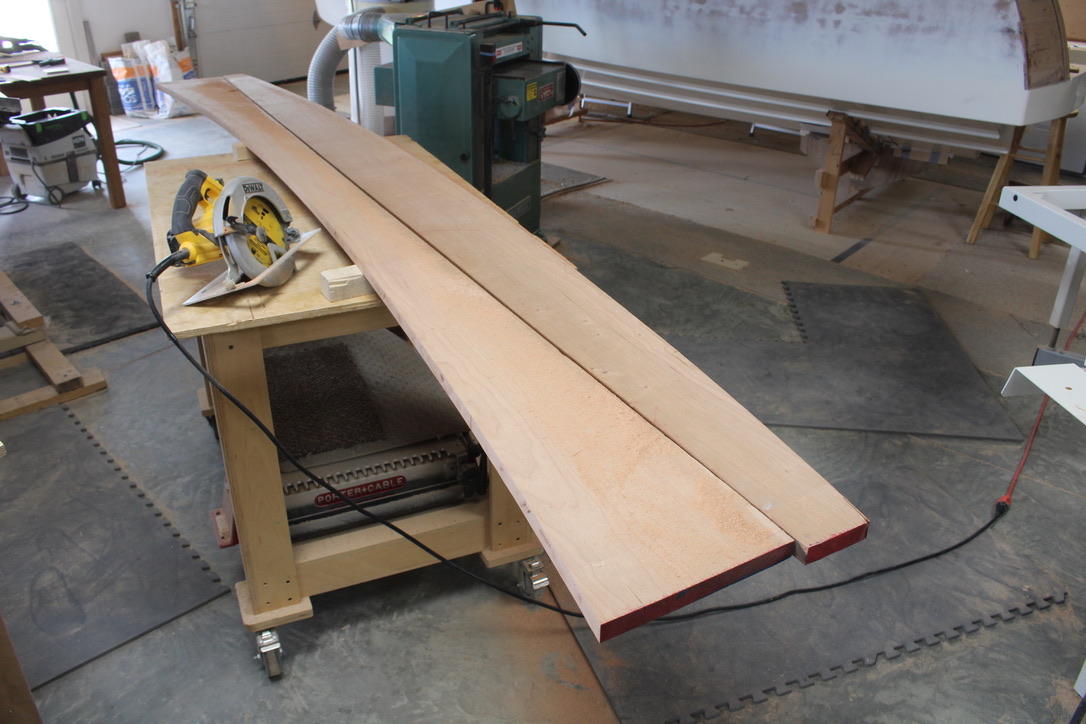
Below, I have selected a 12′ foot Cherry board, and free sawed the curved line on the table saw, which was drawn from the boat sheer line.
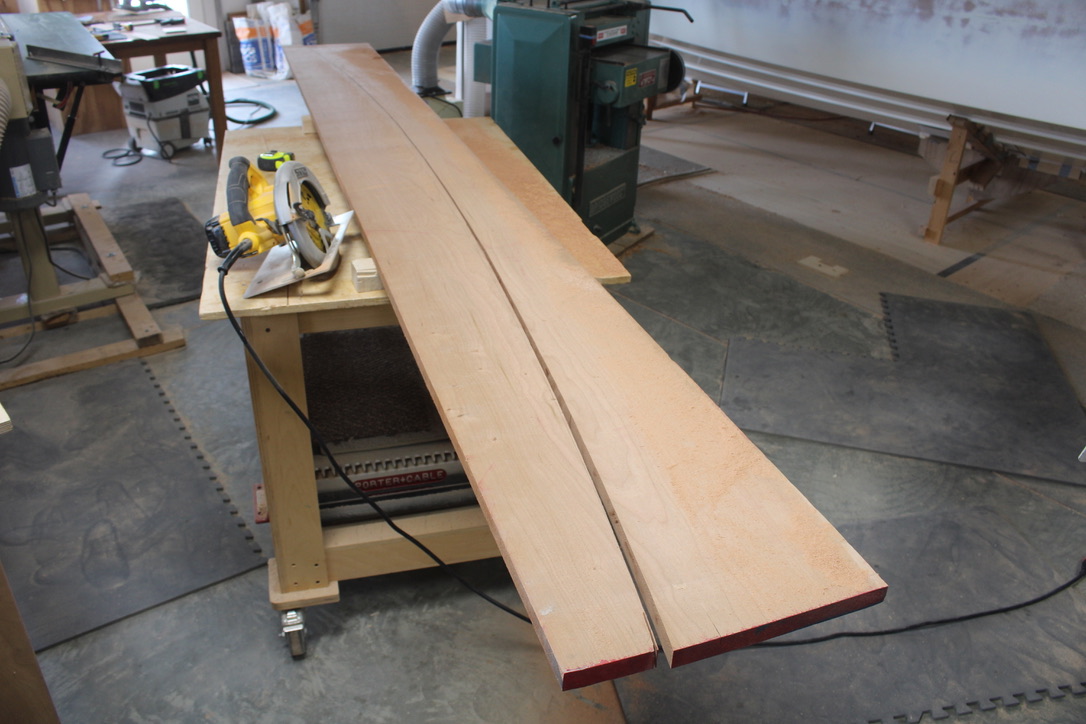
When the sides are switched across, with the outside straight edges glued together, it makes a curved board, to fit the deck curve. If a relatively straight grain board without sap grain is used, there is with little evidence of being re-glued.
Some solid wood boat decks are made from narrow, long re-sawn parts to make a curved laminated whole, and this can look great as well. But, if the grain of the board already had some natural curve, this easy single cut method may follow the sheer in a pleasing line with less joints and glue lines.
As the deck trim went toward the stern, the width got larger, and I had to assemble some parts together to complete the solid wood part. A 1/4″ plywood pattern was made to help find and cut, good compatible parts.
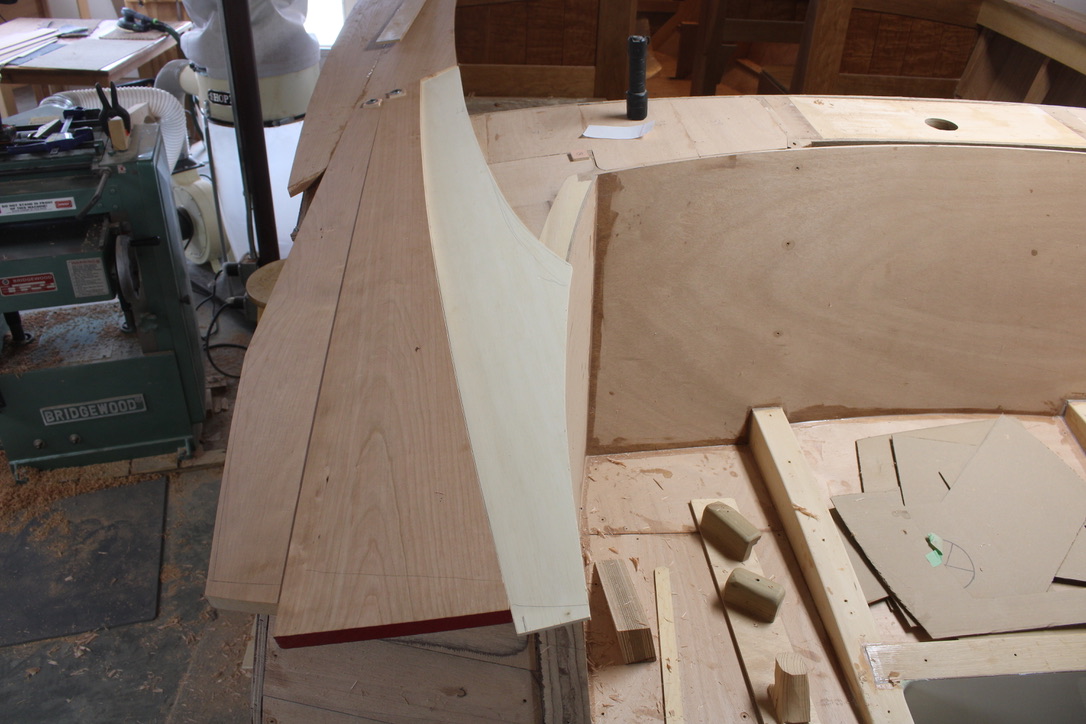
With some patient material selection, and careful joint fitting, the deck edge trim can be assembled to create a beautiful, fair line.
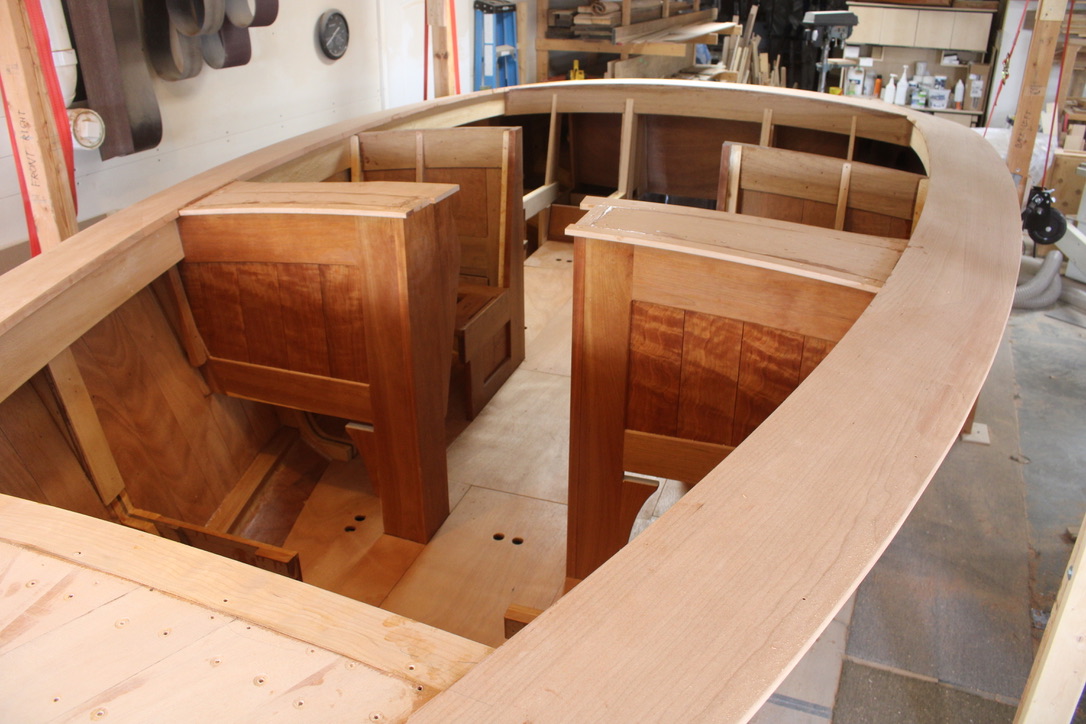
Next, on to installing the 1/4″ Sycamore deck veneer . . .

