
At my pace, a few cutting boards or a mirror frame can usually be finished in a week. A queen size bed takes more like a couple of months and a dresser could stretch into most of the winter. So, having a goal of building a 20-foot speed boat in a year did not turn out to be realistic.
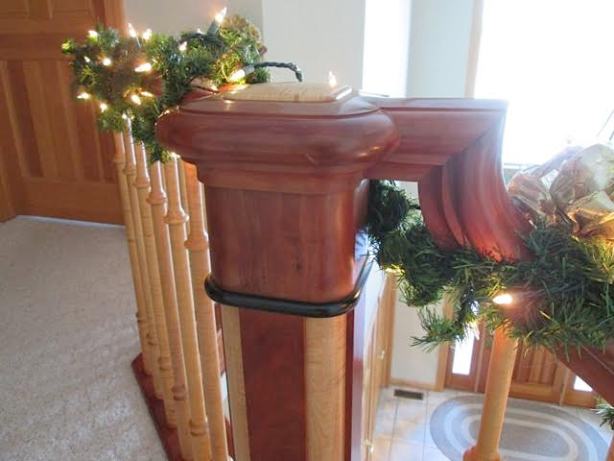
After all, the cherry and curly maple stair railing took a little over a year. One reason was that a friend gave me a nice piece of ebony wood, and Jan said that having a little black accent in the newell post would help it relate to the black piano. Of course, this added time to the process but now I can’t imagine it any other way.
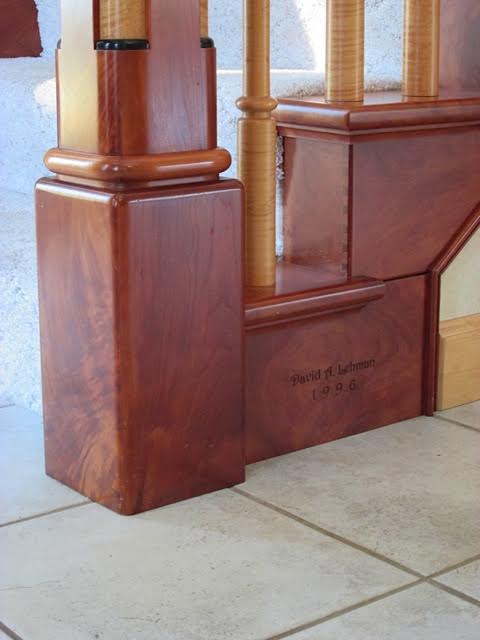
The top ebony trim is actually a mitered frame, with the corners reinforced by a 45 degree saw-curf insert.
The stairway also took two 45 degree turns, which created several complications. Since I had strengthened all of the lower 90 degree riser corners with a dovetail joint, I decided to do a dovetail joint here as well. That involved a special holding jig, and much trial and error to get it right. Also, where the bottom molding meets the corner, it did not cleanly join the other wall piece and need a special transition piece to be made.

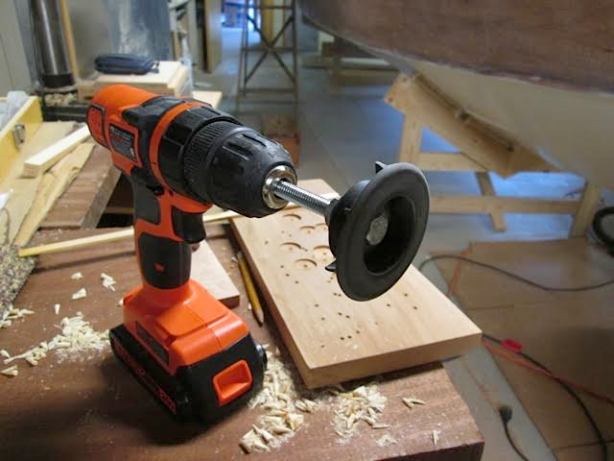
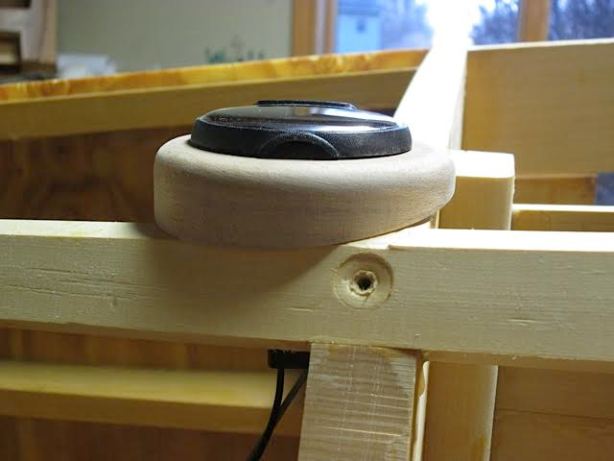
In the same way, the boat has brought challenges that took longer, and added complexity, but become valued parts of the final product. When I showed my designer friend Jeff the gauges for the dash, he noted that the square ignition switch plate did not fit with the round shapes of the other pieces.


I agreed, so I found a bolt, some washers and nuts to hold the switch plate, and mounted it in the drill. By spinning it against the sander, eventually the square corners gave way to a round plate.
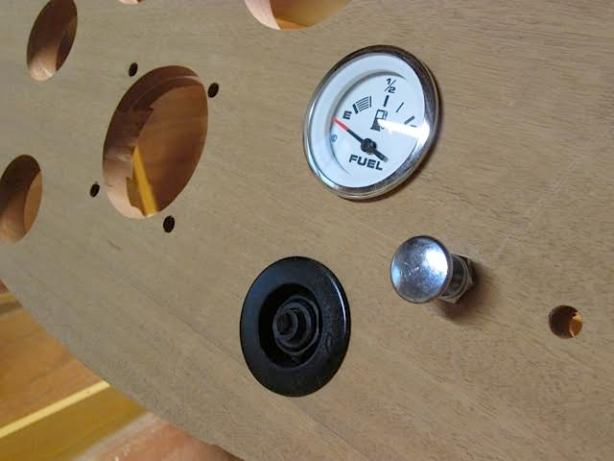
Unfortunately, the screw holes for attaching it to the dash were also cut off, so I needed to make a wood washer to hold it tightly for mounting. Some time later, this is the result:

The navigation light mounting flange is made to hold the light tube perpendicular to the mounting surface. However, where the light goes on the back right panel would not be true vertical. So, this suggested that I make another custom flange, so it can be rotated for the light to be straight up.
The outline of the cockpit had the earlier problem of looking too square. I started by adding the corner round, and then made a top corner piece to join the perimeter moldings. The problem was that the piece needed to make a curve and a twist to connect the dash to the side. When you count the number of failed attempts, you can imagine this was not the fastest way to go either.

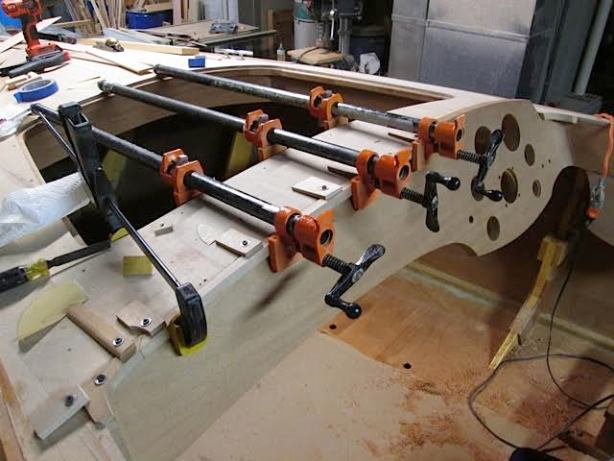
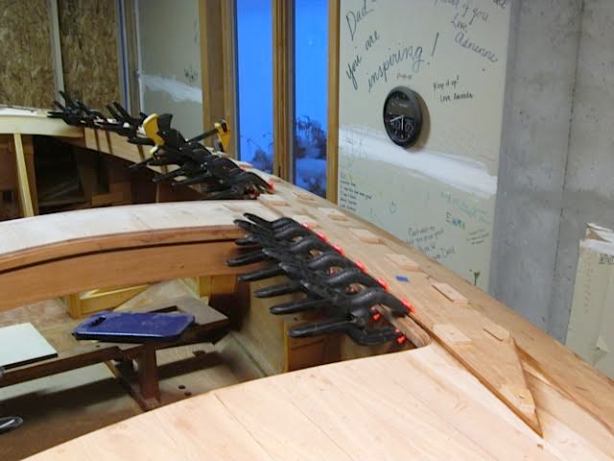
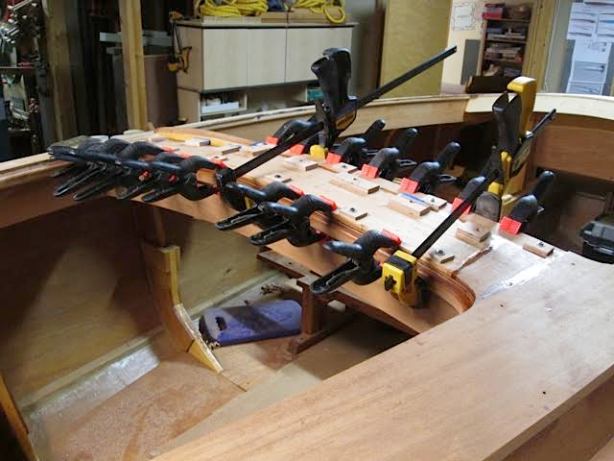
The second corner went better than the first, and led to another molding across the top of the dash. This was complicated by the fact that I did not want to put screw holes through it to attach it to the dash. Being curved did not help anything. Below is shown the clamps and special hold-downs to get it glued.
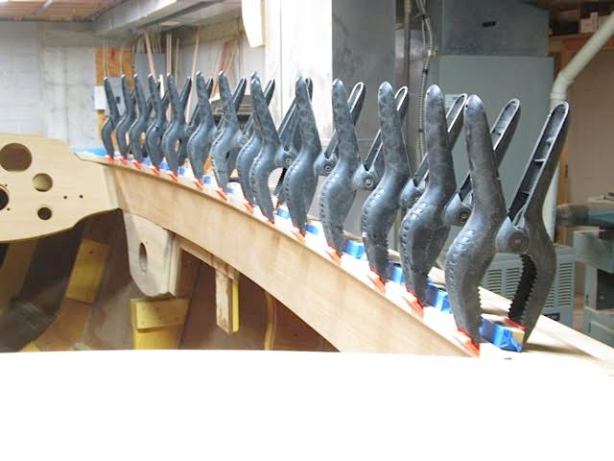
Next came the side moldings, where the deck top did not have the final veneer surface. So I added temporary screw blocks to clamp the molding in place. Spring clamps are not as strong as screw clamps, but if you have enough of them, they work pretty well. The blue tape on the blocks is intended to prevent glue squeeze-out from attaching the blocks to the hull.
Then it was time to add the veneer to the raised part of the deck. I started with 1/4″ cheap plywood patterns to give the best yield and grain direction on the mahogany.

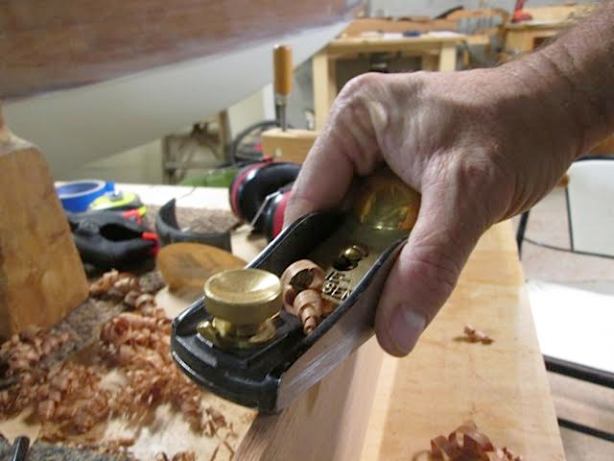
These pieces had outside and inside contours that needed to have perfect curves. The outside was left rough with some overlap to shape later. The inner curves had to be pre-shaped to beautiful lines with my favorite hand tool, the block plane. By setting the blade a bit aggressive, and turning the body of the plane diagonal, it is possible to achieve smooth inner curves that are superior to band sawing and sanding.
Below is the step of rough fitting the top veneer cover pieces, and then clamping and screwing them in place. I attempted to have as few screws as possible, but some filling and plugging will be needed later.

Then, the center bridge needed the corresponding veneer pieces to tie it together.
And so, time marches onward. I have generally thought that I am never lost if I am not out of time. The problem arising is that my Dad’s big 90th birthday party reunion is occurring at Little Eden camp in five months, and the boat must be there. This doesn’t leave room for many more detours.
Fortunately, all I have left is the curly maple top veneer, the mahogany transom veneer, side veneer, fairing and hand shaping all of the final contours, paint and varnish, installing the fuel cap, navigation lights, tie bars, running the wires for the gauges and rigging, making a cradle to hold the boat on its side, a windshield and a trailer…
“Time sometimes flies like a bird, sometimes crawls like a snail, but a man is happiest when he does not even notice whether it passes swiftly or slowly.”
Ivan Turgenev

As I read I am wondering which is more complicated, orthodontics or boat building! A medal should go to anyone with this kind of perseverance!