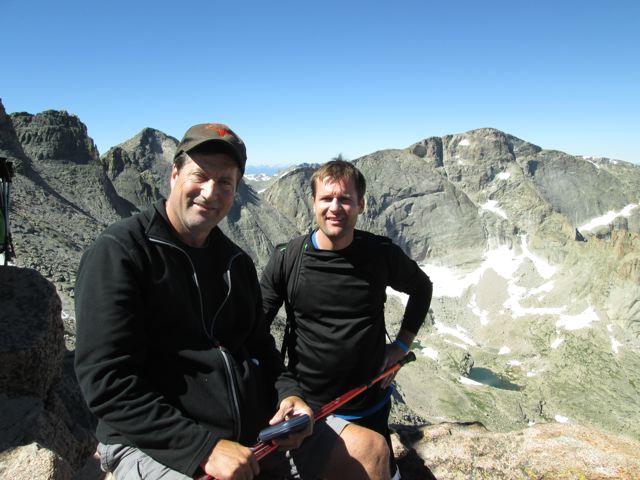
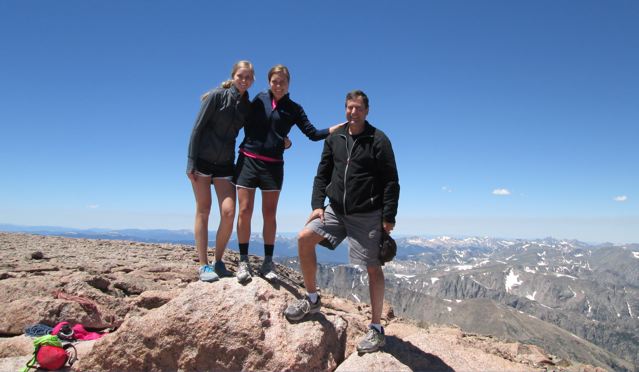
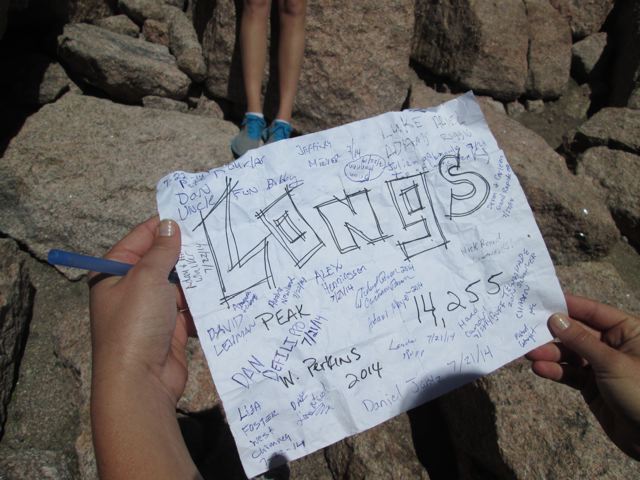
By definition, a turn follows a period of straight movement or consistent activity with a change in direction. It is often connected with a landmark to describe it, or some memorable drama. You can turn over a new leaf, see the hands of time turn slowly, or watch a marshmallow turn golden over the camp fire, as sunset turns the day to dusk. Hopefully, you will experience the one good turn that deserves another, and never have nowhere to turn.
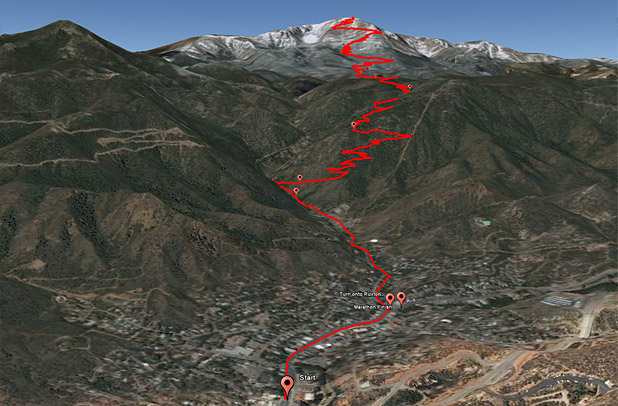
You could also make a wrong turn. In the case of the road below (near Portage Point), in my opinion, it would only be the wrong way to go if you were seriously out of time to explore.

It is exciting to see the winter turn to spring in northern Indiana, marked by the sap buckets hanging on the maple trees. It takes around 40 gallons of sap to make one gallon of maple syrup.

Not far behind is the blooming of the daffodils, left over in the woods behind our house from someone’s planting long ago.

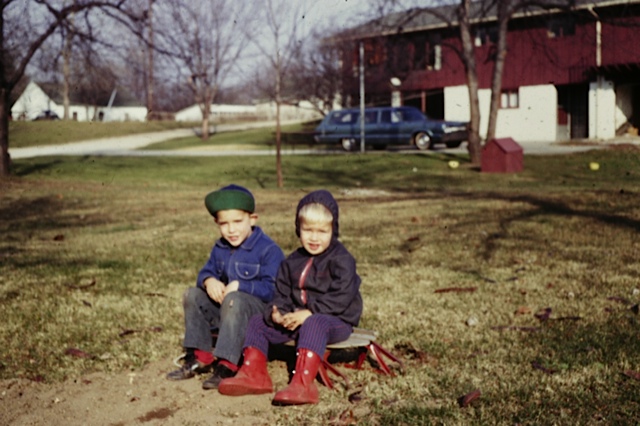
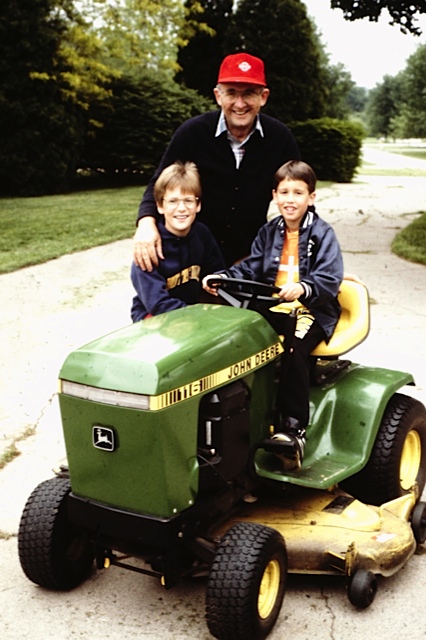
One of my favorite turning events happened at Little Eden Camp in my teen years. One of the week’s highlights was the canoe trip on the Little Pine River near Manistee. We would load the canoes on the cars, and head for the river.

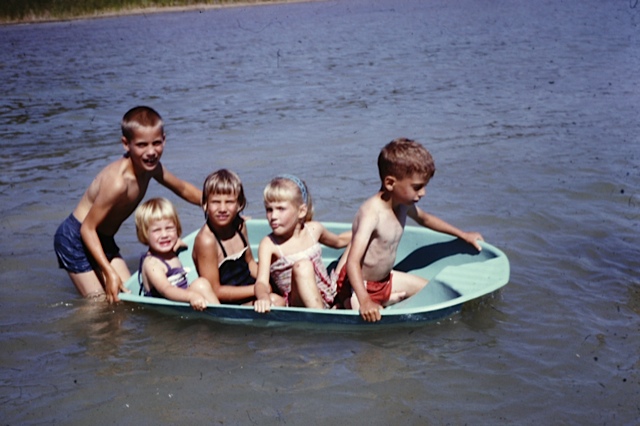
The first stretch we were usually a bit cautious as we reacquainted ourselves with how to guide the boat down between rocks, logs and sand bars. Before long, however, some paddle splashing would inevitably begin, and a few boats would get turned over. Below, Dad is steering with Anne and I in the front.

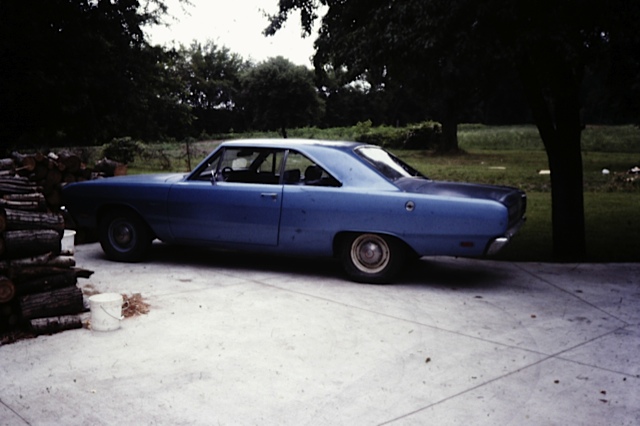
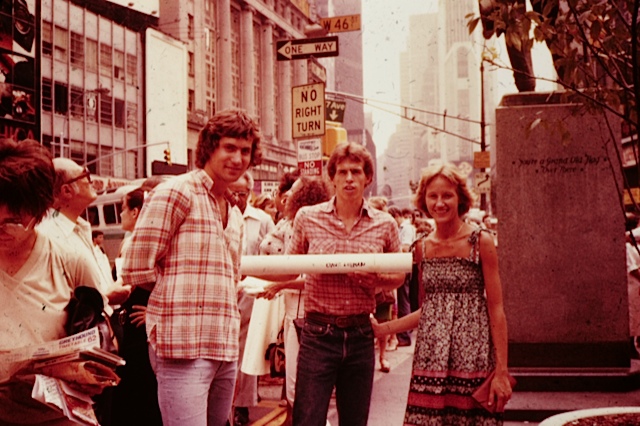
Sometimes, turns come without asking, in unexpected ways. In the summer of 1981, I had applied for and was accepted to the Hans Krieks Masterclass so we headed off to New York City. We loaded up a small U-Haul behind the trusty Dodge Dart featured below, which did not have a working fuel gauge. This caused us to misjudge how much extra gas it took to pull a trailer and we ran out of gas around midnight in Pennsylvania.
Fortunately, in the days before cell phones, other travelers would stop to help someone in need. We passed a message along with a man, who called Royce and Marci Yoder at the nearest pay phone. In a couple of hours, Royce appeared with some gas and guided us to their house for the rest of the night. Here they are when they visited us later in Manhattan.
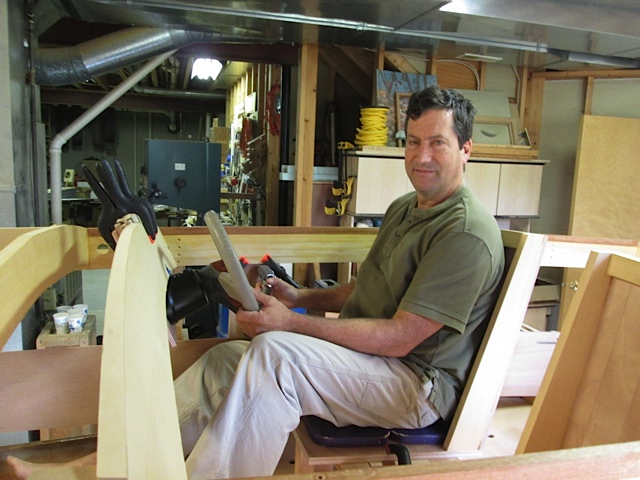
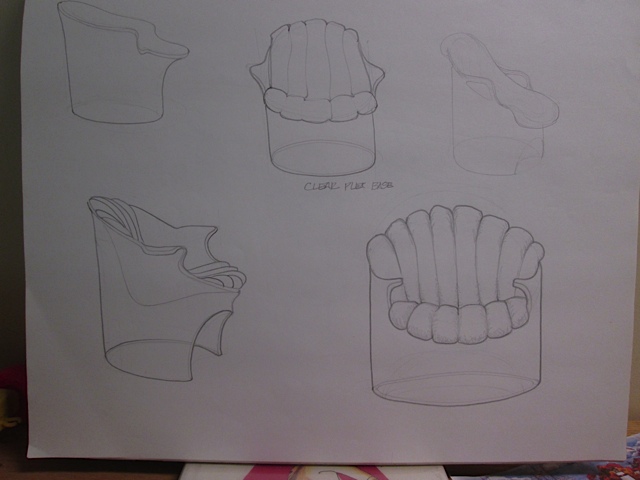
The class was more of an apprenticeship than a typical college program. A group of five of us came together in September from all over the country to study furniture design with Mr. Krieks. We spent one day a week in a studio class, and the rest of the week working on our assignments. Below are a few of the projects I had started working on. The first is a study for a tall chair, which later became a high chair for my daughter Adrienne, and the second is for a plexiglass and foam chair that never got built.

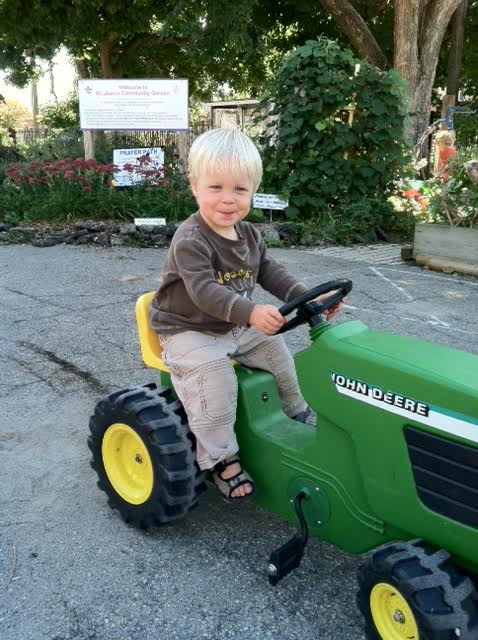
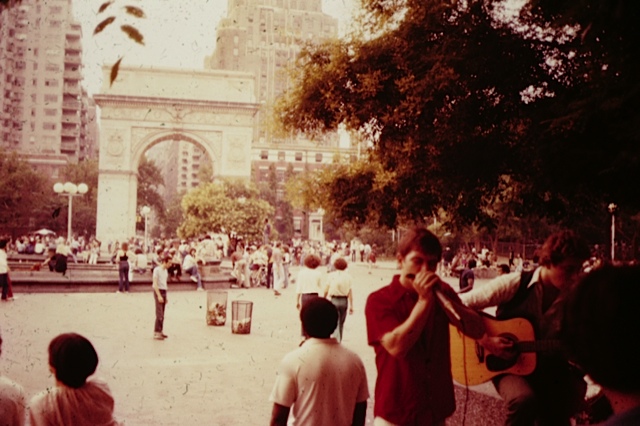
It was my sweet spot, and I was thriving on the New York City design environment. Design was everywhere, in the architecture, the furniture, museums, store windows, and people. One highlight was being invited to a private meeting with Niels Diffrient, an industrial designer who revolutionized ergonomic seating for office, airline and John Deere tractor seating.
I loved walking around downtown, hearing street performers, seeing great architecture and museums.
One day in the middle of October, Mr. Krieks did not make it to class and instead a past graduate stood in. We went through the motions of class and homework and carried on. The next week he was sick again, and then we found out he was in the hospital. He never returned. Around Thanksgiving, Hans Krieks passed away, and the class was ended.
I continued working as a waiter at a Victoria Station in the Bronx, and Jan as a waitress at Ehring’s German Restaurant. For the next couple of months we wandered New York City and traveled north as far as Rhode Island to explore a bit of the east coast. By January, we loaded up the U-Haul and headed back to Indiana as it was time to turn the page.
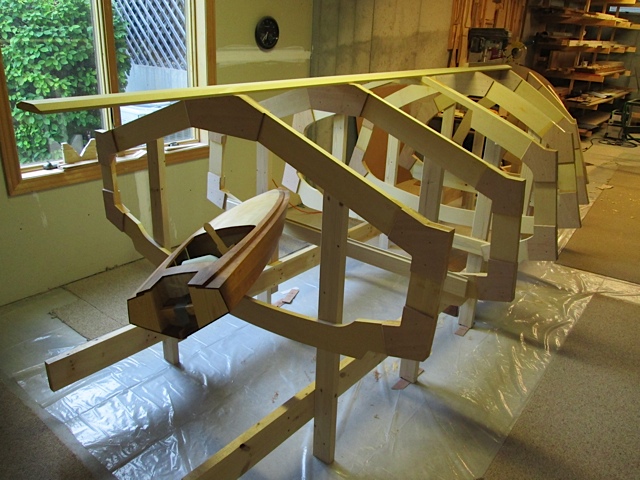
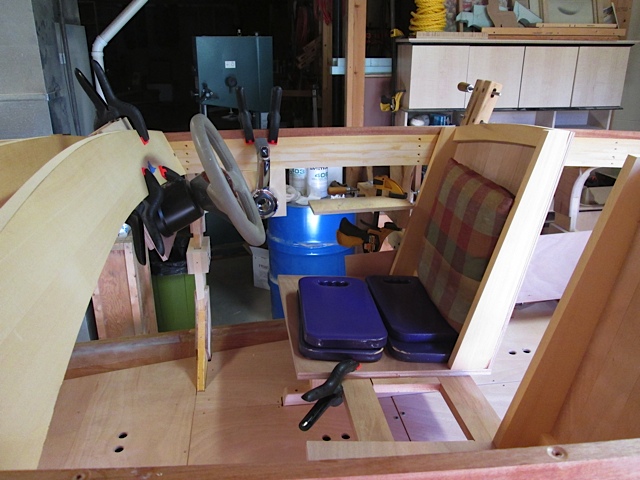
This was a difficult and dramatic turn of events, which led to my eventual going to dental school, and following my father in Orthodontics. However, I never lost the passion for design and with this boat it turns up again. At the same time, I experienced another evidence of God’s redemption: His ability to add all of the past together and make something good.
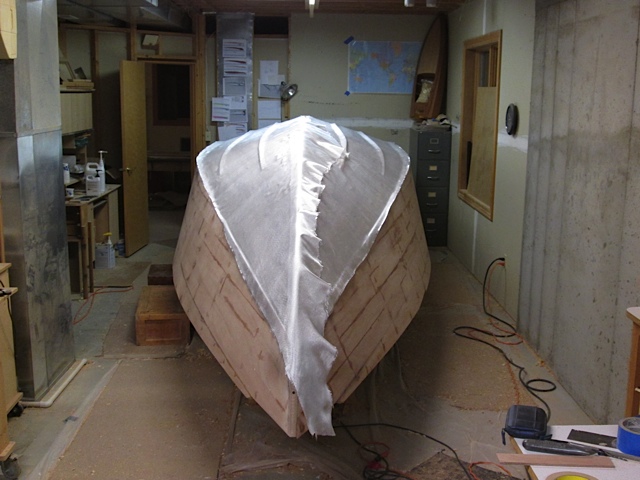
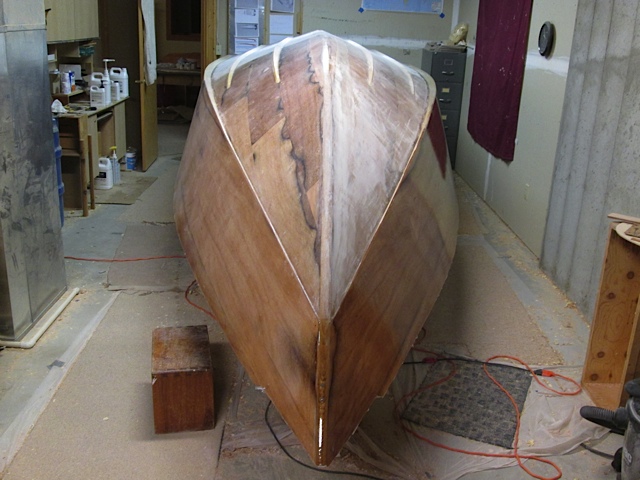
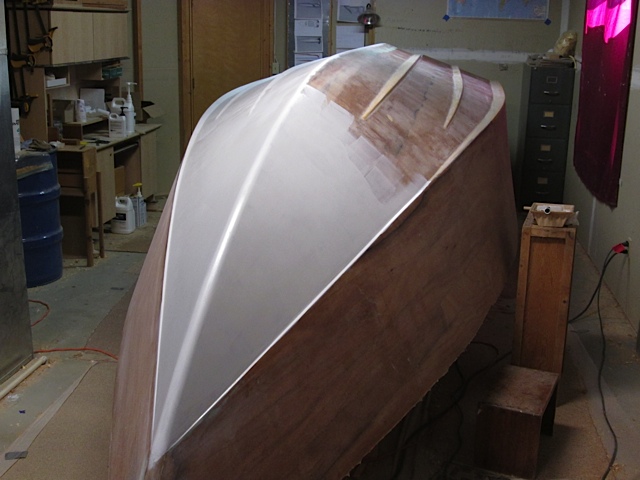
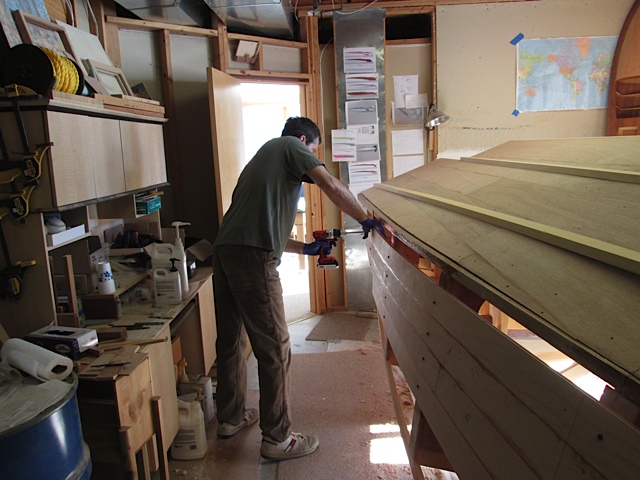
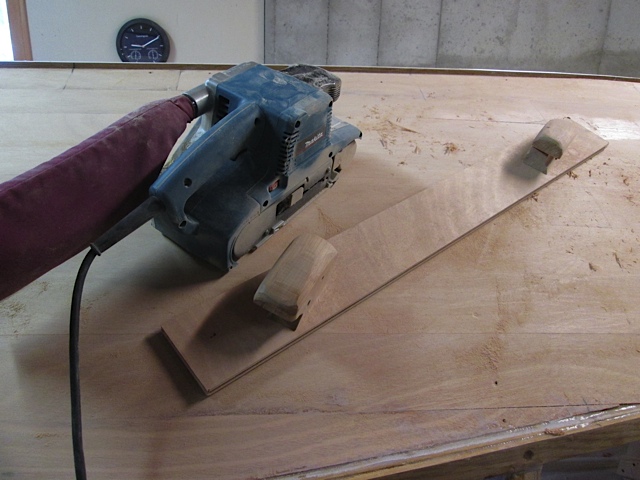
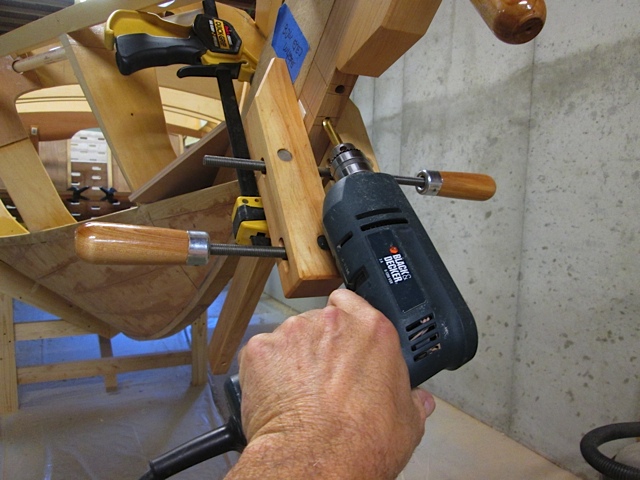
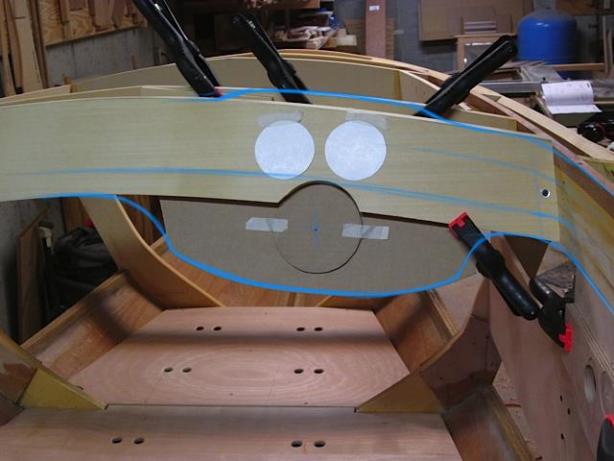
Turning the boat right side up was a great milestone, because the difficult bottom painting was done, and because I have no plans to turn it bottom up again. I first had to refit the cradle now that the bottom strakes were in place.
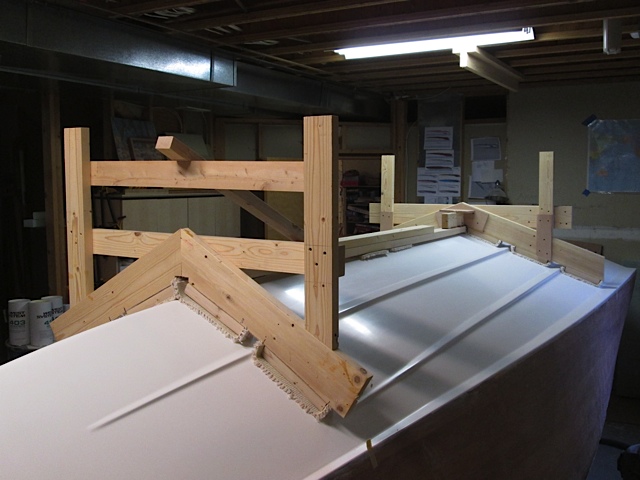
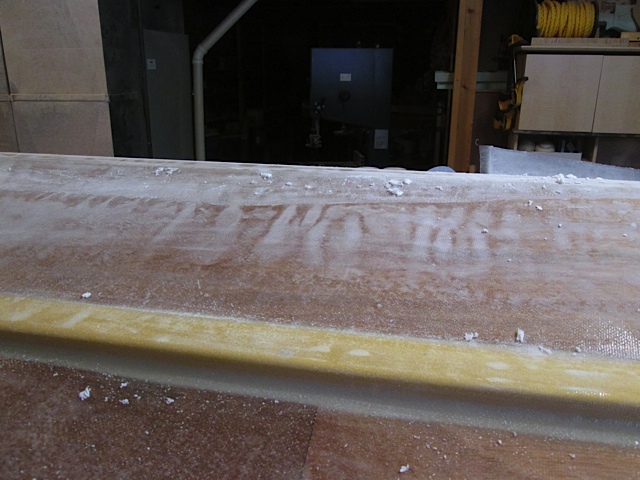
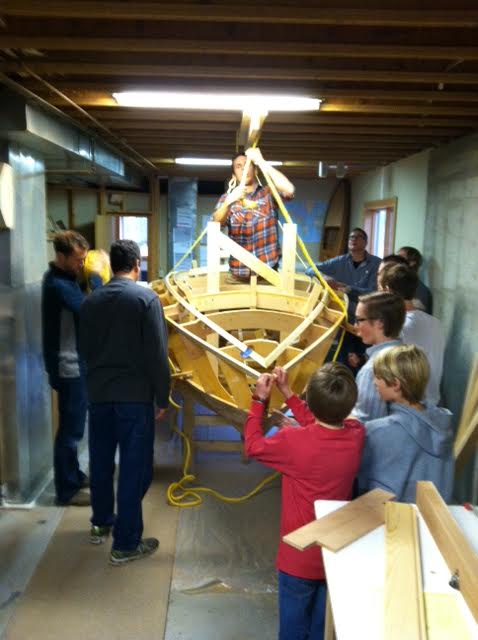
Then my favorite assistant helped me get the carpet cushions and rope in place. Each of the 3/4″ nylon rope loops is supposed to hold 750 pounds, which was fine as I estimate the boat weighs around 800 pounds at this point.
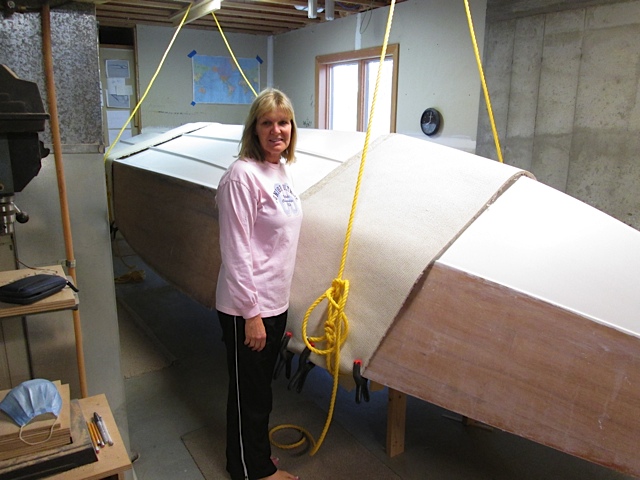
The only problem occurred when the side of the boat touched the floor as we hoisted and rotated it vertically. Below, Jeff Margush is supporting the bottom as we shorten the loops.

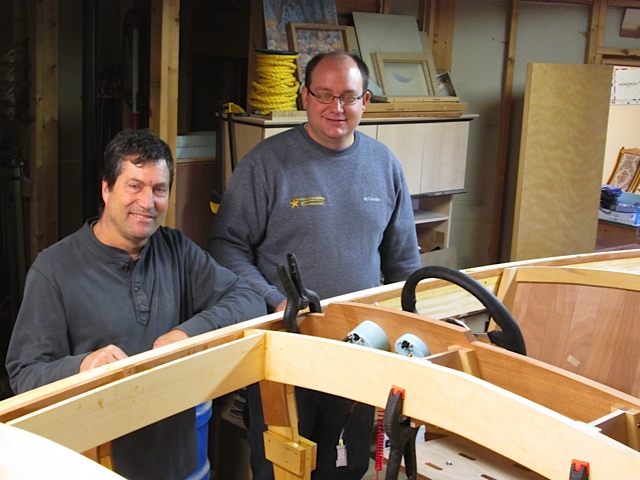
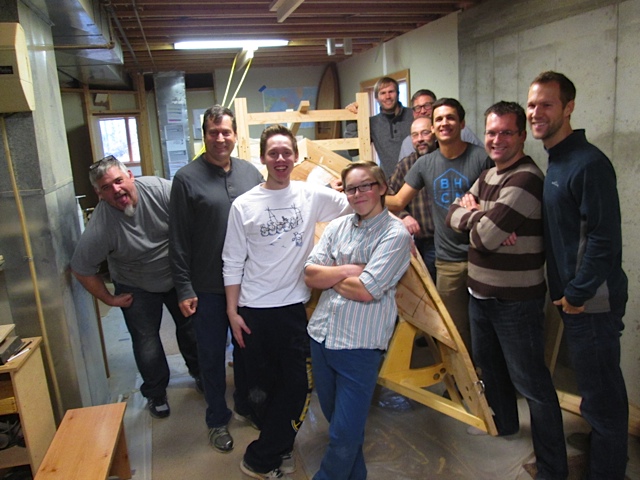
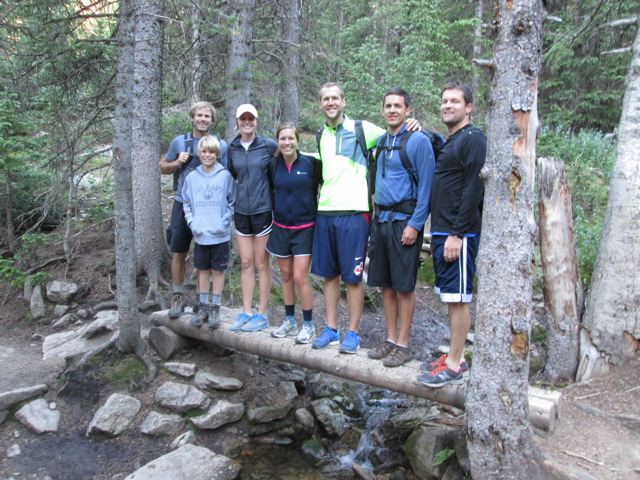
Here is the crew of good neighbors who helped out, from left to right: Brad Kime, Don Florea, Payton Fish, Greg Tipton, myself, Jeff Margush, Brad Fish, John Kime and Mike Perron. I bet they could successfully navigate the “Minnow” on a “three hour tour.”

The biggest turn of events a person can have is the day they realize they are unworthy before a God of love and justice, and decide to seek His forgiveness and salvation. As for me, like the old song goes, “I have decided to follow Jesus, no turning back, no turning back.”