
Another big step was to define the dash layout for the steering wheel and gauges. I will be using a Suzuki motor, and along with recommended gauges.
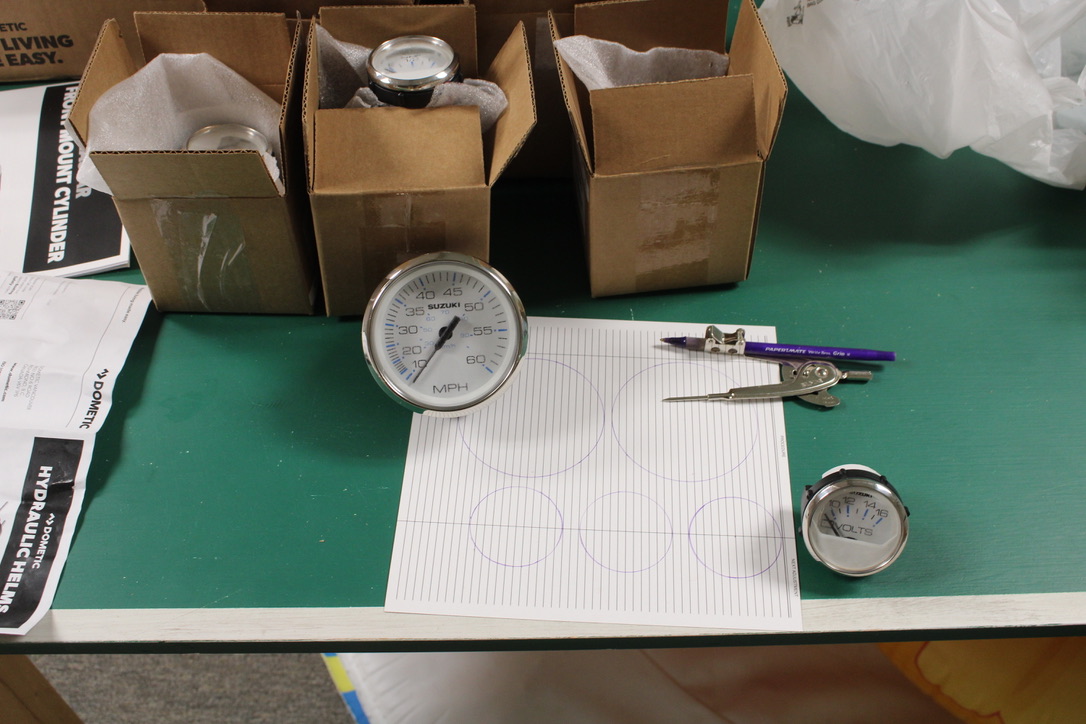
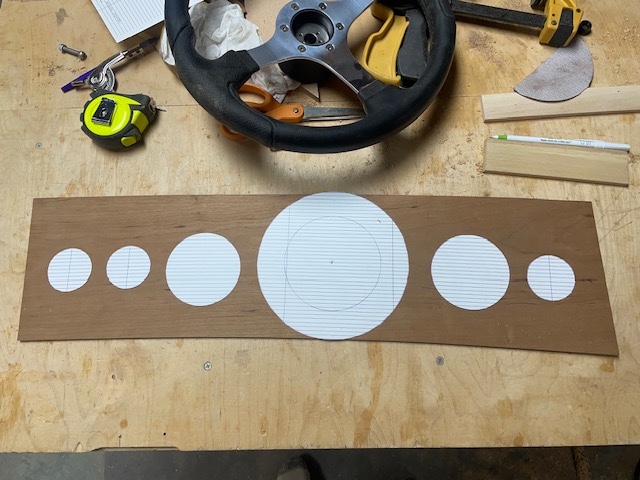
From the specified diameters, I cut patterns to visualize how the dash could look. It was asymmetrical due to five gauges and the wheel helm, and I preferred the choice below.
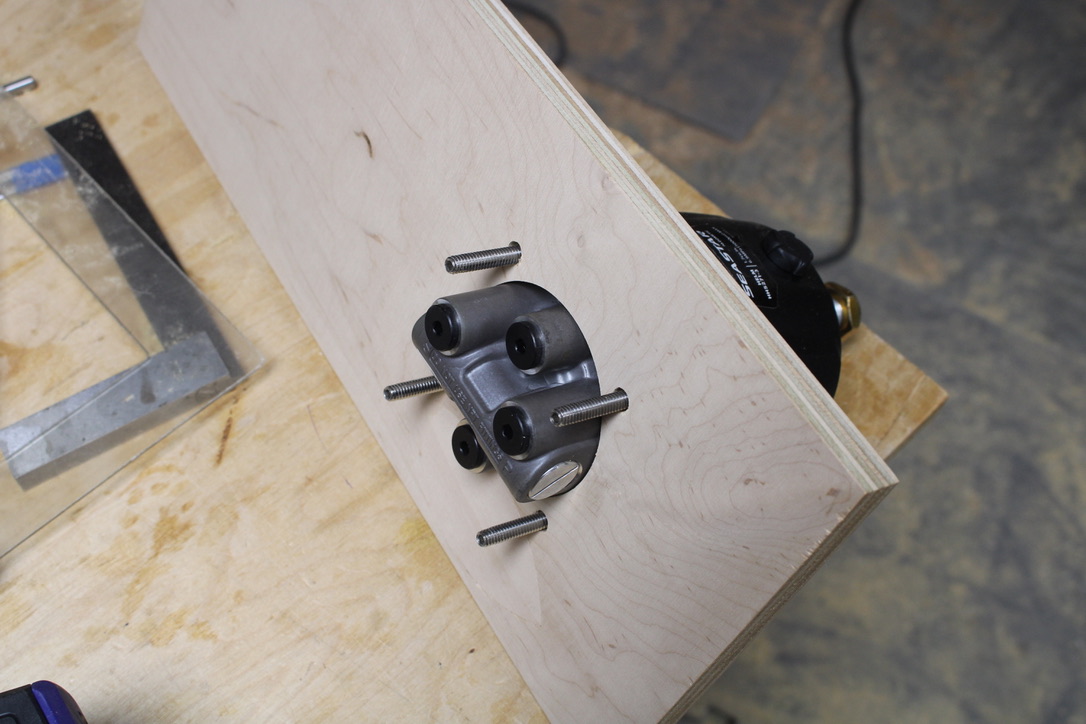
I did some test cutting, to make sure the parts would fit. I had a hole saw for the 2″ gauges, and had to customize routing for the larger holes. I used a bearing guided rabbet bit, changing the bearing size to enlarge the hole as I needed. Then, I followed with a straight bearing bit from the opposite side to finish the hole. Supplemental holes were drilled from the helm layout pattern.
Then I made a final layout, and drilled and routed holes, sanding as needed to fit. I picked old school gauges to fit the attitude of the boat, even though it has an open bow, a ski pole, and a ladder for modern convenience.
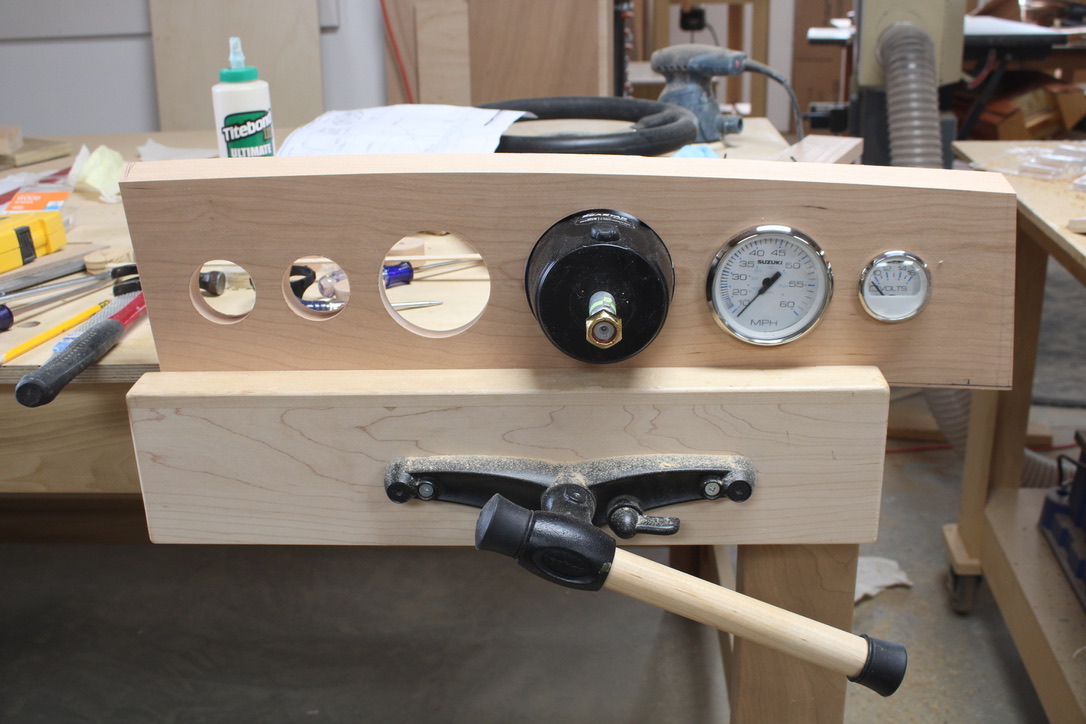
The dash was installed at a tipped angle to allow comfortable view from the driver’s seat and knee clearance for the wheel. Space was needed behind for the steering hydraulic lines, and electric wiring for the gauges.
This is the kind of progress that gets a satisfied sigh with a check off, and back to the notes list for the next up assignment.

Looking smart, David! Are you going to provide for an auxiliary set of guages so that your Frist Mate, Jan, can monitor your actions from her remote con?