
Transom Height Review
After what seems like endless days building the boat frame, shell and interior parts, it is high time to do the final engineering of the back, and close it in. When I started, the original plan was for an outboard motor with a 20″ vertical shaft, but I became concerned that the transom height was not far above where the water line will likely be.
Even though there is a separate back wall to the motor well, I did not want so much water to come over the transom as the boat slows down. Also, there was a concern that having the motor mounted lower to the water could allow water coming into the exhaust ports. So I needed to rebuild it 5 inches taller for the next larger motor size.

The 2.5″ thick transom was made by epoxy laminating five sheets of 1/2″ marine plywood, and then mounting it in grooves of the long beams. This is not a casual, glue a piece on the top, as this area needs to be strong enough to successfully hold a 500 pound motor and the push/pull that it provides. Not to mention that the most stressful time may be crossing a bumpy rail road tracks.
Routing for a Crossover Sandwich
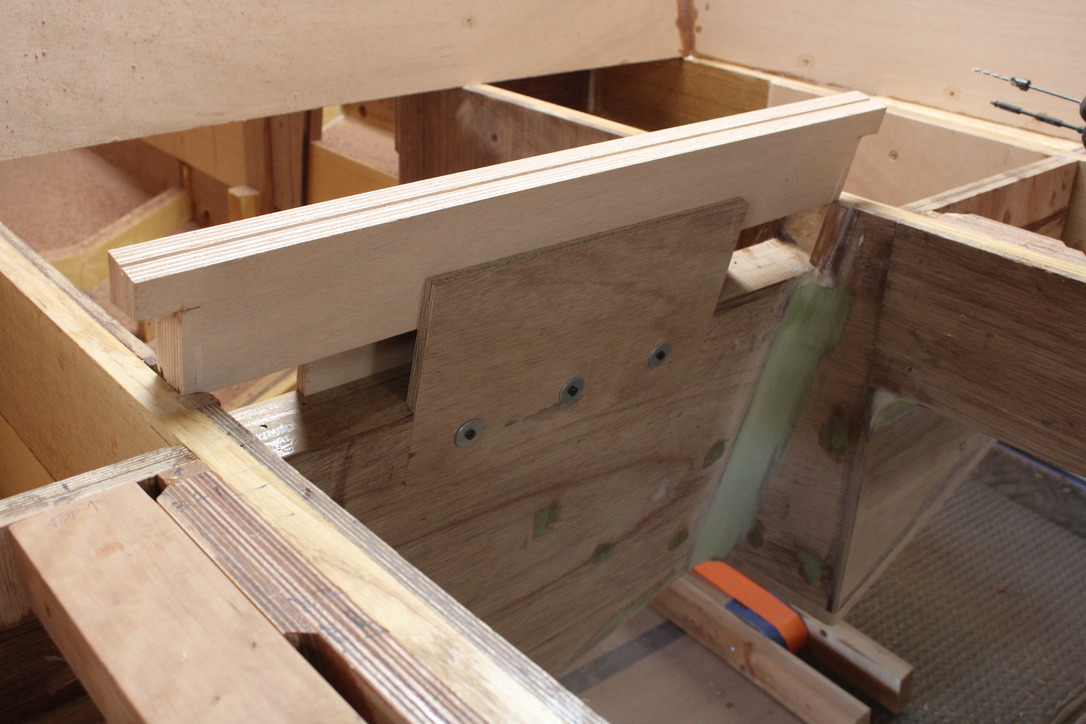
So, i first clamped in some plywood scraps to make a temporary guide fence for the router, inside and outside.

This is the top view showing the areas cut out and the angle brace that connects the transom to the keel. Plenty of dust came from routing the sides.

Here are the sandwich sides prepared to hold the new transom extension, which was made to fit down into new grooves on the sides. Overlapping wood parts gives the most epoxy gluing surface area and mechanical strength.
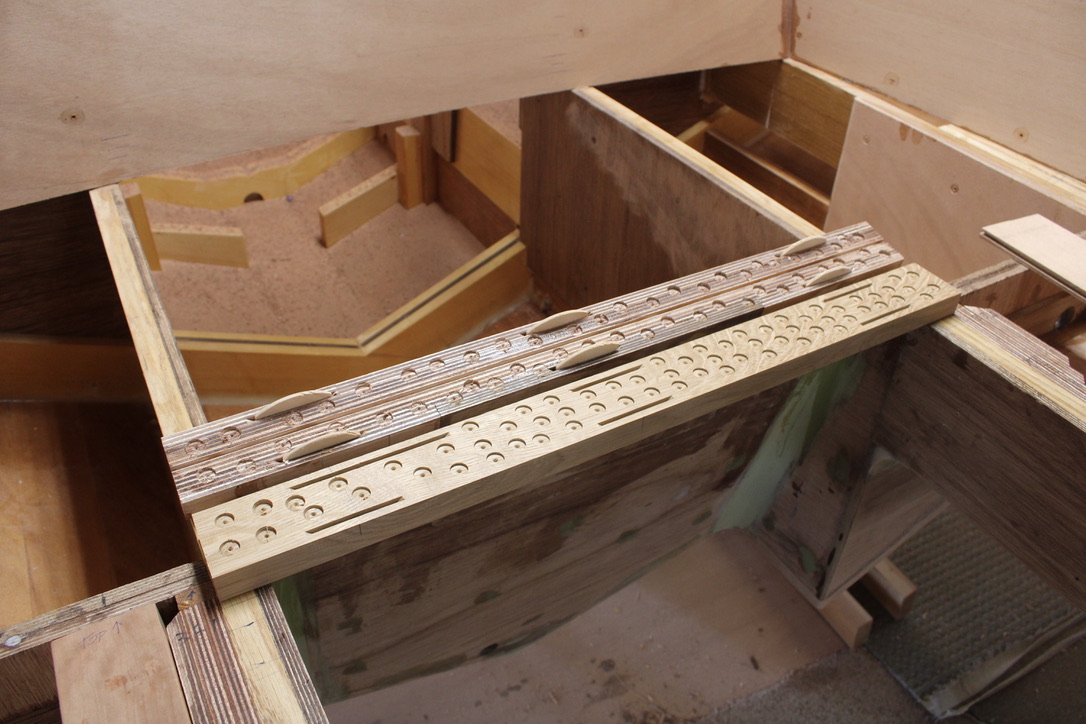
Corner filler pieces were added and then the assembly was biscuit joined to a strong piece of white oak to cap it off. Finally, I drilled a bunch of shallow holes with my Forstner bit so when the thickened epoxy attaches the parts, it adds strength in an imitation of many dowel holes.
This is probably the expression of a tendancy of mine that lead coworkers at Swartzendruber Hardwood Creations to think that sometimes my work was a bit “overkill.” Maybe, or maybe not, but in on the back of the boat, I can live with the chances.
The transom was done, and next up was building the internal support for the ladder going next to the repaired transom. With the improved height of the transom, and ease of getting on and off the boat, it should be better performing and more useful also.

Building a boat is a lot like climbing the Lake Michigan dunes, a short step up and a slide half way back. But where would you rather be than watching the grandchildren explore, jump off the cliff, run full speed down, occasionally tumble, with maybe a bit of sand in the mouth. Nothing that a hotdog won’t wash down.

Haha, Dad, you certainly are a perfectionist compared to your son!
Great work on the transom rebuild! The attention to detail and strength sounds impressive, especially with the challenges of motor weight and water pressure. For someone like me in Europe, adding measurements in centimeters alongside inches by using converter would be really helpful for better understanding.