
In a perfect world, each of the cross frames would have been modified in advance, especially considering that the pieces were CNC routed and little more effort would have been needed at that time. But, since the original computer boat profile was lost, and some guesswork needed to place the frames, it seemed better just to wait. Setting the floor height and imagining where the fuel tank would go, for example, was easier after the frames were in place.
The first priority was stiffening the outside of the 1/2″ Hydrotek marine plywood. Fortunately, I had some Alaska Yellow Cedar, left over from the first boat. In the last 7 years, it would have been perfect for furniture drawer sides, solid lap-joint cabinet backs and drawer bottoms, etc. But I never wanted to use it along the way, with another boat in the dreaming stage.
The Alaska Yellow is full 4/4 thickness and 6″ wide planks, 16 feet long, with no knots. It is beautiful wood, but expensive, and I wanted to outline all the edges, with as little waste as possible.
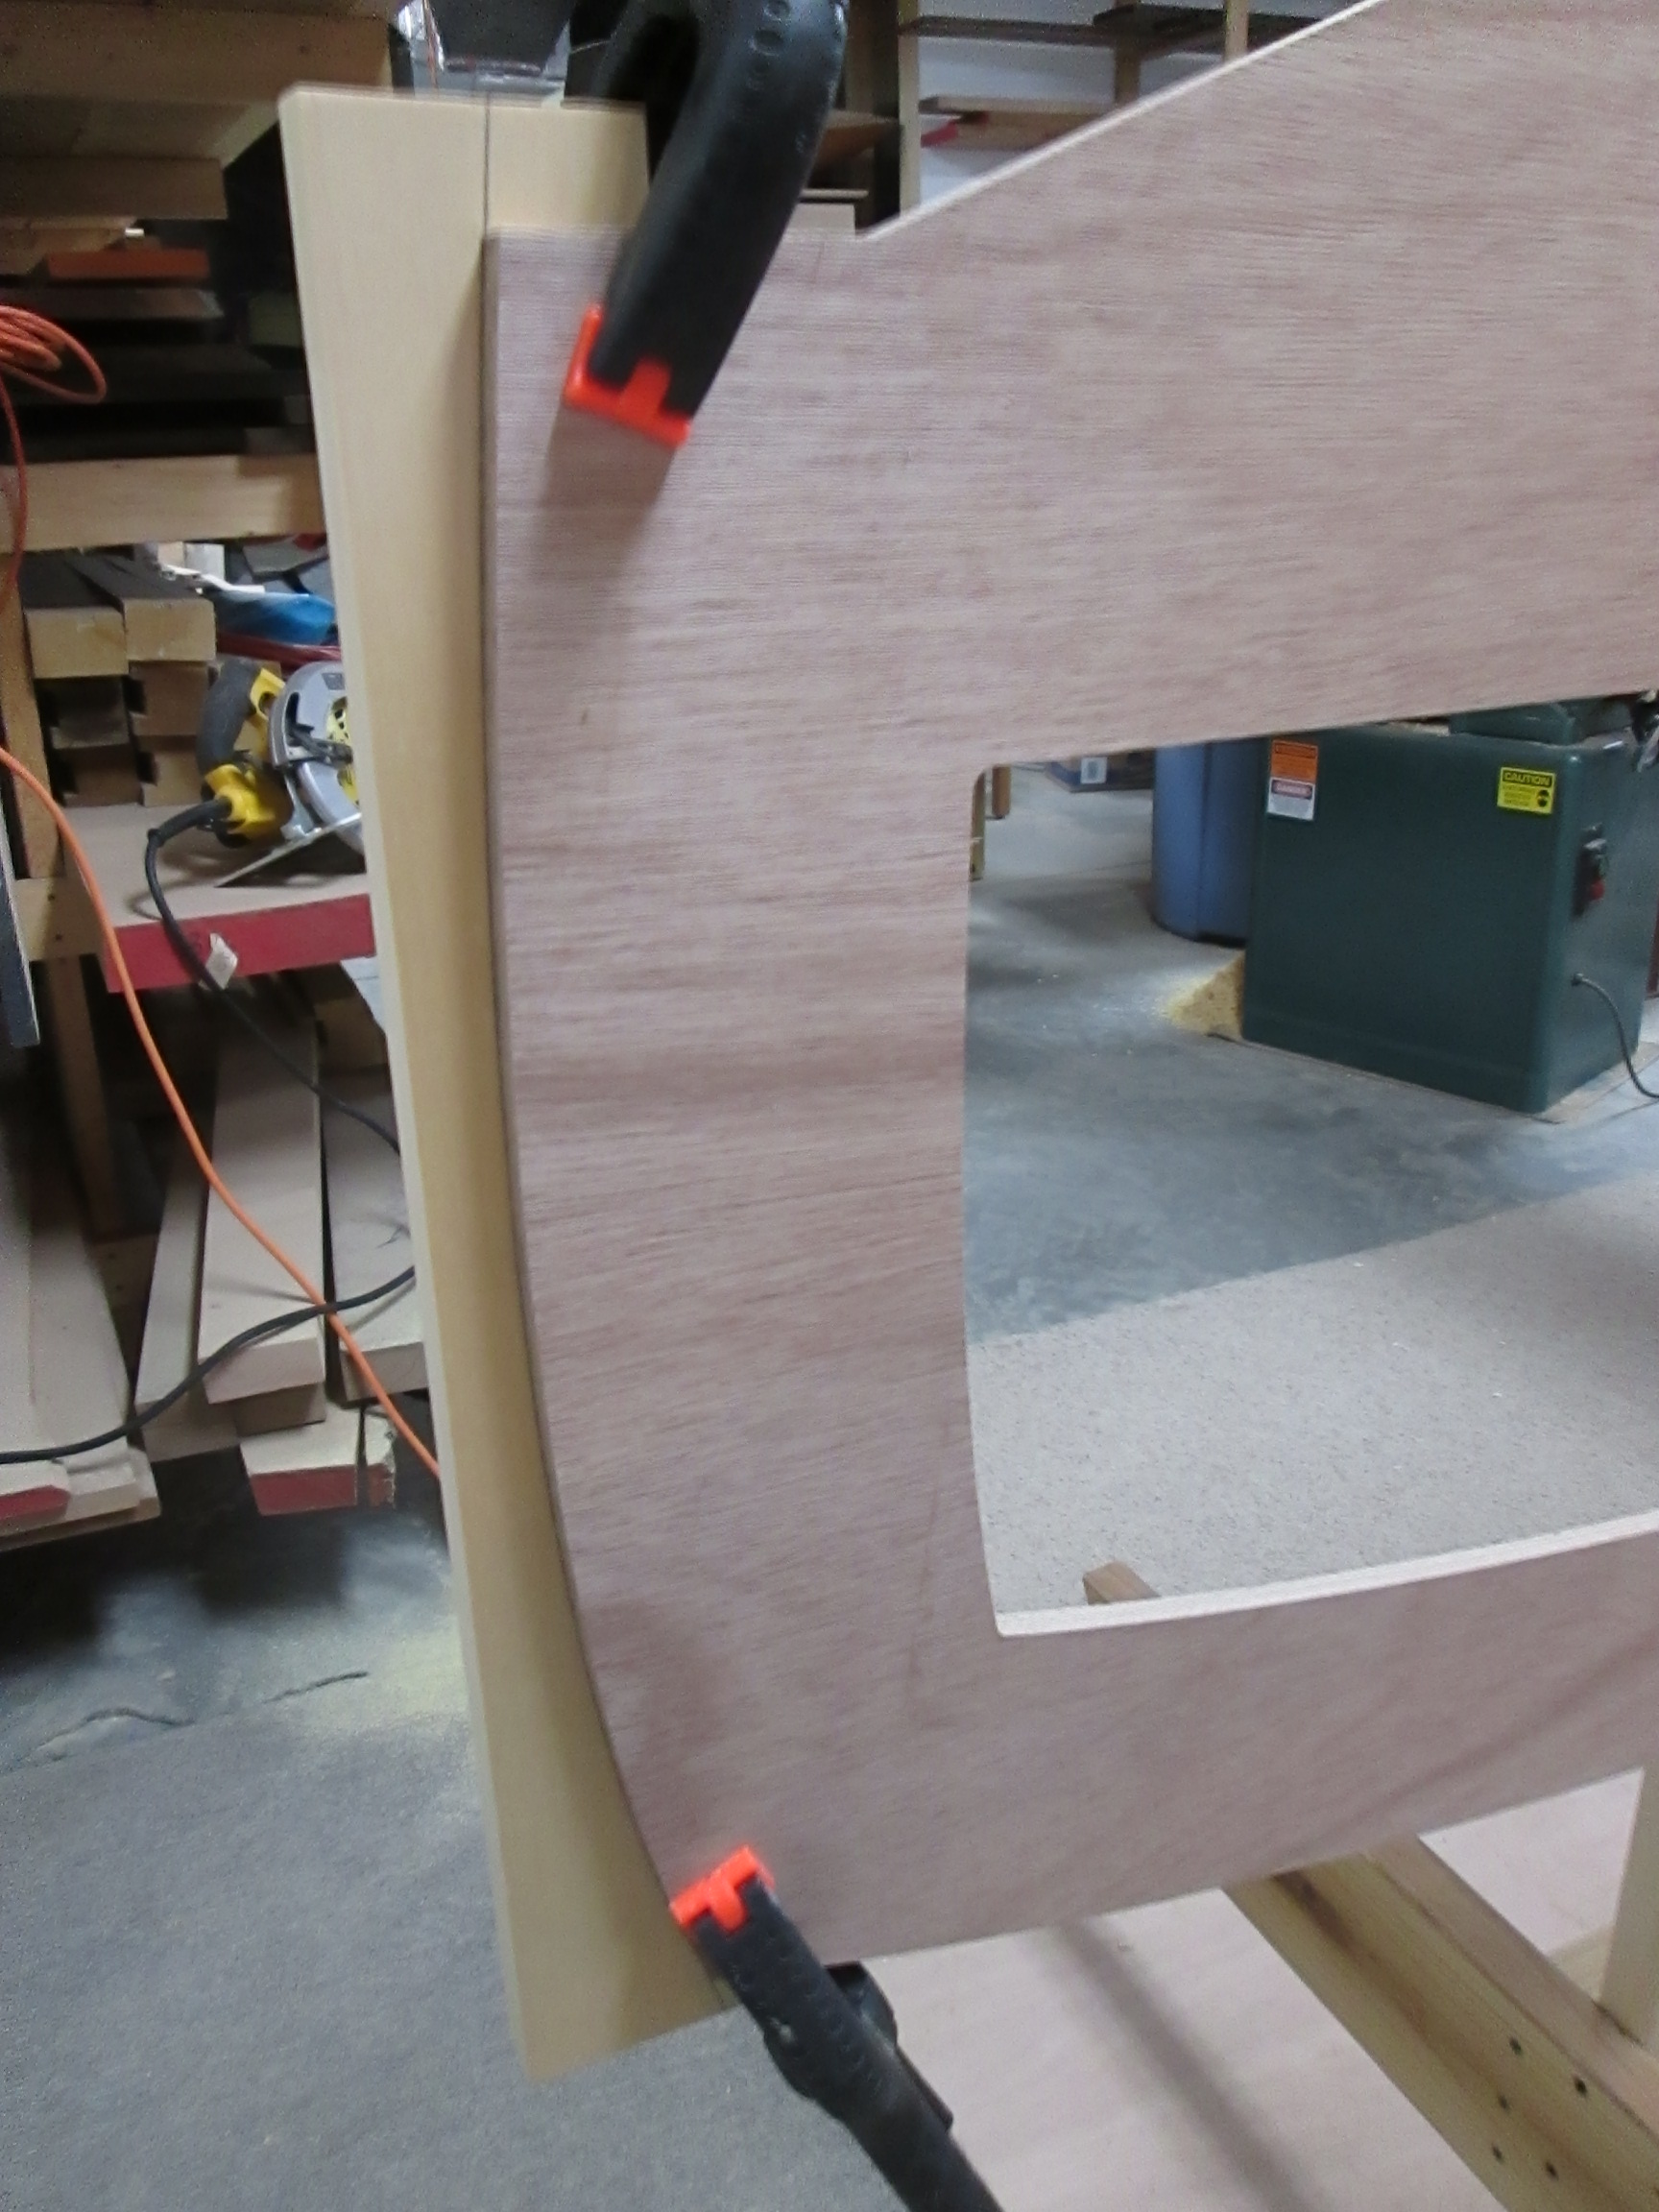
My technique was to cut the 6″ planks into two 3″ wide lengths, long enough for each part of the frame. Then, as the photo shows, I spring clamped the cedar against the Hydrotek, and drew the outline with a pen, roughly in the middle of the 3″ piece.
Next, I cut the marked pieces on the band saw as close to the line as I could.

When the parts were reversed, with the straight sides together, the outside shape has a very close alignment with the original curve on the frame.
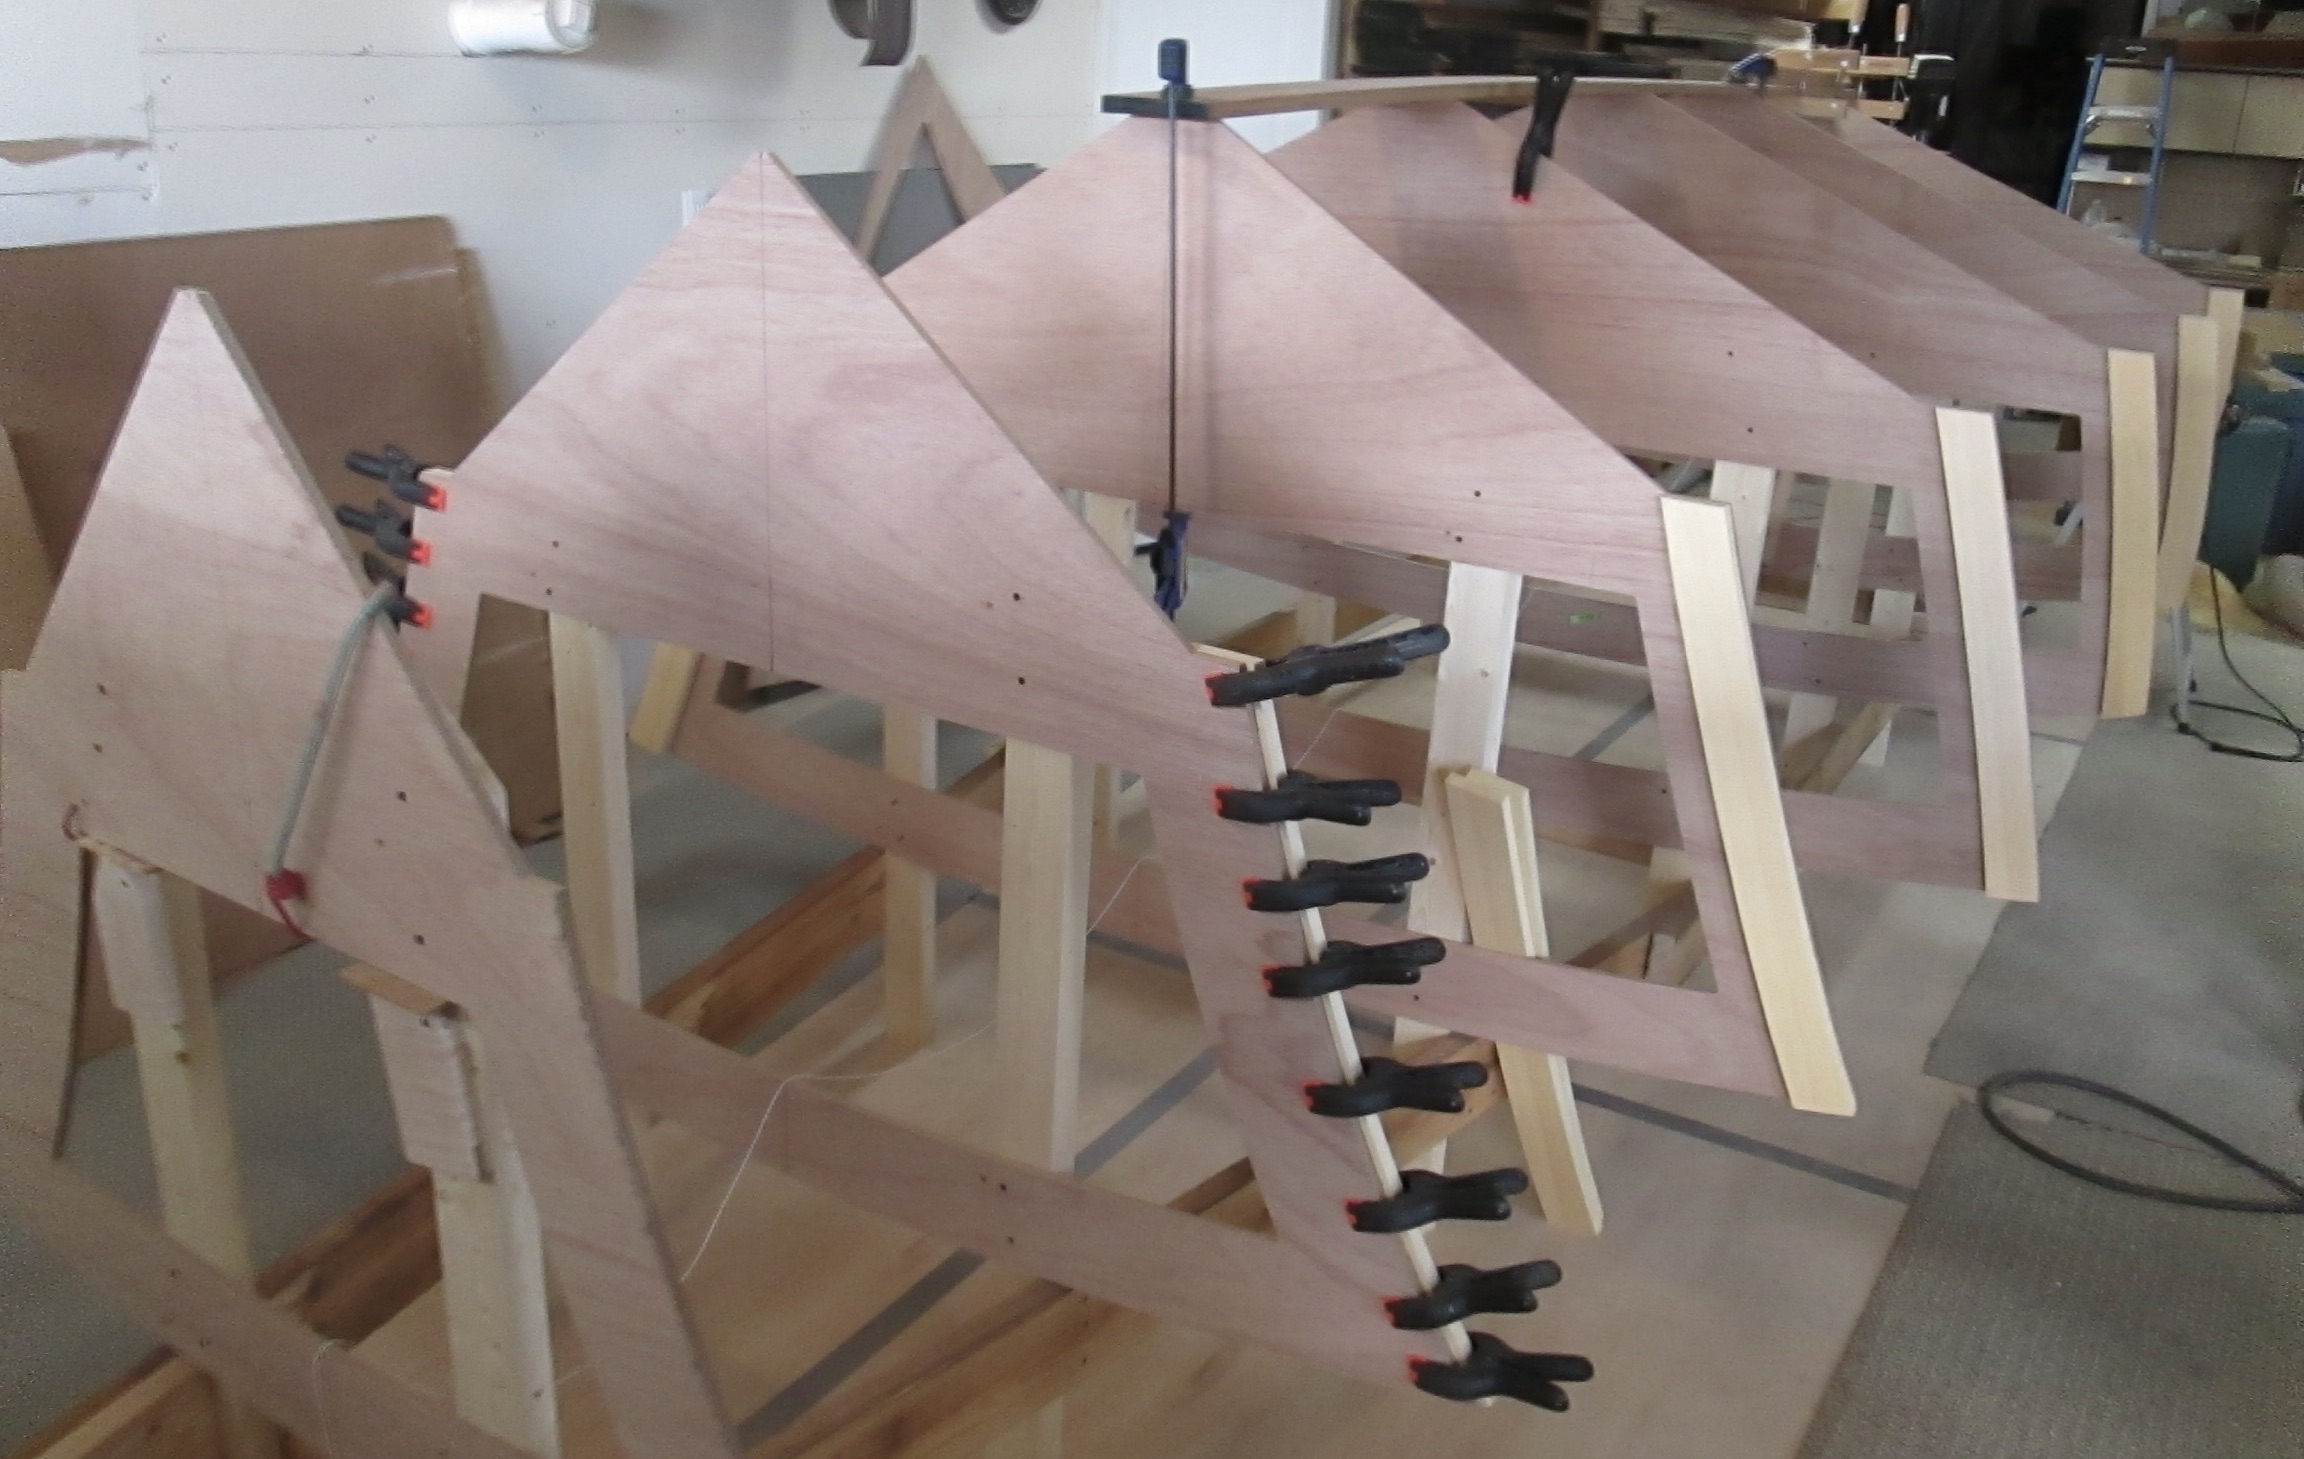
The Alaska Yellow Cedar parts were glued with Titebond 3 glue. It is water proof, and has a better working time than TB 1 or TB 2, and cleans up with water. Titebond 3 is my favorite of all marine bonding agents for edge gluing long grain wood with a good fit.

However, if gap filling or structural strength is required, that is where epoxy shines. Then, it is well worth the effort of extra mixing time and waste, oozing, dripping, sticky and drifting parts, and more difficult clean up.
Next, I determined that the fuel tank would best fit under the floor from the 5th frame back, so I made a temporary routing jig to guide the router using an end-bearing bit.
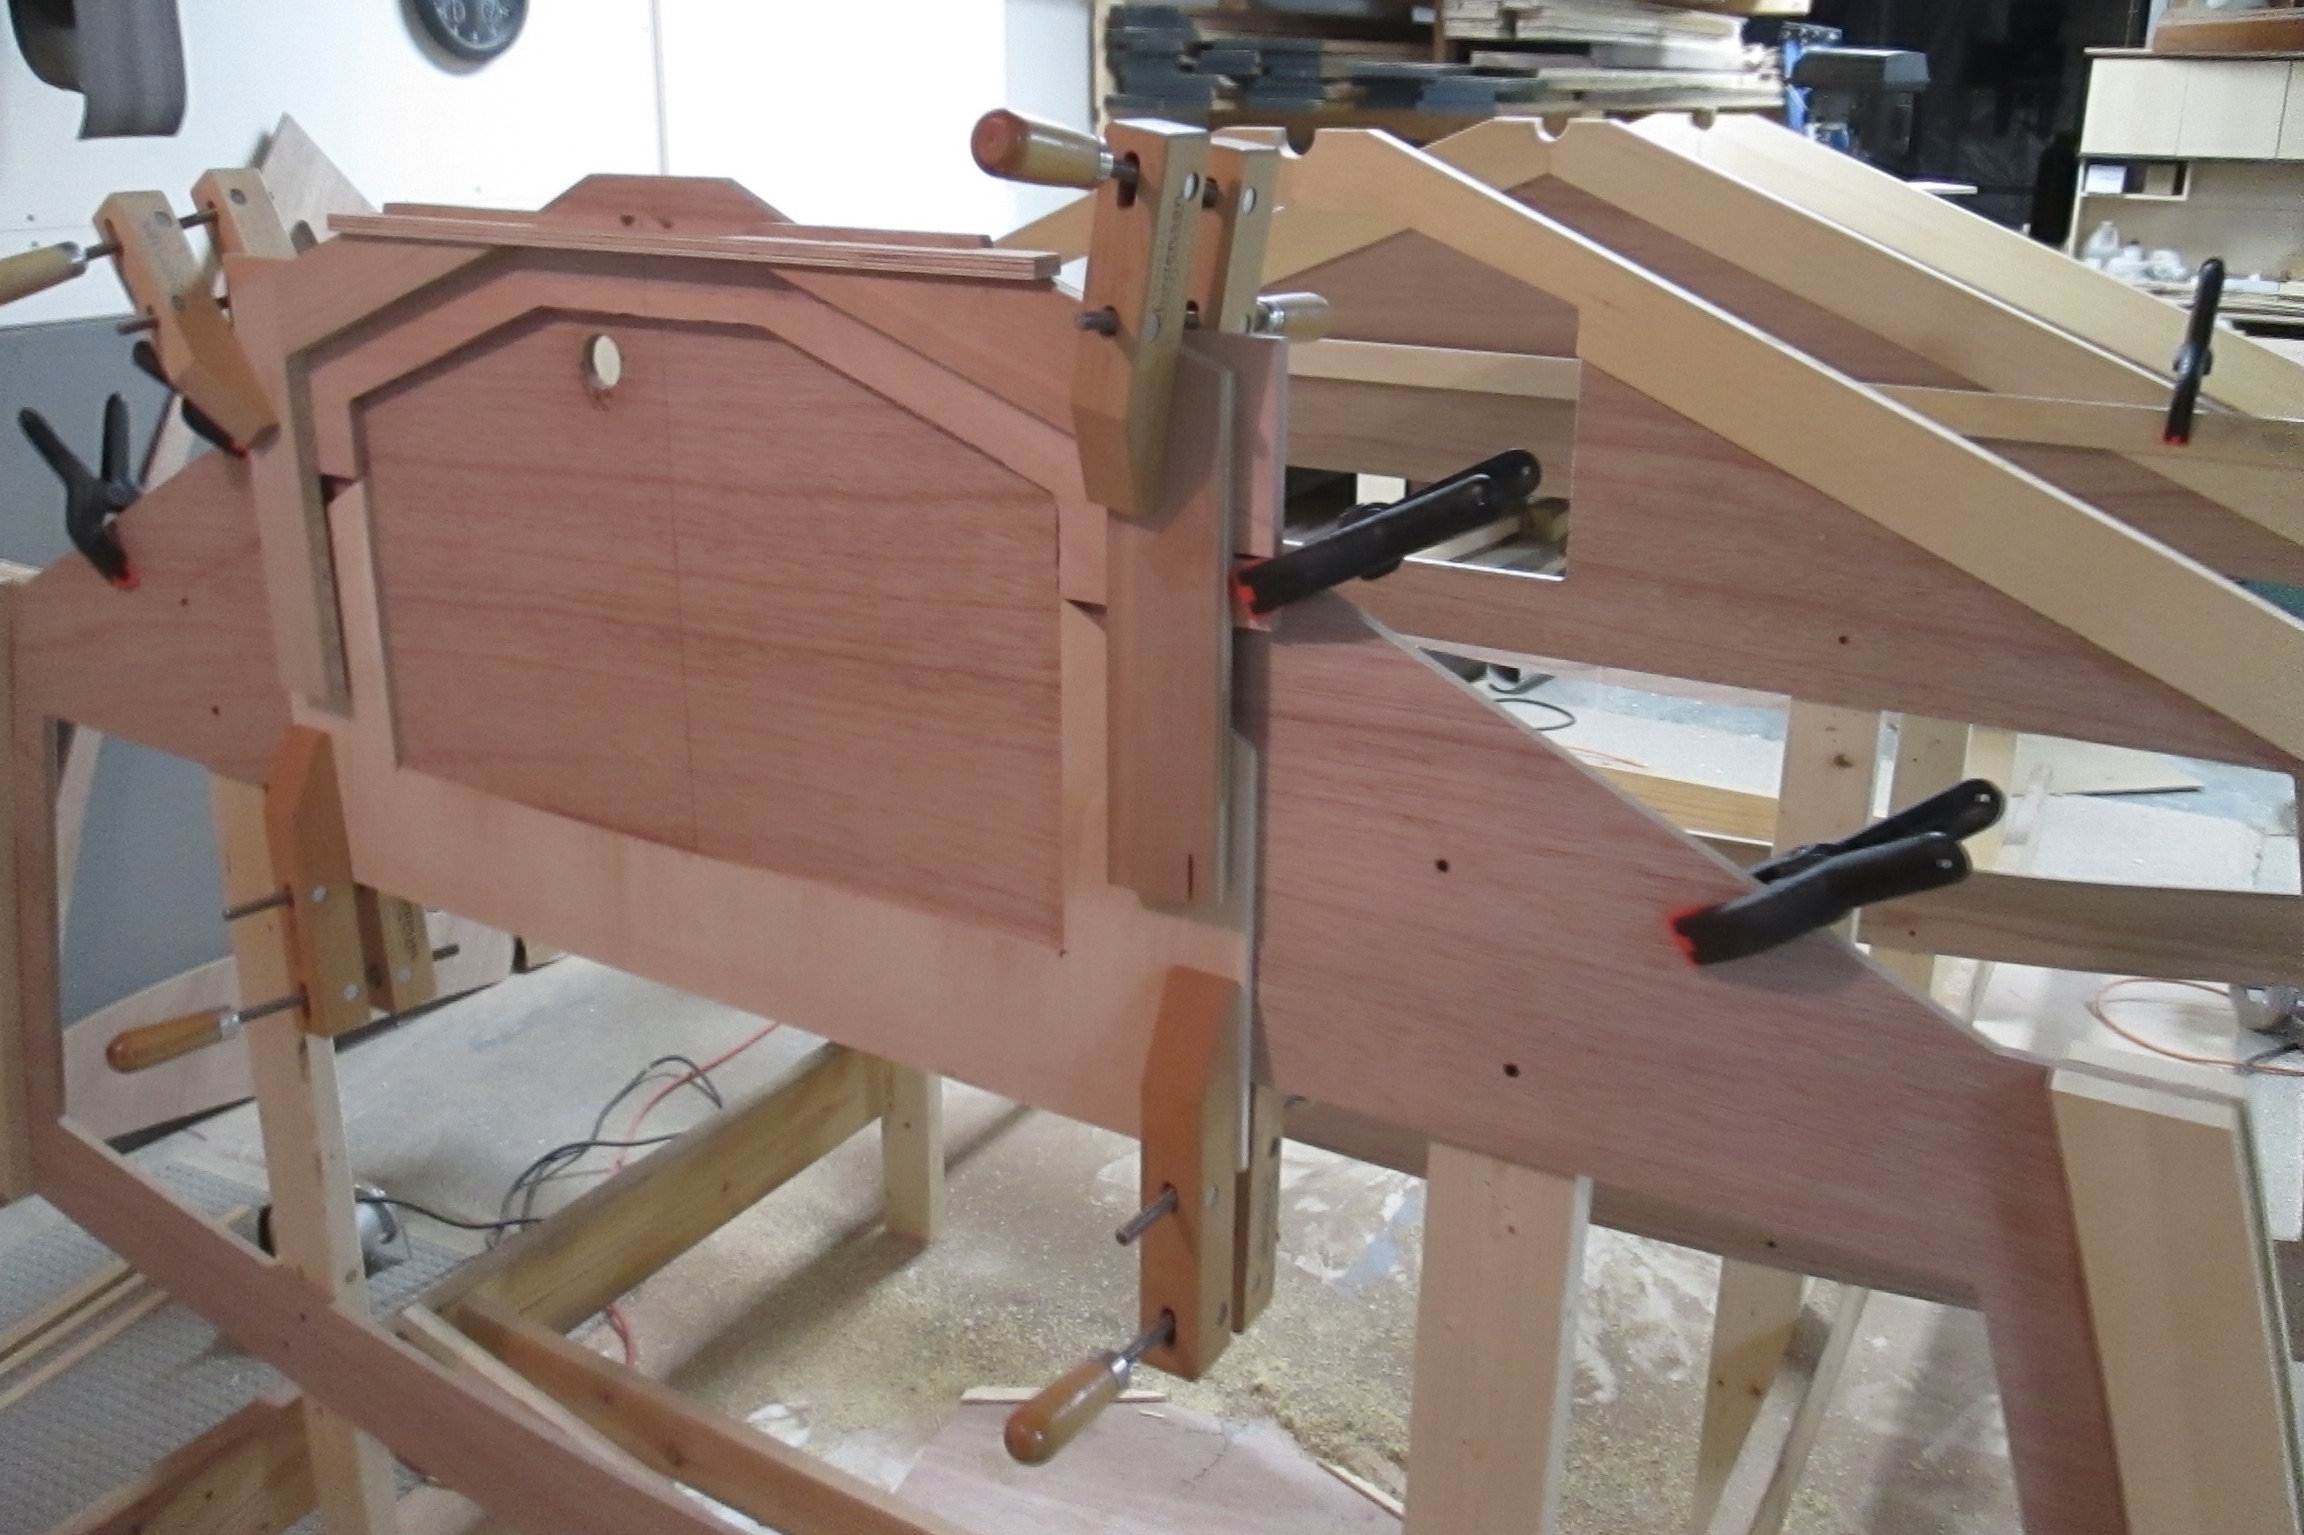
At the completion of adding the perimeter frame and center hole cut outs, the cross frames are getting ready for the longitudinal stringers, at the keel, chine and sheer lines.
All of this internal construction will soon be covered, and never seen by a rider in the boat. That is a little like human character, hidden for a while until under pressure, it will show what it is made of.

Looks like a good start on a real boat!
Great blog!