Last summer when I took my wood boat for spring fire to Lake Effect Marina in Union, Michigan, the service tech Todd, asked me if I would some transom repair on an old wooden boat they were rebuilding. I thought about it a bit, and then said something like, “Um, well, I don’t know.” Todd took that for a yes, and escorted me to the storage building where it sat in sad circumstances.
I looked at it and mentally compared it to the size of my walkout basement shop. It still did not register yes. I said that I work pretty slow, so if he has another option, he should probably take it. Todd said that he had no other options, and that in the next couple of weeks he would clear the transom for me to rework.
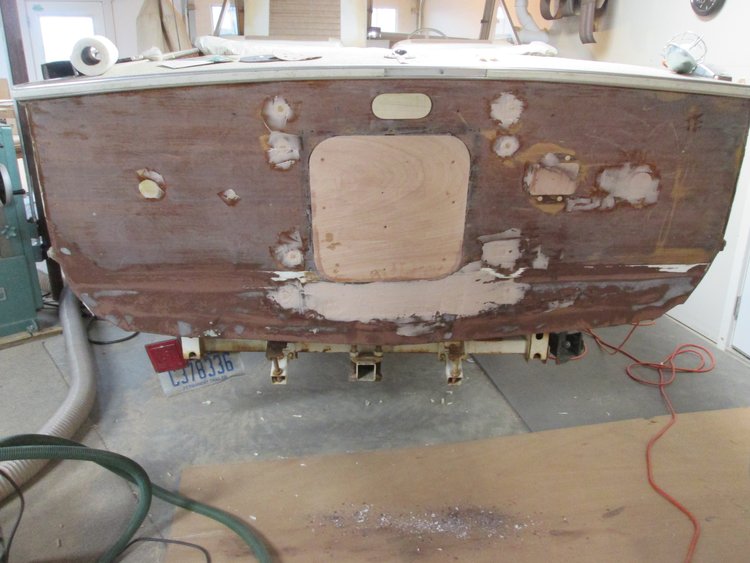
A few weeks went by, then a couple of months, and relief was starting to settle in. Then, in October, I took my wood boat back to the marina for winter maintenance. The topic came up again, and this time Scott, the service manager, also talked about the 1962 Thompson.
This time I said I was about ready to start a boat of my own, so that them in a hustle to get first in line. Around November 15, Jay from the big office, brought it out to my house, and expertly backed it toward the garage door. The windshield would not clear the header, until we figured out that the canopy support frame was in the way. We rotated it down and then we backed her in with an inch to spare.

It filled up my shop, so I figured the only solution was to get to work. I picked up a 4 x 8 sheet of Okume Marine plywood, and some epoxy supplies at Johnson’s Workbench in South Bend, Indiana. The Mahogany came from Nisley and Sons east of Goshen.
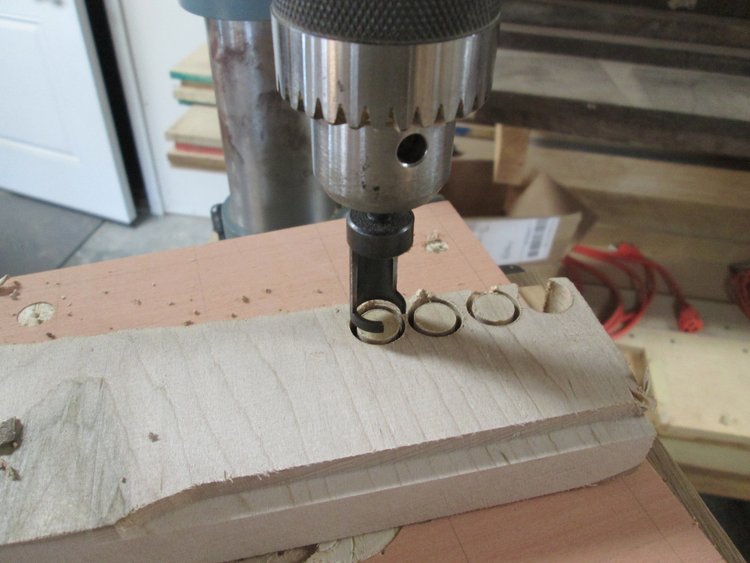
The first task was adding an inch of thickness to the transom, on the inside of the boat. The existing framework required that the pieces be cut so I staggered the joints for the best strength. Each piece was glued in place and held with screws until the epoxy set up. The the screws were removed so there is no metal in the way of the future installation,, and each hole injected with epoxy.