All boats have some curved surfaces, and the most beautiful have many curves, all hopefully contributing to a cohesive complete package. Some modern boats have curves in only one plane, and that makes construction easier. But traditional wood boats, and ones I wanted to pay respect to, have surfaces with curves both ways. That makes hills or valleys and it gets complicated.
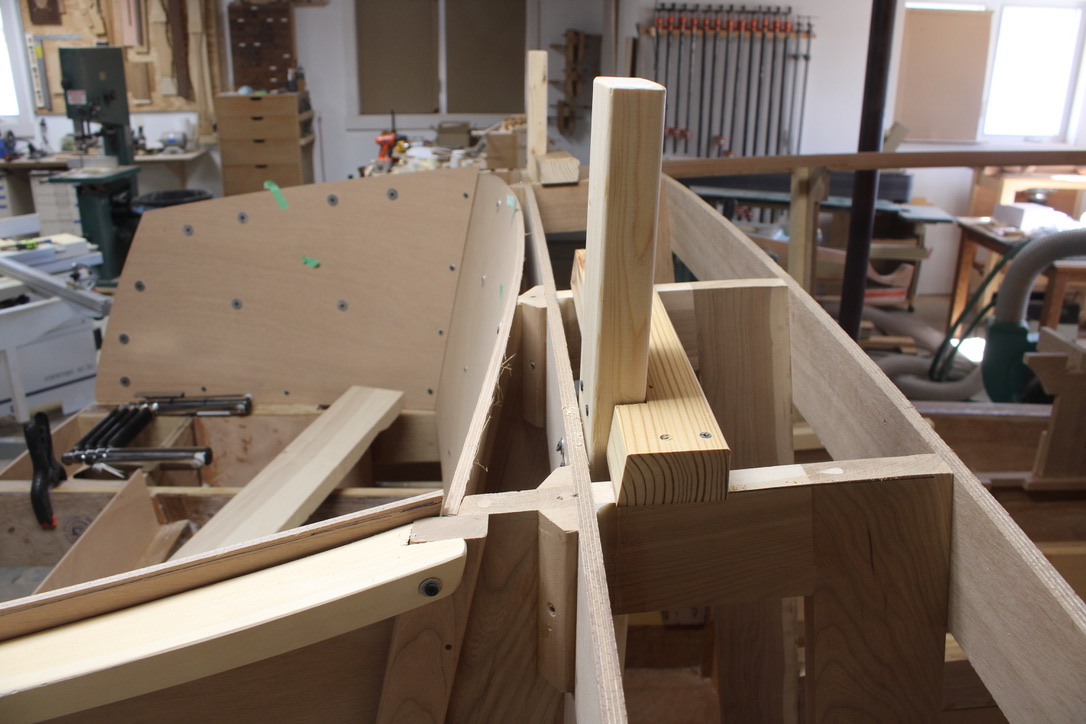
Below is the boat at completion of setting the long trim moldings that define the cockpit, and end at the stern. Now is the time to figure out the shape of the stern.
At the back on the outside, there is the inward curve or tumblehome, that adds width and buoyancy to the back, and just looks cool. And since an outboard motor on a wood boat can look out of place, the sides were extended to enclose it a bit.
New shapes usually begin in cardboard, then on to plywood if I need a rigid pattern. The piece of cardboard laying on top is to visualize how the wall of the engine well might look, and of course, it just came out curved as well.
That makes sense considering the back wall is also curved.
Then, to finish the double curve on the stern sides, internal runners were made for the first layer of tongue and groove shell to follow the side curve.
Eventually, it will be contoured, with both directions relating to both curves at the corner. The complication may be forgotten, and a complimentary form left standing. Beauty has a price.
With the boat turned upside down the last time, the side planks need to be installed. They are made of 1/2″ marine plywood, cut into 4″ planks and routed with a tongue and groove to fit the best side by side. I alway start dry fitting a group, to see if the underlying cross frames are supporting fair curves.
In this case, I will not be doing the last few rows until the boat is flipped over and I can make sure the shape at the top line is good. But most of the side needed to be done in preparation for final painting of the bottom. Jeff Margush lends a hand, actually you could probably make the case that he might be doing the work mostly by himself.
After the epoxy dried, I needed to shape the plywood plank down to meet the longitudinal corner molding, called the chine. This Okume Marine plywood is the best plywood I have ever worked with, being almost as easily planed as solid wood. It is a woodworkers delight to have these wood curls roll up from a sharp blade in a good plane, especially the ribbons below.
After doing whatever wood removal is needed, then it was time to add some epoxy fairing compound to smooth gaps and add nice fillets to the corners. Between a rasp, a scraper, coarse sandpaper with flat or rounded blocks, and a dust brush, slow progress can be made. The proof will be in the pudding of a shiny paint job, to see if the contours are good.
A bit more fairing on the sides, finishing the bow and stern contours, and it will be ready for the next nerve racking step: putting a huge sheet of the glass fabric on and trying not to repeat the snafu that happened last time. Too much epoxy over a complicated surface ran and pooled in an ugly mess, that required many hours of scraping and sanding. This time I know what I am doing?
Building a boat seems like a continual learning project, and hoping not to have to repeat too many steps. Sounds like life . . .
I don’t remember the first time I met Jeff Margush, but it wasn’t long before the formal founding of the Car, Boat and General Design Club. We met for about 15 minutes, between first and second services at River Oaks Church, but since they did not recognize or promote the club as a ministry, it did not grow very quickly.
The fact that design was not such a popular Sunday school topic may have contributed to its slow kick off. But, maybe a decade ago, we picked up a third member, Bob Herrold, who is a strong contributor when he is not in Florida or other wise busy. We are not super magnetic, as the club is only slightly less popular than this blog.
One Sunday at a clandestine meeting right beside the offering cabinet in the lobby, I mentioned I was thinking about building a boat. Jeff said, “If you want to come over, we can sketch it up on the computer.” He listens better than most anyone and doesn’t do much horn tooting, so I didn’t know how well prepared he was to pull off the idea. Below is a collage of the kind of concept drawing he does.
I asked Jeff for some comments about line/drawing and he gave these thoughts, noting influence from his design mentor, Jim Orr:
“Design is the beginning of the thought process, the genesis of an idea. Drawing is the language of line that puts it in visual form. Generally, the first lines are drawn to create shapes that appear two dimensional. With the addition of more lines, like section lines or perspective views, form or volume can start to become visible.
Particularly when designing moving objects, these lines should be dynamic with movement and emotion. Tone or value really drive home what the form is doing, helping to communicate the design.” Here is a drawing he eventually did, summarizing most of the ideas we put into the first boat.
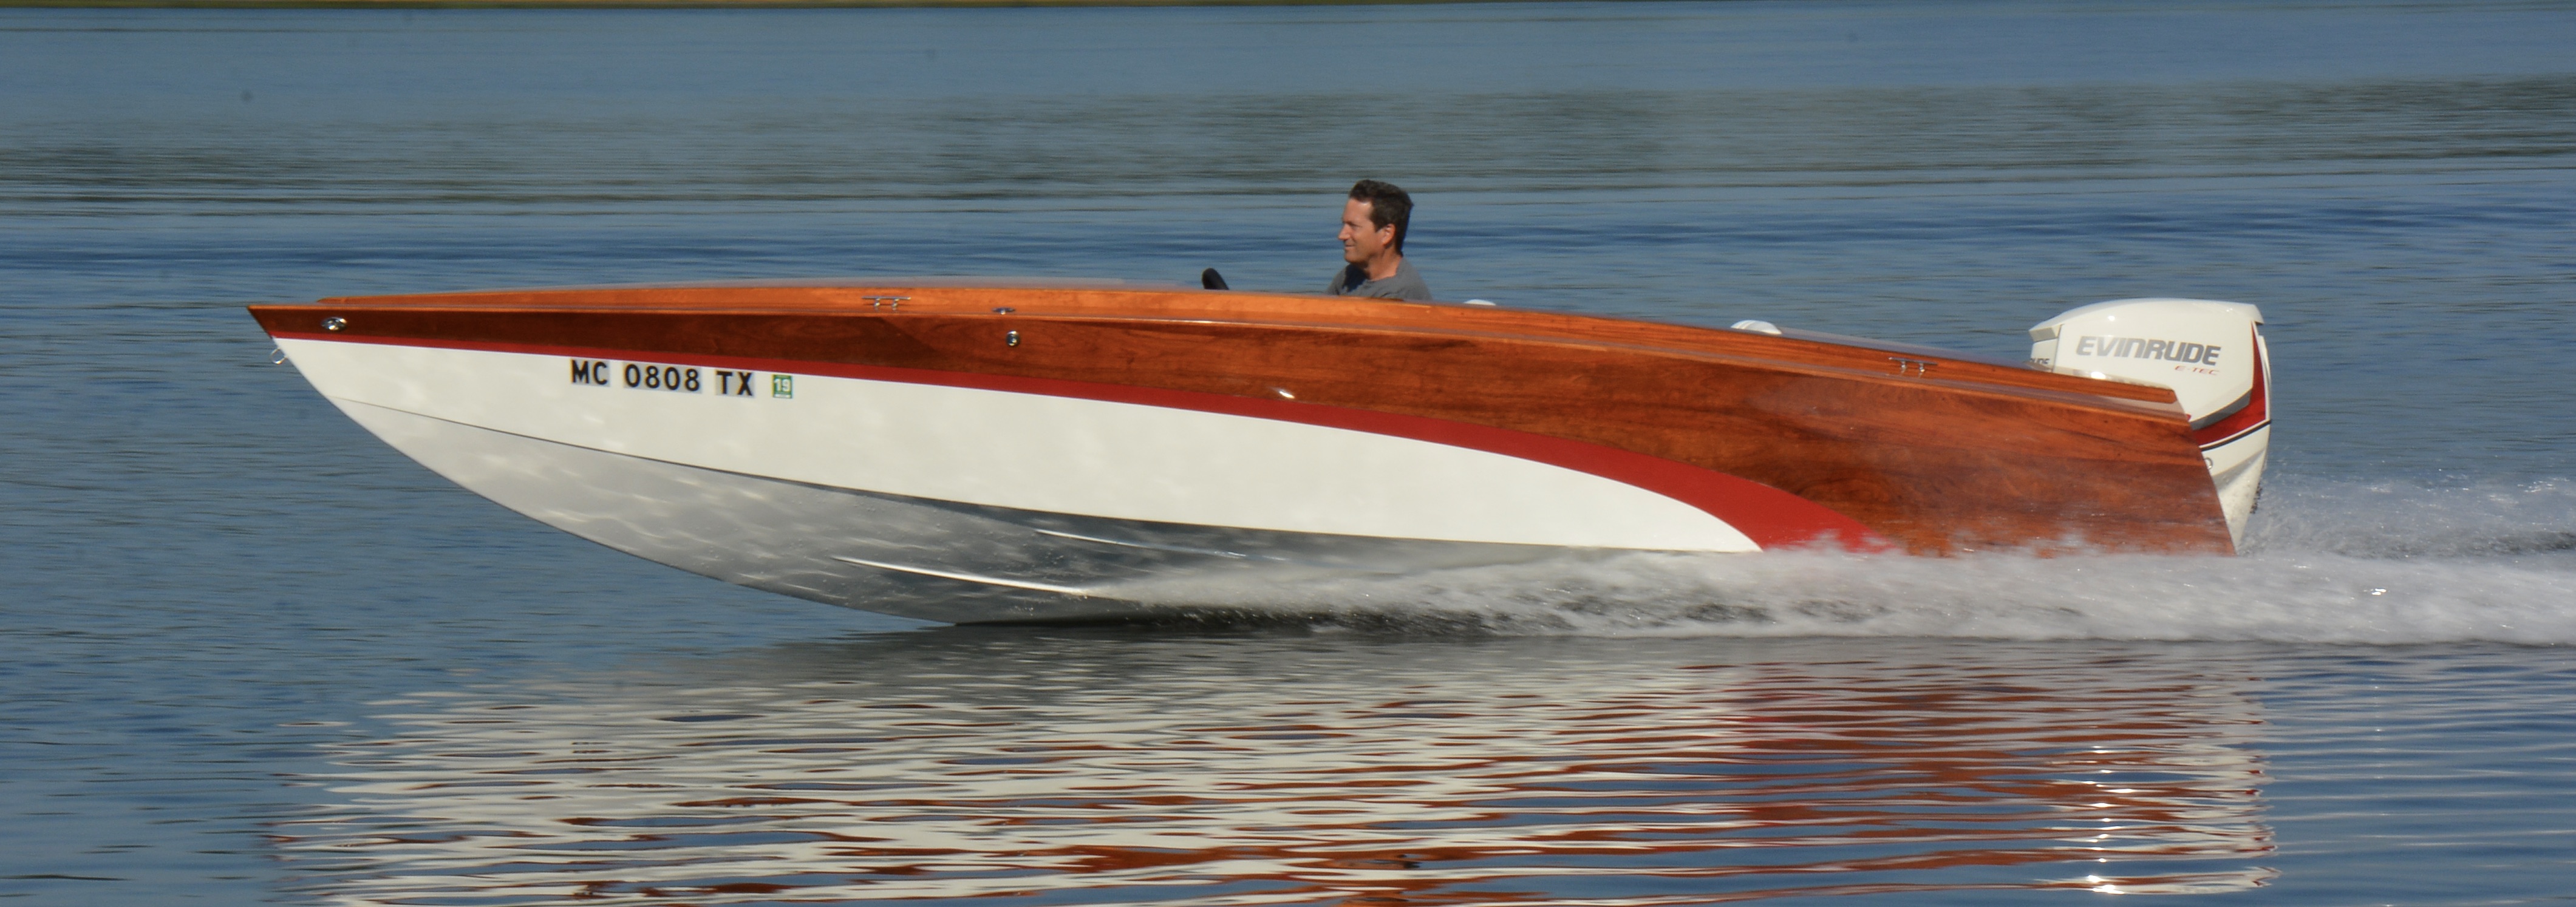
Below is how the first boat turned out. Did I mention Jeff also took the photo? He knows what he is doing.
Since then, I found out that he graduated from Cleveland Institute of Art with a Bachelors of Fine Art in Industrial Design. Then, he went to work at Paramount Plastics, developing interior systems for RV and specialty vehicles. Next on the journey was Newmar Corporation, where he designed exteriors and cockpits for High End Class A Motorhomes.
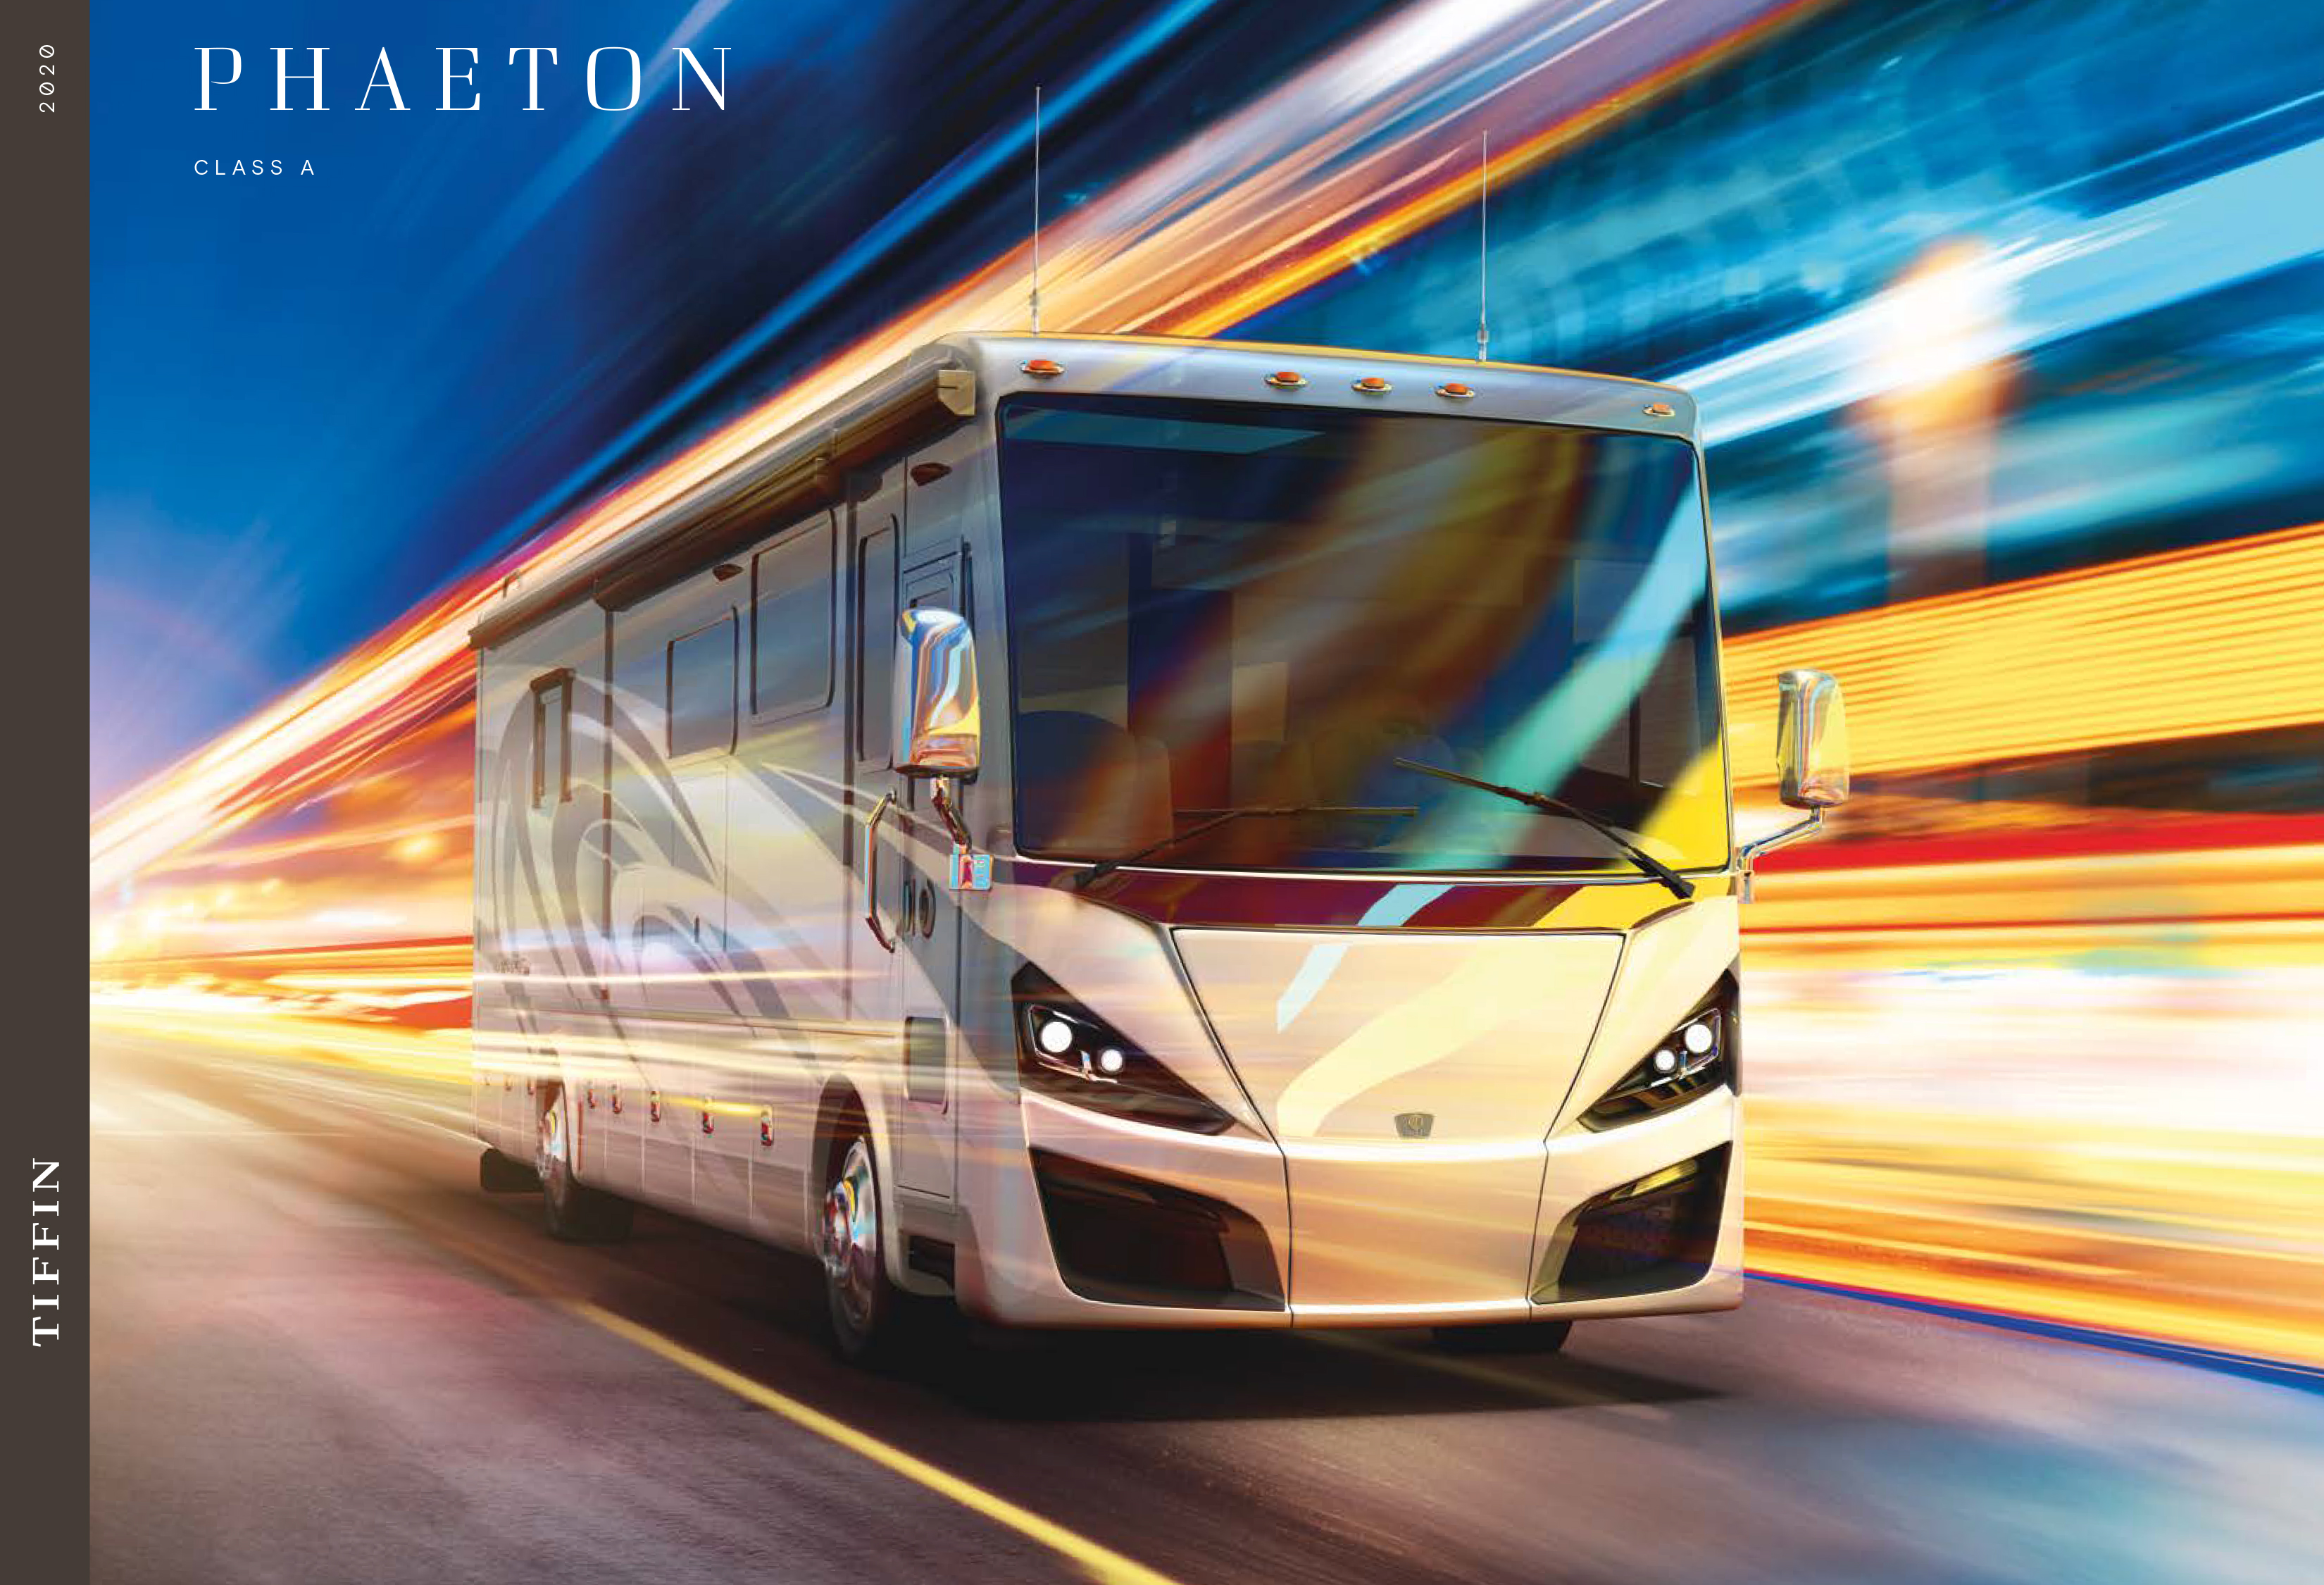
Most lately, he has been working on exterior and cockpit design for Tiffin Motorhomes High End Class A, C and B Rv’s. His initial concept sketches in 3d files are used to cut patterns for fiberglass tooling. If you know anything about the constant conflict between designers and the producers, there are few people who can cross that line better than Jeff Margush.
And here is an example of promotional material that he did for Tiffin:
Line is also an important element in the review of 3D shapes. Below, Jeff is checking the fairing of the sheer line on the first boat, formed where the hull side meets the deck surface.
On the hobby side, Jeff likes pretty much anything with wheels but in particular sports cars and a special passion for auto crossing his 914 Porsche. When the Porsche club needed a poster, well, Jeff managed to put out an “acceptable” design.
Meanwhile, back in the basement on the new boat, a piece of cherry wood was planed thin enough to bend comfortably on the line from the bow to the flat part of the keel at the back. When I first placed the board across the top, I had to do some adjustment of the frames until it formed a visually fair curve.
Next, I scarf-joined the bent piece to the straight piece forming the keel to the back.
The free standing cross frames of the new boat are now connected and epoxied together.
What’s in a line?
A time line, out line, red line, fine line, yellow line, dotted line, fast line, slow line. Line up, line out. Color inside the lines, walk the fine line, and find the silver lining.