Sheer Magic

The line where the top of the boat meets the side is called the sheer line by traditional builders. It is never straight, and is a defining shape of the personality of the boat. Sometimes it starts high in front, to cut the big waves, and comes down in the middle perhaps for rowing or fishing. This beautiful rowboat shows that reverse sheer.

My speedboat on the other hand, will not be battling such severe weather, but will need great visibility forward at all times. In this case, it has a positive sheer line, lower at the front to see across, and higher in the cockpit area for seating comfort and wind protection.

The line always curves inward toward the front, and the whole shape must be “fair,” a beautiful shape. Fairing a curve means making the shape flow with out hills or valleys. Lumpy does not make a winner. The best help for a good curve is a slender board long enough to go the full distance, thin enough to make a consistent bend, and thick enough to resist distortion between supports.

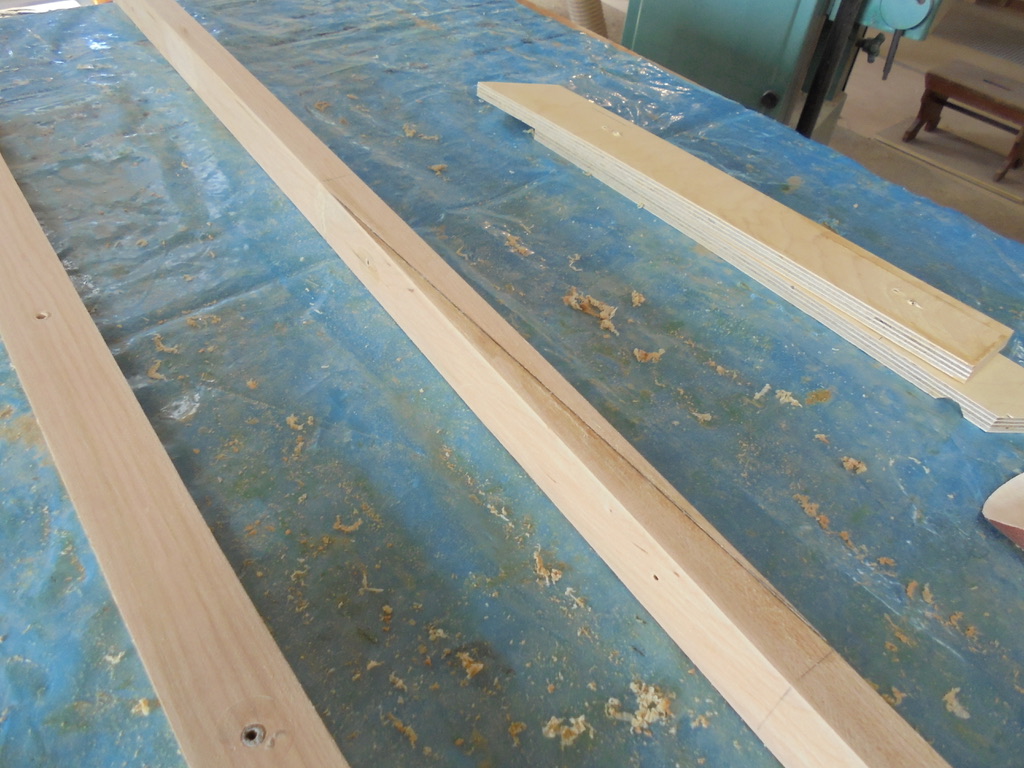
I chose a piece of cherry, and sized it to 7/8″ x 1-1/2″, and then had to splice together 2 twelve foot pieces to make 20 ft. As noted in the last post, the first one broke under the pressure of bending. I picked a straighter grained piece, thinned it a little, and started over. Below is the scarf joint, angled over 14″ so when glued, it will behave mostly like a solid original piece.

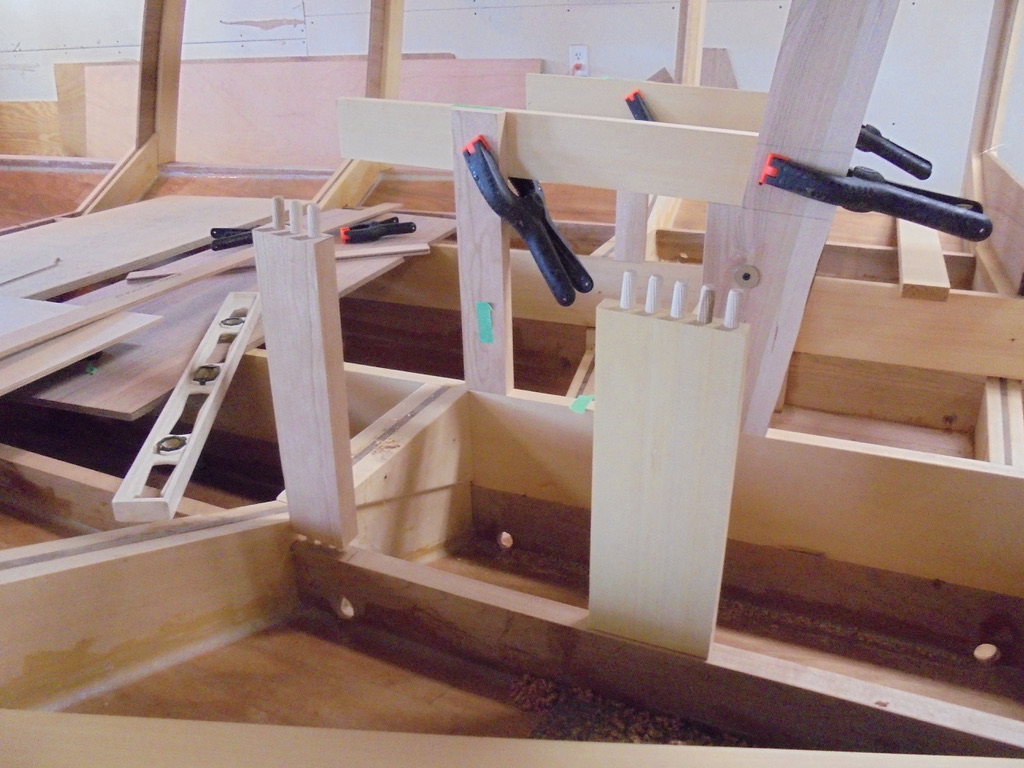
Then, the process begins by cutting a notch at the corner of one cross frame, and gradually fitting the sheer log in place. The photo below shows starting in the middle, using a bungee cord to hold it and then going on the next frame. Not a step to rush, as it will be examined, praised and criticized ad infinitum should this boat ever get on the water.

My friend Stan Oyer asked if there is a point in boat building when you have to give up the tight tolerances of levels, angle guides, and tape measures. Yep, and this is another of those many times. Below, I spring clamped two straight sticks to the extended sheer molding, just to see if the angle is similar side to side. I did not measure, or level up, but just got back and looked at the two sides from a couple of angles. My conclusion is that they are beautifully compatible, if not perfect.

On to the seat framework coming up . . . You are never lost until you are out of time.

Back Seat Framework

The hull inside is now strengthened with epoxy fillets and fiber glass cloth, and it is time to start building the seat framework. To give room for the motor well, I started the back seat one foot ahead of the second cross frame.

The wood frames are easy enough, but making them comfortable, in a well planned layout is the most important goal of the present. Notice the chair, with a straight edge on the seat, which was my pattern for setting the angle for the bench. The back of the bench follows closely to the angle of the seat also.

This is not a couch to slouch back and watch TV. It is an upright posture to interact, talk maybe, and be prepared for hammer down on occasion. Once the mockup is complete, it is time to get out the trusty dowel drilling jig and make some holes.

The dowel strengthened joints will be another long lasting part of the boat construction. All the way along, I am thinking how I can build the current part in such a way that it does not become the weakest Link.

Below the four seat frames are dowelled and assembled to the boat longitudinal frames. The cross frame top over the seat will eventually be cut out, and moved behind the seat for more support there.

Next, layout for the front seats begins. A complicating factor is the possibility of two flip down seats behind the driver and copilot. It’s a fine line between ample personal distance and wasted space, as this boat is intended to have short run seating for eleven.

There’s plenty to be nervous about on the things that need to be figured out on the fly. I do prefer to get it right the first time, not like the sheer moulding I rebuilt today. I didn’t think the small knot was a problem, but the extra pressure needed to bend the moulding into the sheer line cracked it. I guess it was the weakest link.

A couple of hours on a repair detour and we are back on track. You are not lost if you are not out of time.

Fillets and Fiberglass

With the boat turned right side up, it is time to strengthen the joint between the cross frames and the hull planks. Epoxy is a wonderful sculptural and structural adhesive, and can be mixed with a variety of fillers to make more of a paste consistency. This can be a sticky mess, difficult to make it go where I want.

So, I put the thickened mixed mess in a Ziploc bag, and cut a small corner cut on one end. As far as I remember, this is similar to how my mom used to do some special decorative frosting on the cakes of our childhood birthdays. By the way, sister Anne reported that mom would have been 95 yesterday, had she not passed away at age 45. I think she would have liked to see my boat frosting.

Then, I inject a bead into the corners, as consistently as possible. When shaped with a round nosed plastic tool, it hardens without drifting into a reinforced epoxy fillet.

The next reinforcement to the hull is to add fiberglass fabric into each of the bottom sections. When possible, the pieces are cut to wrap slightly up the sides, covering the epoxy fillets. This serves to further strengthen the frame to hull joint, but also stiffen the tongue and groove plank layer of Okume marine plywood.

When a coat of epoxy is applied to the fabric, it wets out nearly clear, and becomes a strong, durable, scratch resistant surface. As the glass fabric and epoxy are added to the outer surface, the hull will be a super strong composite of the plywood core between the E-glass layers.

The boat is making forward progress but the amount left to do is sobering. This must be like hiking a middle section of the Appalachian trail, where you have gone too far to turn back, but still an unimaginably long way from the end.

However, Aunt Marge Liechty recently sent a particularly encouraging note, which was a kind wake up, keep moving call. It is time to make another detailed list of little things to do, step forward to do them, and mark them off the list . .

Defining the Cockpit

Now that the boat has been turned upright, the exciting work of building out the cockpit begins, from the bottom up. The first priority is to make sure that water getting inside the boat drains well to the bottom back of the boat. The half circles in the middle will allow water to flow back to the transom.

The holes drilled in the long stringers let the side sections drain down.

The half circles in the middle will allow water from the sides to flow back to the transom box, where a bilge pump will be located.

The floor level was set at the height of the Alaska Yellow Cedar stringers, so the extra unneeded plywood of the cross frame patterns was removed. This makes a big space for seating, leg room, and some under seat storage.

Another step of progress, and some exciting days ahead!

Boat Turning Party

The boat strong back has finished its purpose, and was dismantled (last post), but as soon as the hull is turned over, it will need to be held up by another support, generally called a cradle. Since it is also temporary, it was built for braun and not beauty. It will have to hold up, reasonably steady, the increasing weight of the boat and occasionally my weight as I climb in and out.

The legs are 2 x 4s recycled from the legs that were holding the cross frames. The other pieces are are random 2 x 2s or 2 x 4s that were laying around the shop. It is not easy to see, but the two boards that contact the hull have a cardboard cushion to avoid scratching during the next phase.

Last, the angular center piece is to give front to back rigidity, and prevent falling easily. If this isn’t enough, I may need to add some diagonal bracing later on.

As before, we needed the 2 x 4s attached to the ceiling joists, and Jeff Margush was agile enough to climb and get the job done. It is amazing what a few screws and a T-shaped 2 x 4 can hold, but from the look of the head scratching, I have some questions! I gained confidence considering that the thick yellow rope worked on the past boat.

Then the moment came to tie it up, lift and begin the turn. The rope prevented danger or over laod on one person.

We should have removed the legs from the first phase, as they got in the way of the ceiling and almost broke the light. But damage was averted with patience and moving it forward.

As the hull came down right side up, we settled it down on the custom cradles. It is remarkable how much construction on a boat is for strong backs, legs and bracing that eventually gets removed, leaving the boat alone.

Thanks to Jeff Margush, Johnny Crist (front) Marvin Metzler, Carsen, Aiden, and Jeremiah Greve, Leonard Nafziger, LT Newland, Stan Oyer, Jeff Bonta, son Jason Bonta and son-in-law Doug.

“It is not the end, only the end of the beginning,” said someone famous. And now the joy of seeing the boat up right. Much more work to do so we carry on . . .